
Rondo L4-2.4L (2007)
5) Insert a thin rod in the service hole of the timing chain cover and release the ratchet.
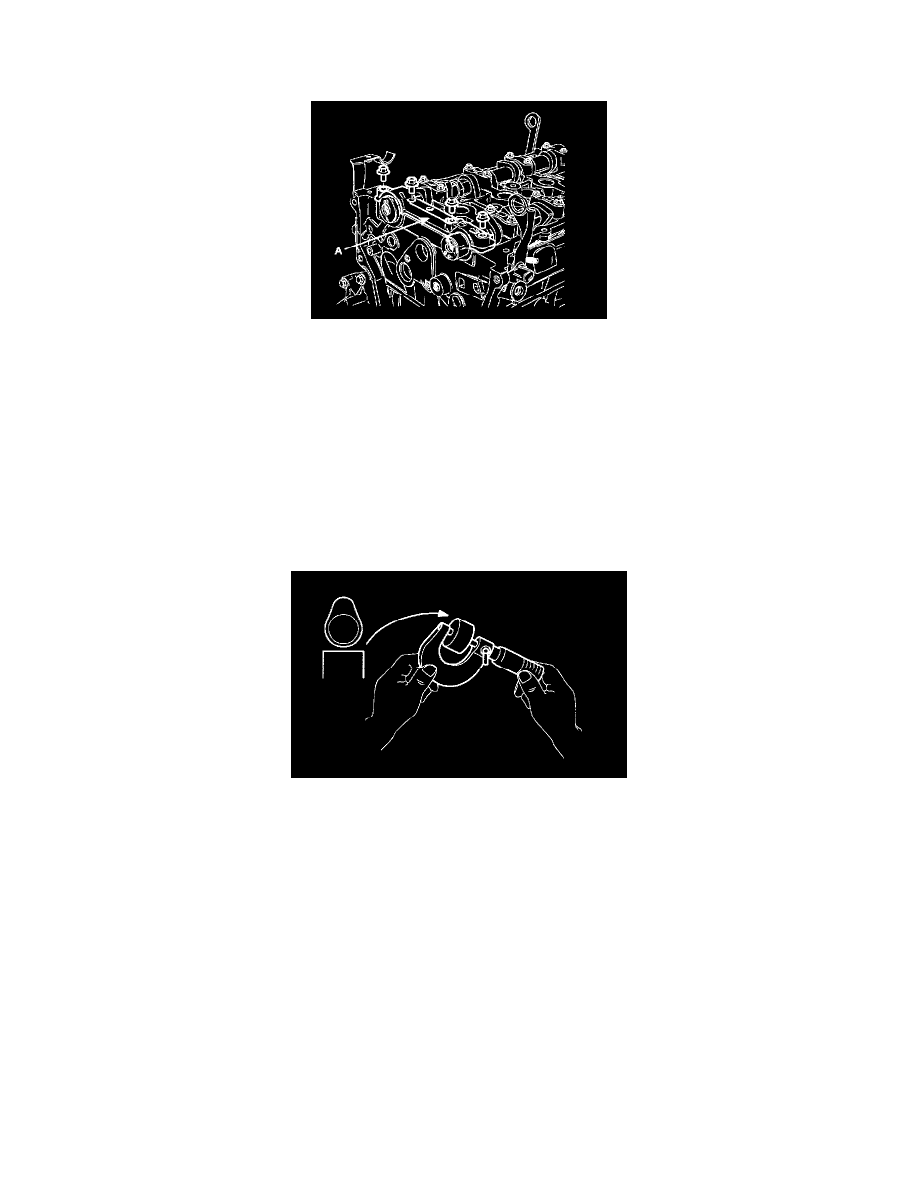
6) Remove the front camshaft bearing cap(A).
7) Remove the exhaust camshaft sprocket.
8) Remove the exhaust camshaft bearing cap and exhaust camshaft.
9) Remove the intake camshaft bearing cap and intake camshaft.
CAUTION
When disconnect the timing chain from the camshaft timing sprocket, hold the timing chain.
10) Secure the timing chain.
CAUTION
Be careful not to drop anything inside timing chain cover.
11) Measure the thickness of the removed tappet using a micrometer.
12) Calculate the thickness of a new tappet so that the valve clearance comes within the specified value.
Valve clearance (Engine coolant temperature: 20°C)
T: Thickness of removed tappet
A: Measured valve clearance
N: Thickness of new tappet
Intake: N = T + [A - 0.20mm(0.0079in.)]
Exhaust: N = T + [A-0.30mm(0.0118in.)]
13) Select a new tappet with a thickness as close as possible to the calculated value.
NOTE
Tappets are available in 47size increments of 0.015mm (0.0006in.) from 3.00mm (0.118in.) to 3.690mm (0.1452in.)
14) Place a new tappet on the cylinder head.
15) Hold the timing chain, and install the intake camshaft and timing sprocket assembly.
16) Align the match marks on the timing chain and camshaft timing sprocket.
17) Install the intake and exhaust camshaft.
18) Install the front bearing cap.
19) Install the service hole bolt.