
Sephia Sedan L4-1.6L SOHC 16V (1993)
Fuel Gauge: Testing and Inspection
The fuel gauge pointer is controlled by magnetic coils inside the instrument cluster. The circuit is grounded through the fuel gauge sender inside
the fuel tank unit. The sender acts as a variable resistor. When the tank is full, resistance is low, and the pointer indicates full. When the tank is
low, resistance is high, and the pointer indicates empty.
1. Turn ignition switch to On position.
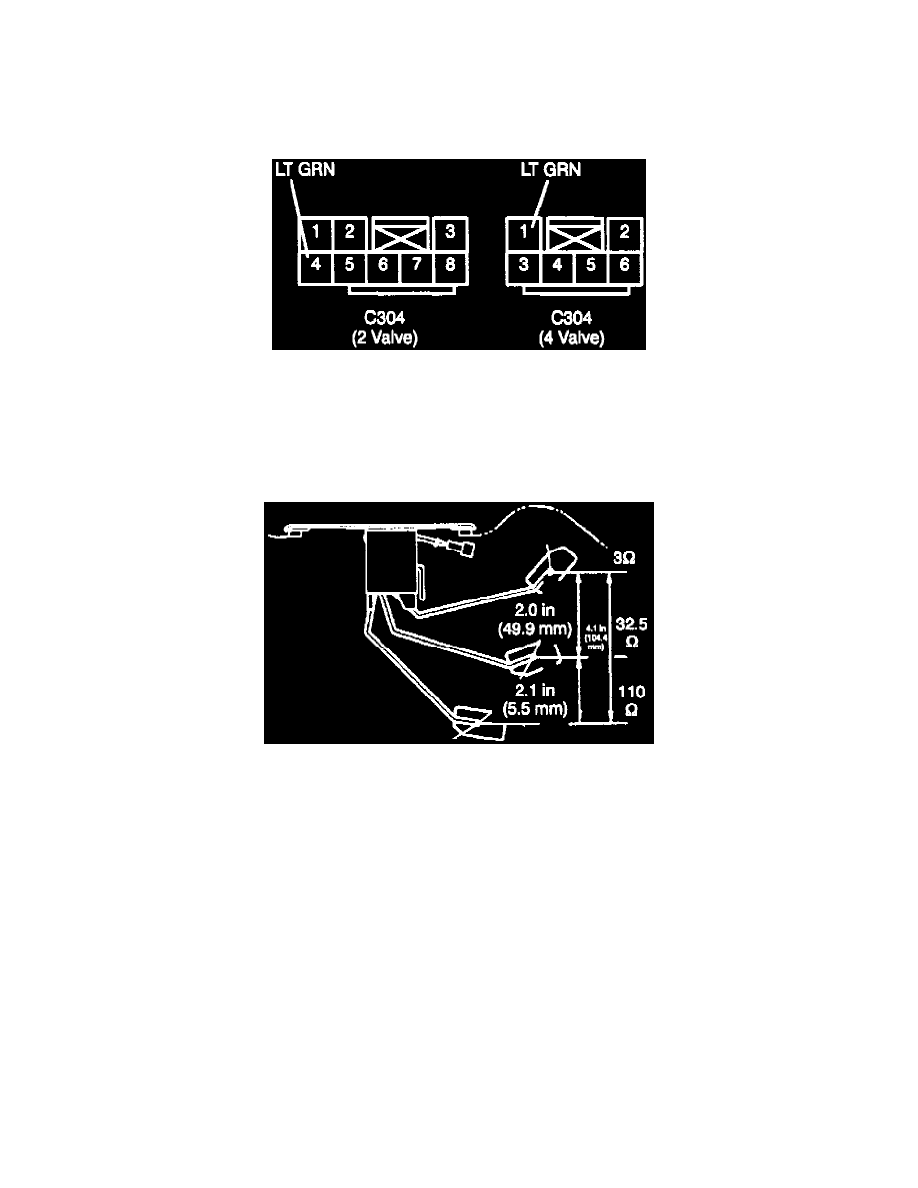
Fig. 2 Fuel Sender Unit Electrical Connector Pin Identification
2. Disconnect C304 from fuel tank unit, Fig. 2.
3. Ground LT GRN wire and ensure fuel gauge reads full.
4. If gauge does not read full, check or repair wiring and fuel gauge.
5. If fuel gauge reads full, proceed to next step.
6. Remove fuel tank, then disconnect fuel gauge sender unit connector.
Fig. 3 Fuel Tank Sender Unit Resistance Test
7. Check resistance while slowly moving unit arm through full operational travel. While in fully raised position, resistance should be three ohms. At
midpoint resistance is 32.5 ohms and with sender arm fully lowered, resistance should be 110 ohms, Fig. 3.
8. If resistance is not correct, replace fuel gauge sender unit.