
Sorento 2WD V6-3.8L (2007)
REAR LOWER ARM
REMOVAL
1. Raise the rear of the vehicle and support it with safety stands.
2. Remove the rear wheels.
3. Raise the rear axle housing to facilitate removal of the lower arm.
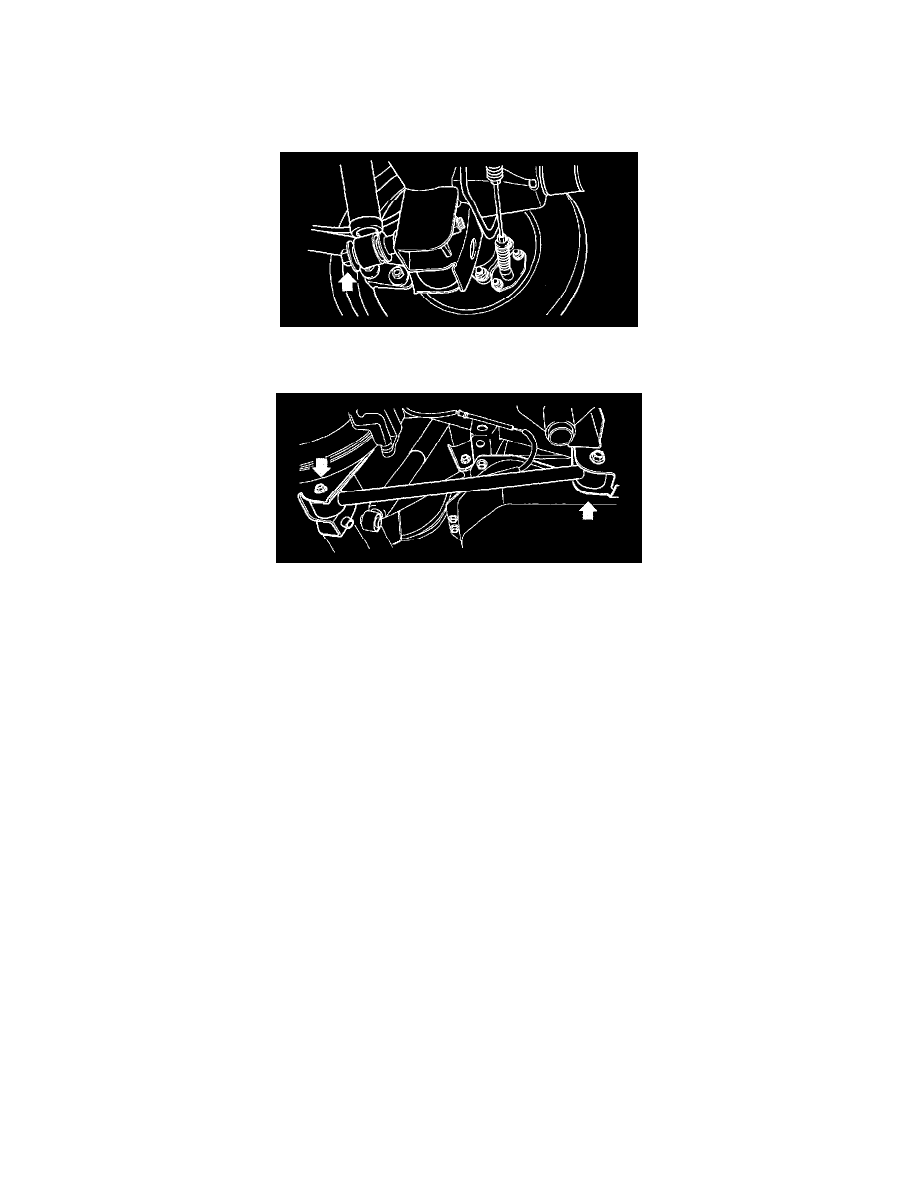
4. Remove shock absorber lower bolt.
5. Remove wheel speed sensor cable from rear lower arm.
6. Loosen the lower arm bolts and remove the lower arm.
INSPECTION
1. Inspect the lower arm for bends, cracks and/or other damage.
2. Inspect the lower arm bushings for wear and/or deterioration.
3. Replace if damaged, deformed or cracked; replace bushings if worn or deteriorated. Refer to Bushing Replacement in the following procedure.
BUSHING REPLACEMENT
1. Press out the bushing using a standard bearing press.
2. Apply lubricant to the bushing and press into place using a standard bearing press.
INSTALLATION
1. Install the lower arm and the bolts.
Tightening torque: 137 - 157 Nm (14 - 16 kg-m, 101 - 116 ft. lbs.).
2. Install wheel speed sensor cable to the rear lower arm.
3. Install shock absorber lower bolt.
Tightening torque: 122 - 140 Nm (12.2 - 14 kg-m, 88 - 101 ft. lbs.).
4. Lower the rear axle housing.
5. Install the wheels and secure with lug nuts.
Tightening torque: 90 - 120 Nm (9 - 12 kg-m, 65 - 86 ft. lbs.).
6. Remove the safety stands and lower the vehicle.