
Sorento 4WD V6-3.3L (2008)
Oil Filter: Service and Repair
REMOVAL
Oil filter assembly
1. Remove the engine assembly. .
2. Loosen the oil filter cap by turning it counterclockwise to drain well the oil in the oil filter.
3. Remove surge tank and intake manifold.
4. Disconnect oil pressure switch connector.
5. Drain engine coolant.
6. Disconnect water hoses from water temperature control assembly.
7. Remove water temperature control assembly.
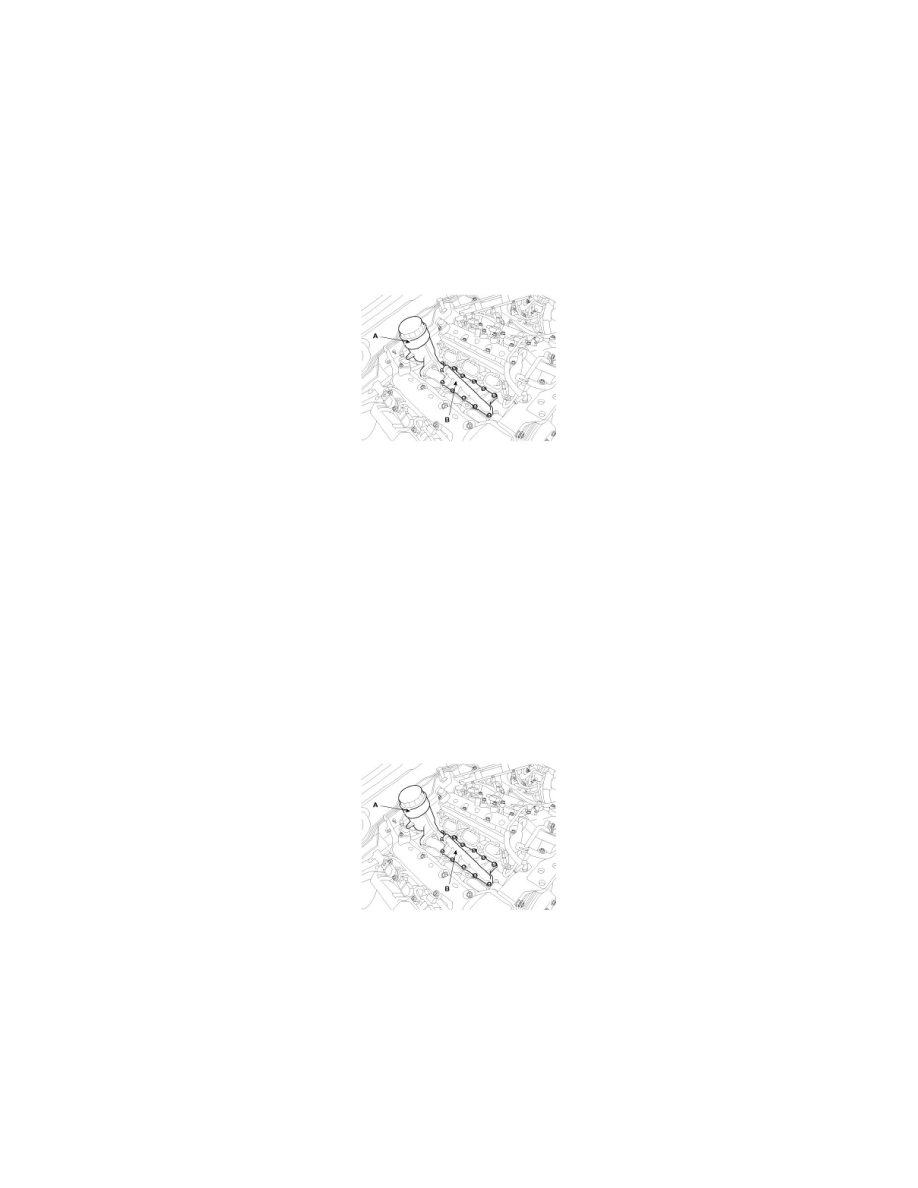
8. Remove oil filter body cover(B).
9. Remove oil filter body(A).
INSTALLATION
OIL FILTER ASSEMBLY
1. Install oil filter body and new O-rings.
Tightening torque
9.80 - 11.76Nm (1.0 - 1.2kgf.m, 7.23 - 8.68lb-ft)
NOTE:
-
All rubber gasket must be no damaged by assembling parts.
-
Be careful of the knock sensor connector.
-
Always use a new O-ring
2. Install oil filter body cover(B) and new gasket on the oil filter body(A).
Tightening torque
9.80 - 11.76Nm (1.0 - 1.2kgf.m, 7.23 - 8.68lb-ft)
3. Install the water temperature control assembly.
4. Connect the water hoses on the water temperature control assembly.
5. Connect the oil pressure switch connector.
6. Install the intake manifold and surge tank.
7. Fill with engine coolant.
8. Start engine and check for leaks.
9. Recheck engine coolant level.