
Sorento 4WD V6-3.8L (2009)
Output Yoke/Flange: Technical Service Bulletins
Drivetrain - Driveline Noise on 4WD Equipped Vehicles
Model Sorento[BL]
Group Driveshaft and Axle(31)
Number KT2009050401
Date Monday, May 04, 2009
Area N.America
Subject
2003-2009 Driveline Noise on 4WD Equipped Sorento Models
- Description
2003-2009 Driveline Noise on 4WD Equipped Sorento Models
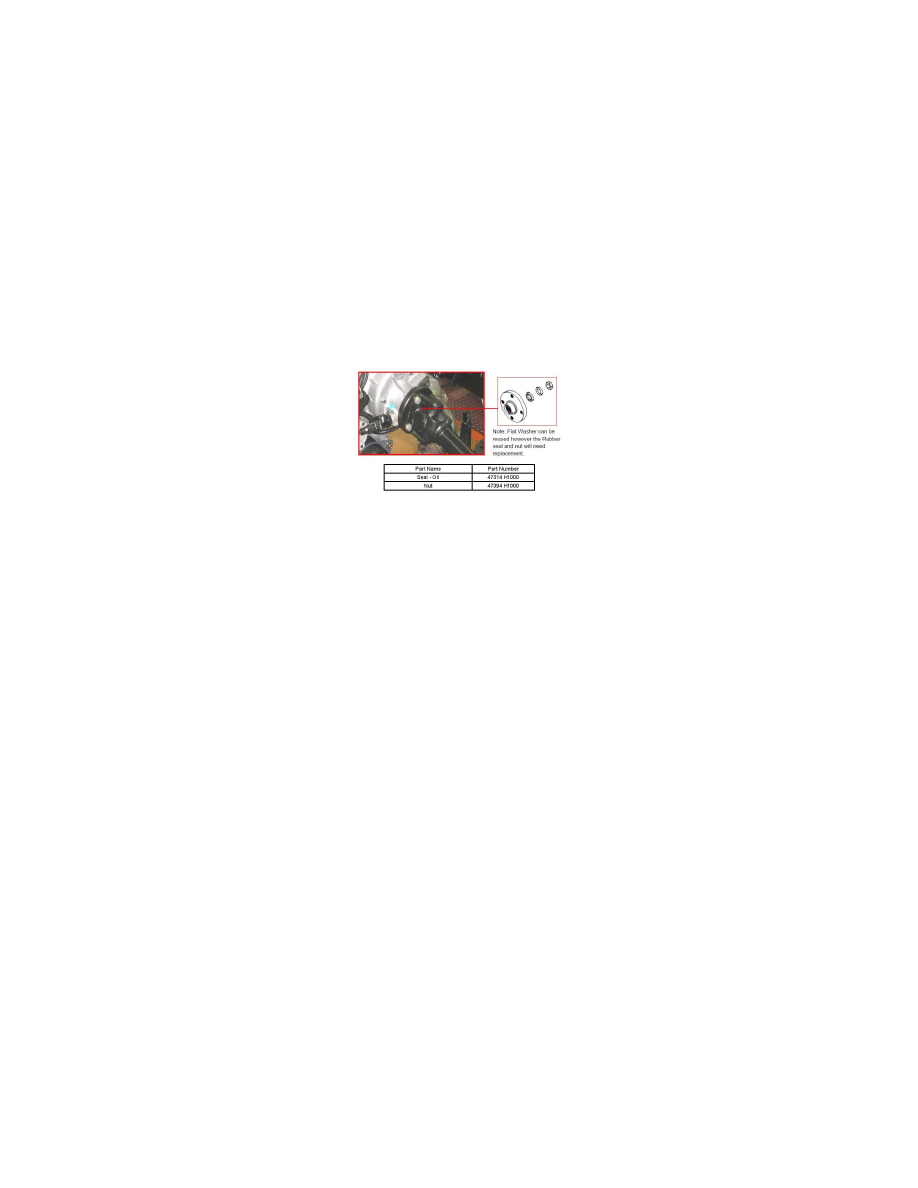
NOTE
Flat Washer can be reused however the Rubber seal and nut will need replacement.
Some customers may complain of a noise heard when pulling out from a stop or when shifting from neutral to reverse or drive in a 4WD Sorento. This
noise can usually be duplicated fairly easily and exhibits sharp metallic ping or creaking type noise. The noise can be heard through the driveshaft, at the
axle pinion flange and at the rear of the transfer case.
Duplicating the customer concern:
1. With the vehicle raised, have an assistant shift the transmission from Neutral to Drive, with their foot firmily on the brakes, and bring the engine speed
up to approx 1,200 RPM.
2. Have the assistant then repeat the same procedure but shifting into Reverse.
3. Confirm that the noise is present and can be induced.
Repair Procedure:
1. To correct this concern place index marks (reference marks) on the propeller shaft and transfer case drive flange, unbolt the front of the rear driveshaft
and move it out of the way.
2. Next remove the 30mm transfer case drive flange retaining nut (Discard), large washer and rubber spline seal (Discard).
3. Pull the transfer case drive flange (companion flange) off and clean the splines with a suitable brake cleaning type solvent. Wipe the transfer case
drive spline (on the transfer case) clean with a clean dry rag, be careful that no metal slivers were left from the removal of the drive flange nut, NOTE do
not spray the transfer case drive spline with any solvents as it could have an adverse affect on the flange seal which may lead to a leak.
4. Lubricate the splines on the drive flange with a thin coating of Steelco, Industrial Lubricant P/N: 488-1 red Crown lubricant or equivalent. Install the
drive flange onto the transfer case, slide the new rubber spline seal all the way onto the drive spline, install the large washer and a new transfer case drive
flange nut.
5. Tighten the flange retaining nut to 150 ft. lbs. (203 Nm), using SST-K95B-5009-D (Companion Flange Holder) to hold flange while torquing to
specification. Stake the nut to the shaft using a flat chisel. Reinstall the drive shaft, with the index marks properly aligned, and torque the bolts to 36-43
ft. lbs. (50-60 Nm).