
Sorento 4WD V6-3.8L (2009)
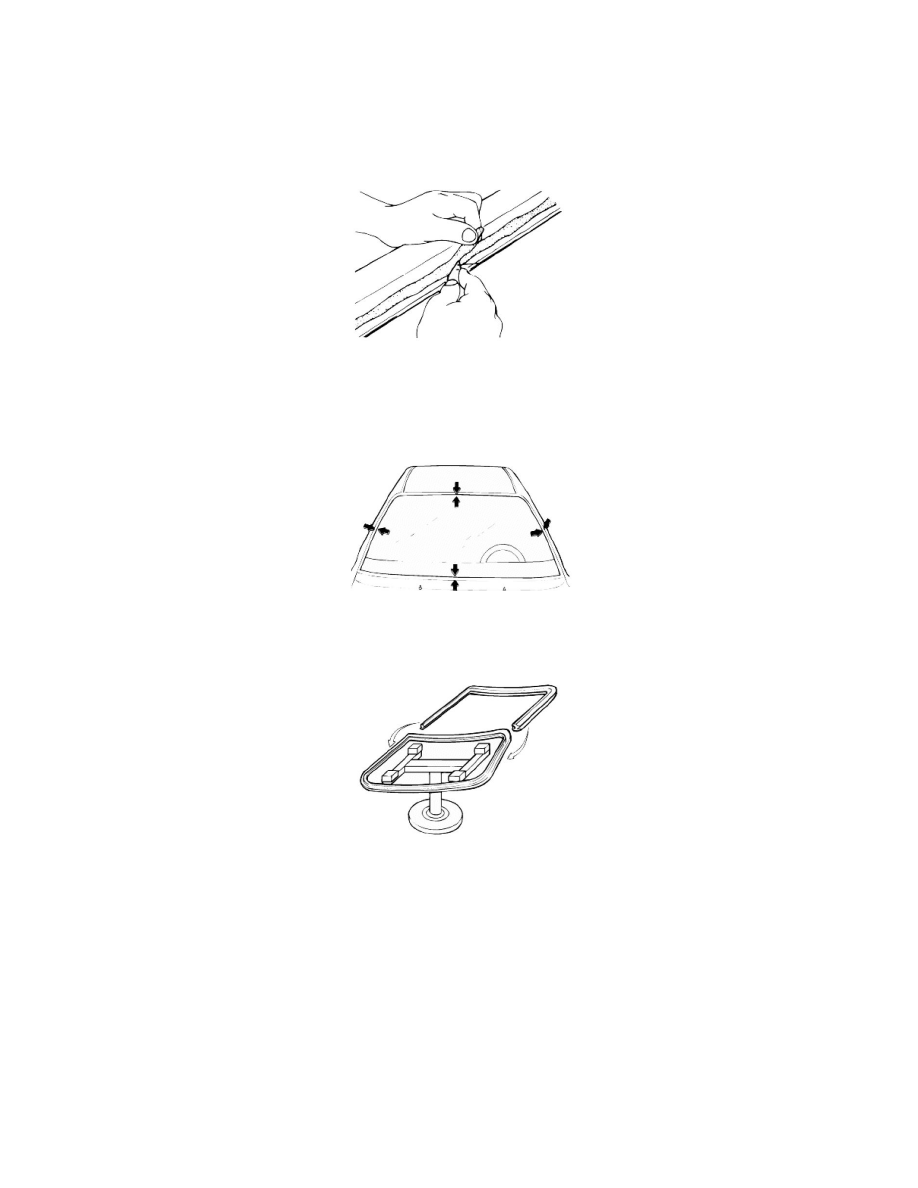
1. Using a cutter knife scrape the old sealant smoothly to a thickness of about 2 mm (0.08 in.) on the bonding surface around the entire windshield
flange.
CAUTION:
Be careful not to remove more adhesive than necessary, and also not to damage the paintwork on the body surface with the knife. If the paintwork
is damaged, repair the damaged area with touch-up paint.
2. Clean the body bonding surface with a sponge dampened in alcohol or wax and grease remover.
3. Center a new windshield glass in the opening. Mark the location by marking lines across the glass and body with a grease pencil at the four points
as shown.
4. Install the windshield glass molding without any gaps.
5. Apply a light coat of glass primer to the outside of the dam.
NOTE:
-
Never touch the surface applied primer with your hand.If you do, the adhesive may not bond to the glass properly, causing a leak after the
windshield glass is installed.
-
Do not apply body primer to the glass.
-
Keep water, dust, and abrasive materials away from the surface applied primer.