
Soul L4-2.0L (2010)
Crankshaft: Testing and Inspection
Inspection
Connecting Rod And Crankshaft
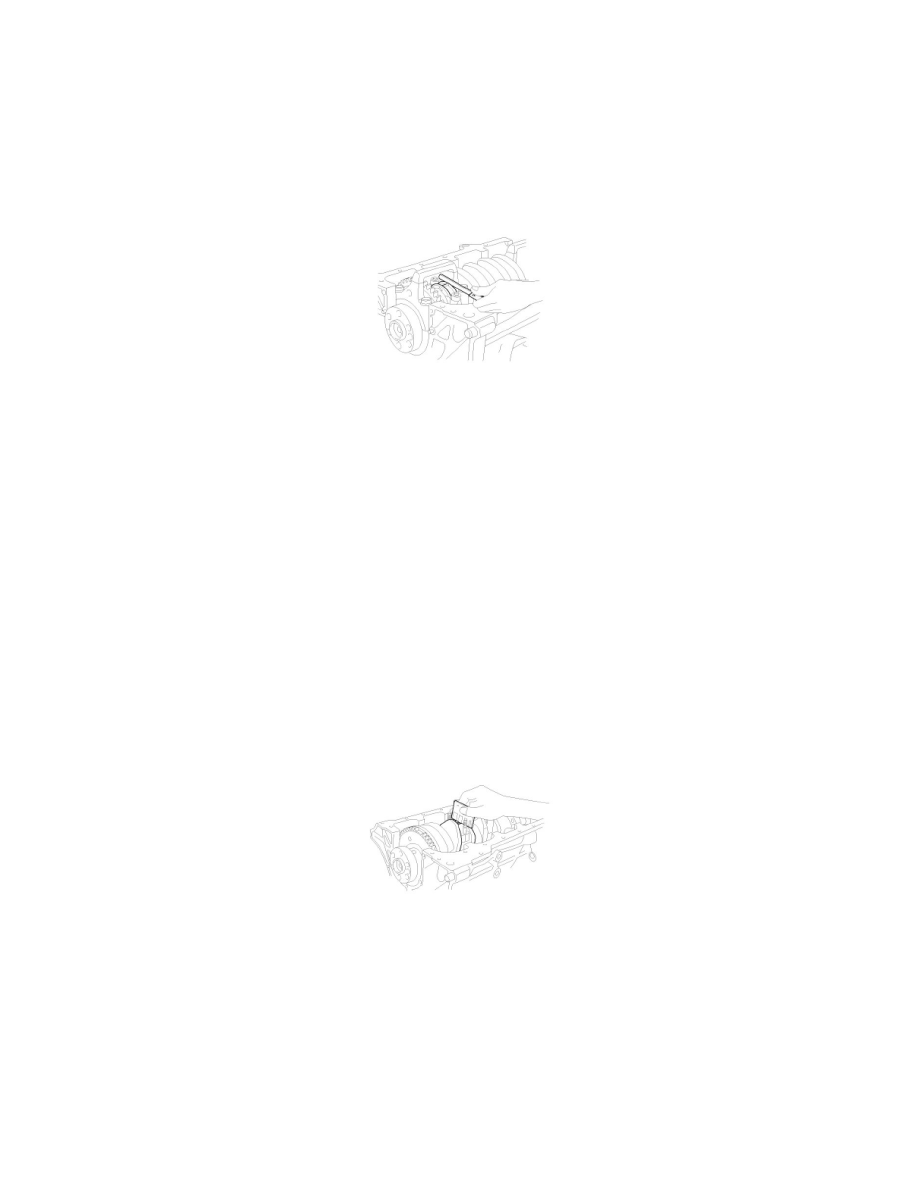
1. Check the connecting rod end play.
Using a feeler gauge, measure the end play while moving the connecting rod back and forth.
Standard end play :0.1 - 0.25mm(0.004 - 0.010in)
Maximum end play :0.4mm(0.016in)
A. If out-of-tolerance, install a new connecting rod.
B. If still out-of-tolerance, replace the crankshaft.
2. Check the connecting rod bearing oil clearance.
(1) Check the matchmarks on the connecting rod and cap are aligned to ensure correct reassembly.
(2) Remove the 2 connecting rod cap nuts.
(3) Remove the connecting rod cap and bearing half.
(4) Clean the crank pin and bearing.
(5) Place plasticgage across the crank pin.
(6) Reinstall the bearing half and cap, and torque the nuts.
Tightening torque
49.0 - 52.0 Nm (5.0 - 5.3kgf.m, 36.2 - 38.3lb-ft)
NOTE:
Do not turn the crankshaft.
(7) Remove the 2 nuts, connecting rod cap and bearing half.
(8) Measure the plasticgage at its widest point.
Standard oil clearance
0.024 - 0.042mm(0.0009 - 0.0017in)
(9) If the plasticgage measures too wide or too narrow, remove the upper half of the bearing, install a new, complete bearing with the same color
mark (select the color as shown in the next column), and recheck the clearance.
CAUTION:
Do not file, shim, or scrape the bearings or the caps to adjust clearance.
(10) If the plasticgage shows the clearance is still incorrect, try the next larger or smaller bearing (the color listed above or below that one), and
check clearance again.
NOTE:
If the proper clearance cannot be obtained by using the appropriate larger or smaller bearings, replace the crankshaft and start over.
CAUTION: