
Spectra5 L4-2.0L (2005)
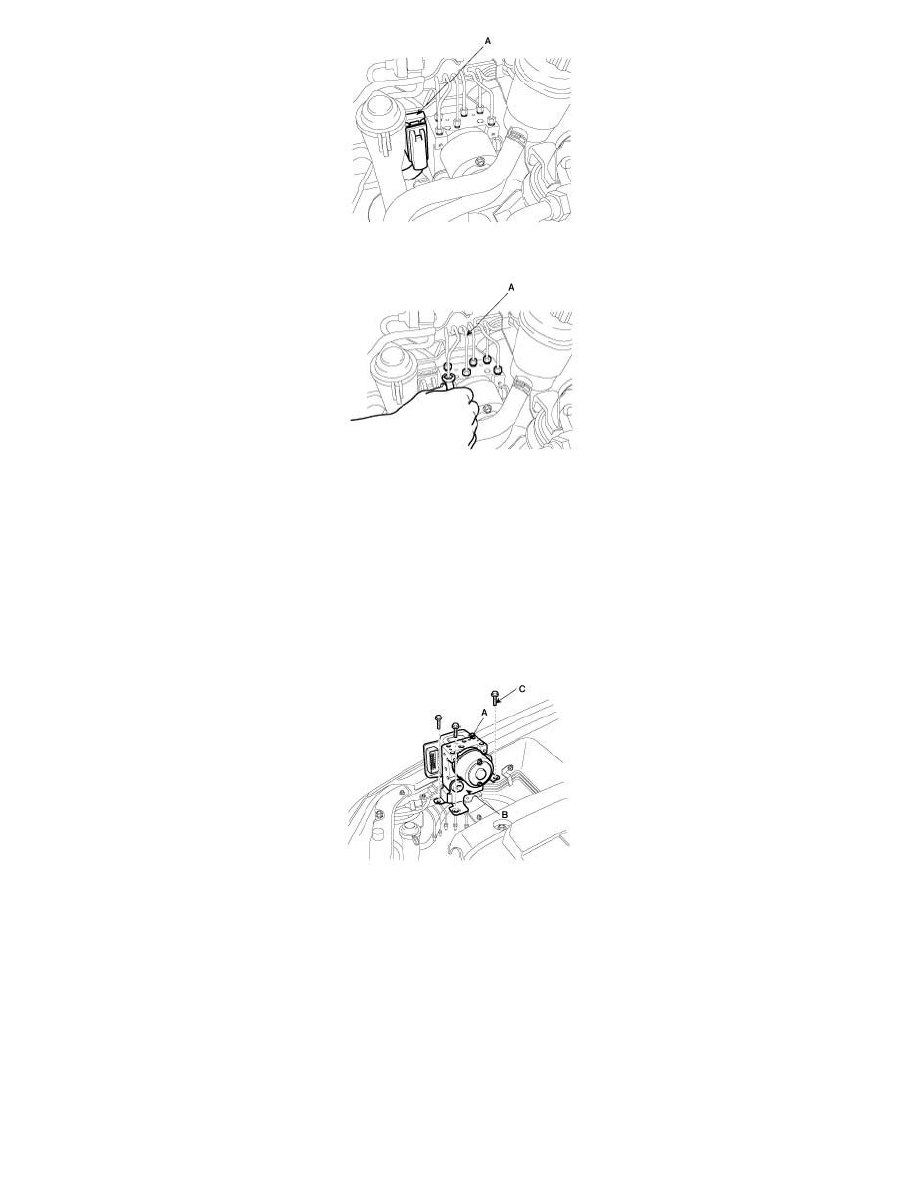
2. Disconnect the brake tubes (A) from the HECU.
NOTE:
1) Do not spill brake fluid on the vehicle; it may damage the paint; if brake fluid gets on the paint, wash it off immediately with water.
2) Take care not to damage or deform the brake lines during removal and installation.
3) To prevent the brake fluid from flowing, plug and cover the hose ends and joints with a shop towel or equivalent material.
3. Remove the HECU bracket mounting bolt and remove the HECU.
CAUTION:
1) Never attempt to disassemble the HECU.
2) The HECU must be transported and stored in an upright position and with the ports sealed. The HECU must not be drained.
INSTALLATION
1. Installation is the reverse of removal.
2. Tighten the HECU mounting bolts and brake tube nuts to the specified torque.
Tightening torque
HECU mounting bolt: 11 - 14 Nm (110 - 140 kg-cm, 7 - 10 ft. lbs.)
HECU bracket mounting bolt: 17 - 26 Nm (170 - 260 kg-cm, 12 - 19 ft. lbs.)
Brake tube nut: 13 - 17 Nm (130 - 170 kg-cm, 9 - 12 ft. lbs.)