
Spectra5 L4-2.0L (2005)
2. Install the dust cover and rubber bump at the strut.
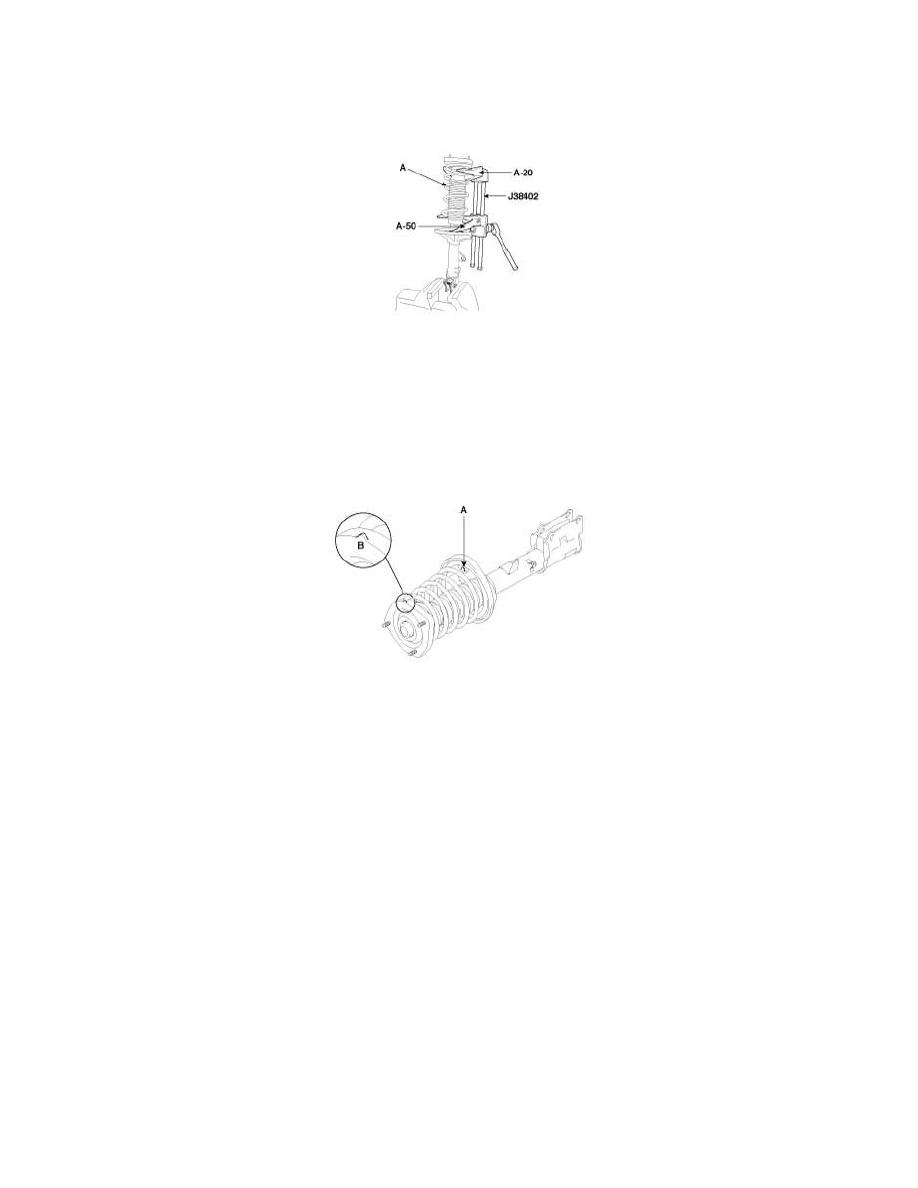
3. Using the Special Tools (J38402, A-20 and A-50), compress the coil spring (A).
CAUTION: Do not use an impact gun.
4. After extending the piston rod fully, install the compressed coil spring.
5. After seating the upper and lower ends of the coil spring in the upper and lower spring seat grooves correctly, tighten the new self-locking nut
temporarily.
CAUTION: Replace the self-locking nut with new ones after removal.
6. After aligning the hole (A) of the lower spring seat with projection part (B) of the rear insulator, assemble them.
NOTE: The spring identification color mark should face down.
7. Remove the Special tool (J38402, A-20 and A-50).
8. Tighten the self-locking nut to the specified torque.
Tightening torque 40 - 55 Nm (400 - 550 kgf.cm, 29.6 - 40.7 lbf.ft)