
Sportage 2WD 4Dr L4-2.0L (2000)
15. Lift the wire harness out from under the right and left shroud panels.
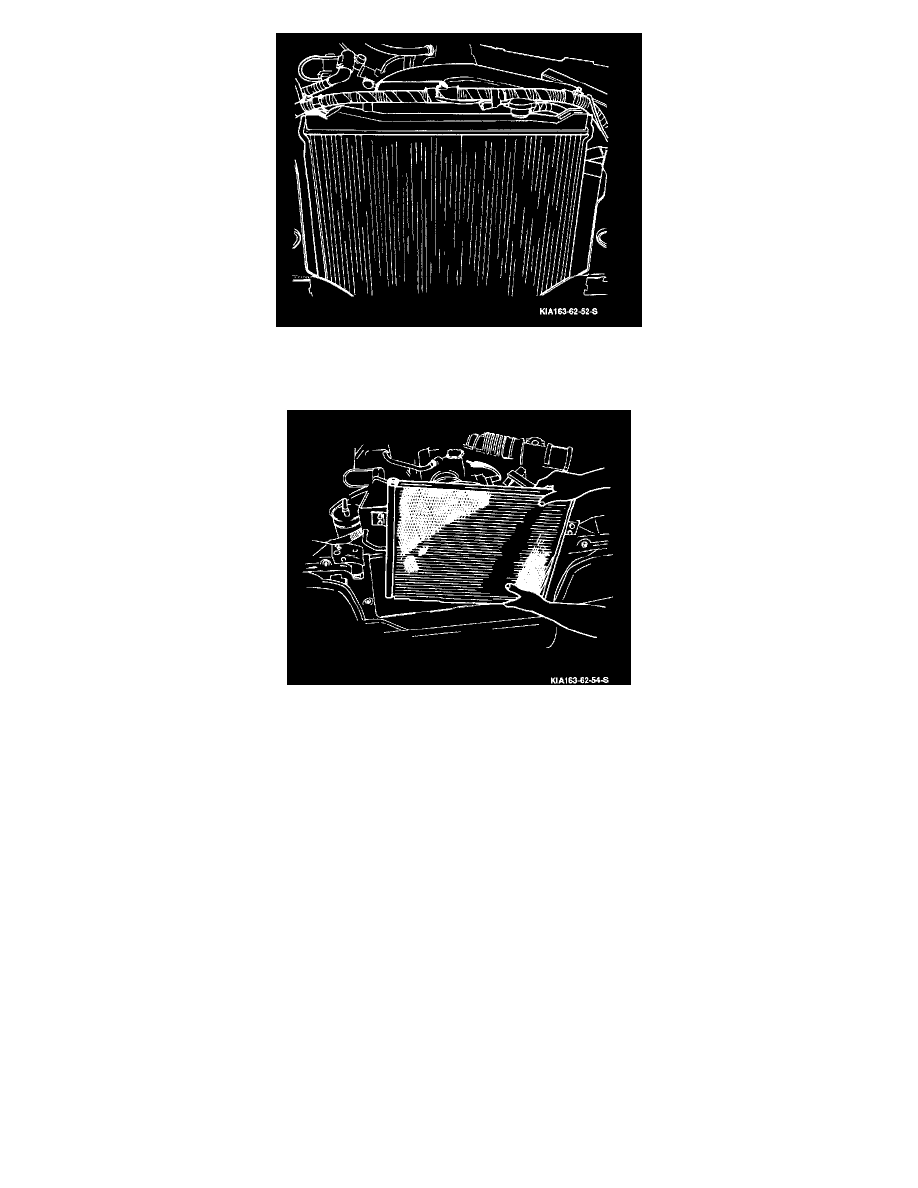
16. Place a piece of cardboard between the radiator and the condenser.
17. Remove the nuts retaining the condenser.
18. Remove the condenser by pulling upward; lifting the radiator off the mounting studs and pulling the condenser forward and out of the vehicle.
Installation
1. Gently place the condenser into position on the mounting studs, in front of the radiator.
2. Place the radiator on the mounting studs.
3. Install the condenser retaining nuts.
Tighten nuts to 80 lb-in (9 N.m).
4. Remove the cardboard.
5. Insert the wire harness under the right and left shroud panels.
6. Place the wire harness in position and connect the wire harness clips.
7. Install the upper shroud panel and hood support rod.
8. Support the hood with the hood support rod and remove the hood prop rod tool.
9. Install the center stay and the four mounting bolts.
Tighten bolts to 80 lb-in (9 N.m).
10. Install the condenser fan assembly and the three condenser fan assembly bolts.
Tighten bolts to 80 lb-in (9 N.m).
11. Connect the condenser fan connector.
12. Carefully snap the radiator grille into place in front of the condenser fan assembly.
13. Install the one screw retaining the radiator grille to the hood stay.
14. Install the three plastic retainers attaching the trim panel to the upper shroud panel.
15. Connect the refrigerant hoses to the condenser.
Tighten lower refrigerant hose nuts to 10 lb-ft(13 N.m).