
Sportage 2WD 4Dr L4-2.0L (2000)
Fuel Tank Unit: Service and Repair
Removal
WARNING: FUEL IS EXPLOSIVE. WHEN WORKING ON FUEL SYSTEM PARTS, MAKE SURE TO SUPPLY ADEQUATE
VENTILATION TO THE WORK AREA. DO NOT SMOKE, AND KEEP SPARKS AND OPEN FLAMES AWAY.
1. Disconnect the negative terminal from the battery.
2. Open the rear access door of the vehicle.
3. Release the catch for the back seat and tilt it out of the way.
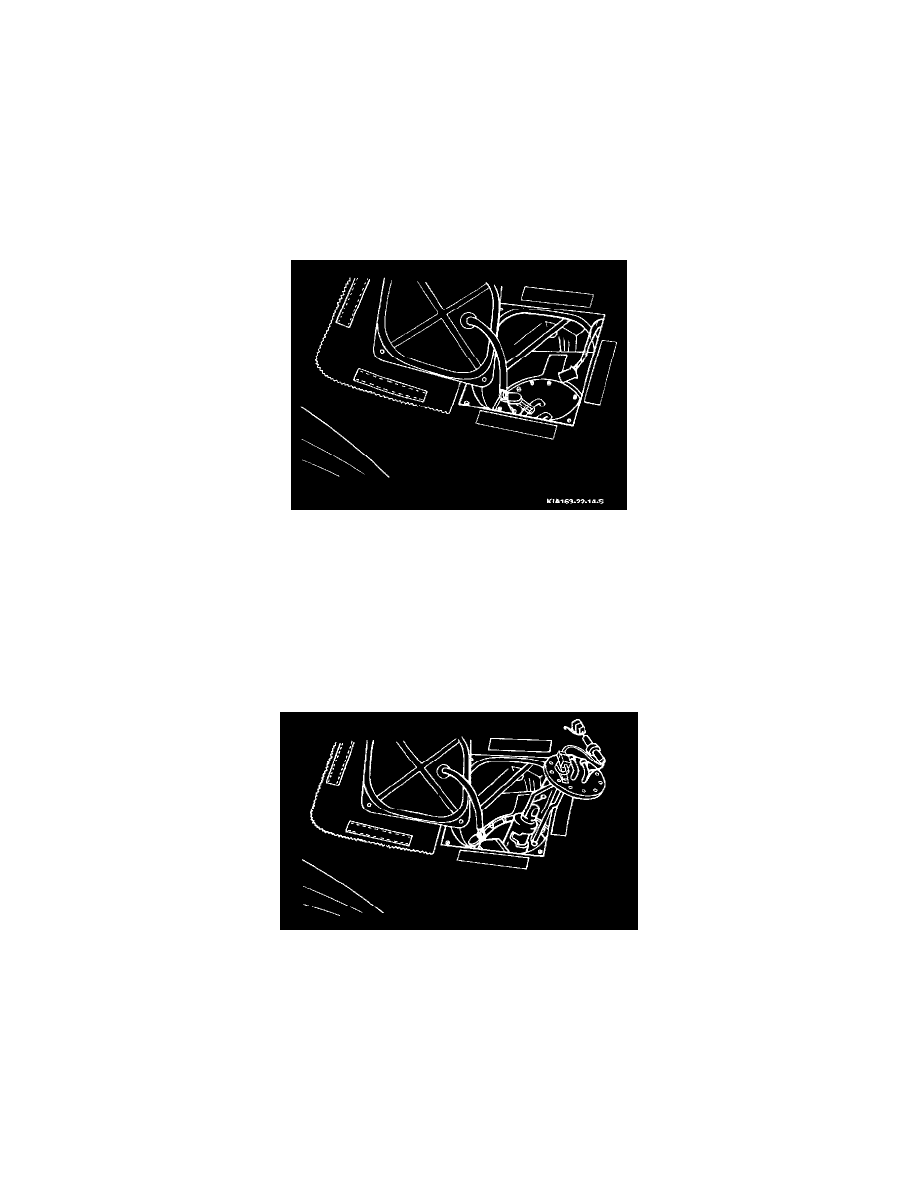
4. Pull back the square of carpet in the area behind the tilted seat which covers the fuel pump assembly access panel on the vehicle floor.
5. Disconnect the two halves of the fuel pump assembly electrical connector.
6. Remove the screw holding the ground wire lug to ground.
7. Remove the four screws attaching the access cover and remove the access cover, moving it out of the way.
8. Remove the two fuel hose clamps from the two fuel hoses connected to the fuel pump assembly.
9. Disconnect the two fuel hoses from the fuel pump assembly.
NOTE: Do not force fuel pump assembly parts. The fuel screen is delicate and can be damaged by improper removal from the fuel tank.
10. Disconnect fuel tank pressure sensor electrical connector.
11. Remove eight retaining screws around the top surface of the fuel pump assembly.
12. While twisting very carefully and tilting the fuel pump assembly, pull gradually on the fuel pump assembly until it comes out of the top of the fuel
tank assembly.
13. When the fuel pump assembly is completely taken out of the access area, wrap it in a shop towel carefully until it reaches the maintenance area.
14. Seal off the open fuel tank port with a cover or plug.