
Sportage 2WD 4Dr L4-2.0L (2000)
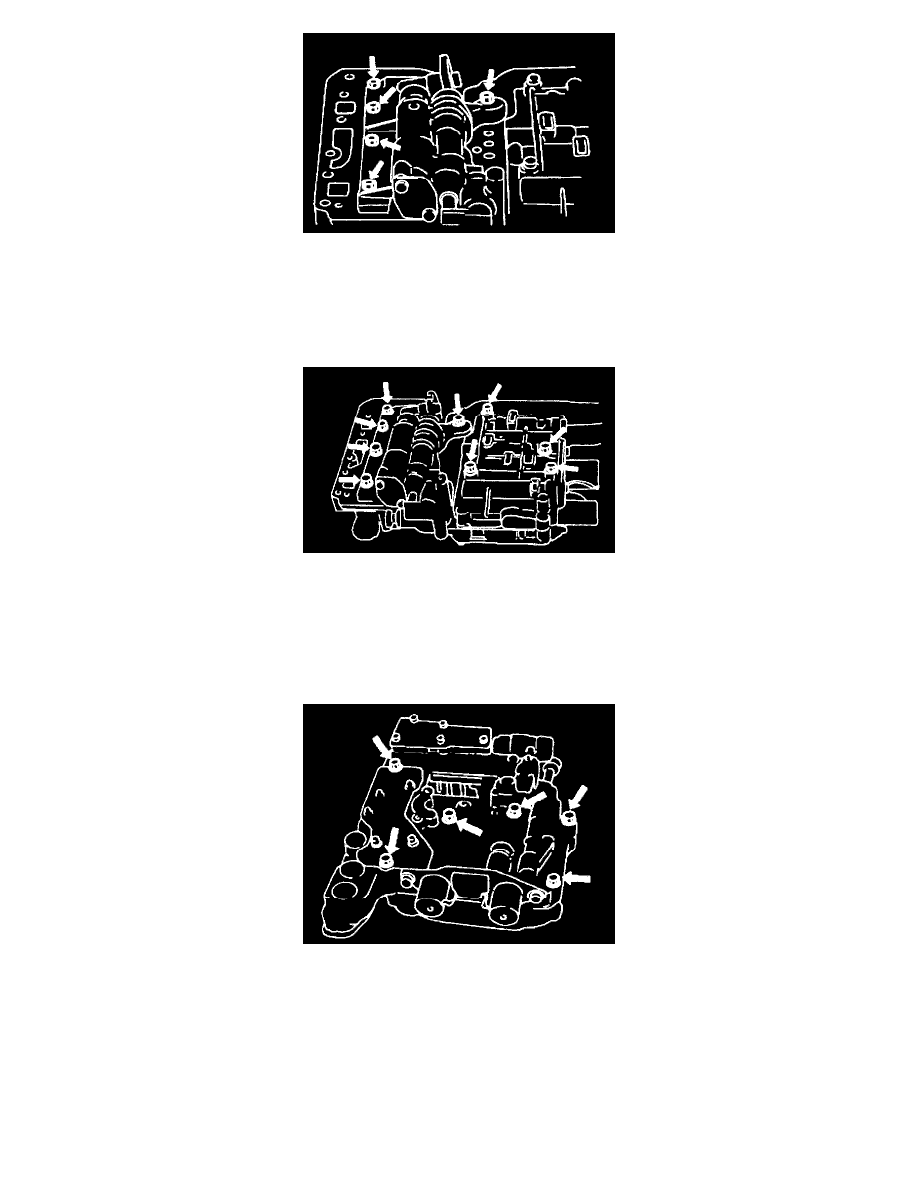
9. Turn the lower control valve body over and temporarily tighten the five bolts indicated.
NOTICE:
-
Tighten the bolts enough to insure that none of these components will shift when the assembly is moved.
-
Do not over tighten the bolts. The bolts will be torqued to specification at the appropriate time.
-
Be careful not to damage the gasket
10. Tighten the bolts on the upper valve body side to specified torque.
Tightening torque: 44 - 51 inch lbs. (5 - 6 Nm)
NOTICE:
-
Tighten bolts in even increments and repeat several times until the specified torque is attained.
-
Work from center of valve body to outside.
11. Tighten the bolts on the lower valve body side to specified torque.
Tightening torque: 44 - 51 inch lbs. (5 - 6 Nm)
NOTICE:
-
Tighten bolts in even increments and repeat several times until the specified torque is attained.
-
Work from center of valve body to outside.
12. Install the manual valve.