
Sportage 4WD L4-2.0L SOHC (1995)
Air Flow Meter/Sensor: Testing and Inspection
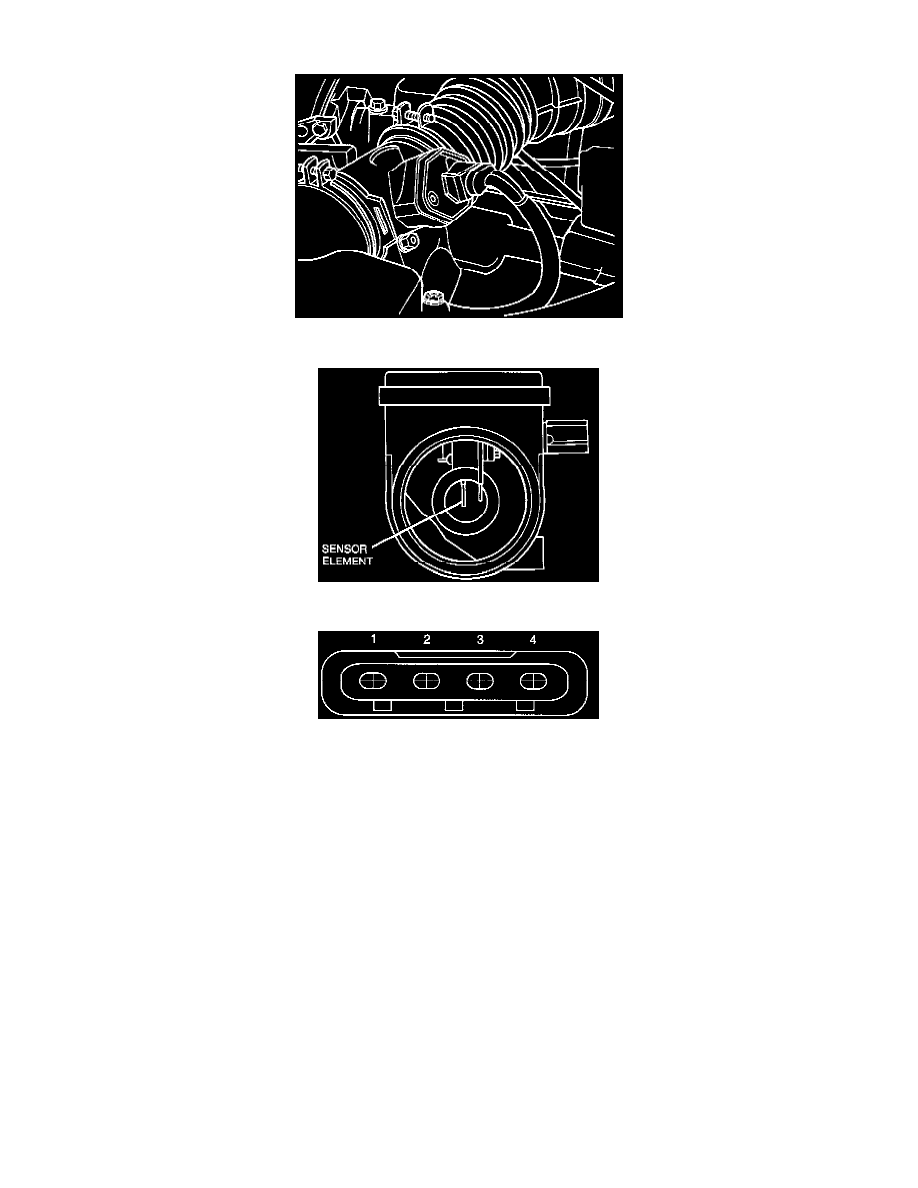
Description
Sensor
Connector
CAUTION: Do not drop or subject the sensor to shock. Do not put objects inside the sensor.
INSPECTION
1. Disconnect the air flow meter sensor connector.
2. Loosen air intake hose retaining clamps on both sides of the air flow meter.
3. Disconnect the air intake hose from the air flow meter sensor.
4. Remove the two bolts attaching the air flow meter to the mounting bracket.
5. Remove the sensor.
6. Check sensor for damage, replace if necessary.
7. Attach sensor to air intake hose and to the mounting bracket.
8. Replace the two bolts to retain the air flow meter sensor to the mounting bracket.
Tighten bolts to 69 - 96.3 lb in (7.8 - 10.8 Nm)
9. Reconnect the air intake hose to the air flow meter sensor.
10. Tighten the bolts of the retaining clamps on both sides of the sensor.
11. Reconnect the air flow meter sensor connector to the sensor.
12. Warm up the engine to normal operating temperature and let it idle.
13. Connect a voltmeter between terminal 4 (RED/GRN wire) and ground.
14. Verify that the voltage varies between 0.8V - 1.2V.
15. Rev up the engine and verify that voltage varies between 3.5V - 4.0V.
16. If the voltage is not within tolerance, replace the sensor.