
Sportage 4WD 2Dr L4-2.0L (2002)
Trailing Arm: Service and Repair
Rear Lower Arm Assembly
Removal
1. Raise the rear of the vehicle and support it with safety stands.
2. Remove the rear wheels.
3. Raise the rear axle housing to facilitate removal of the lower arm assembly.
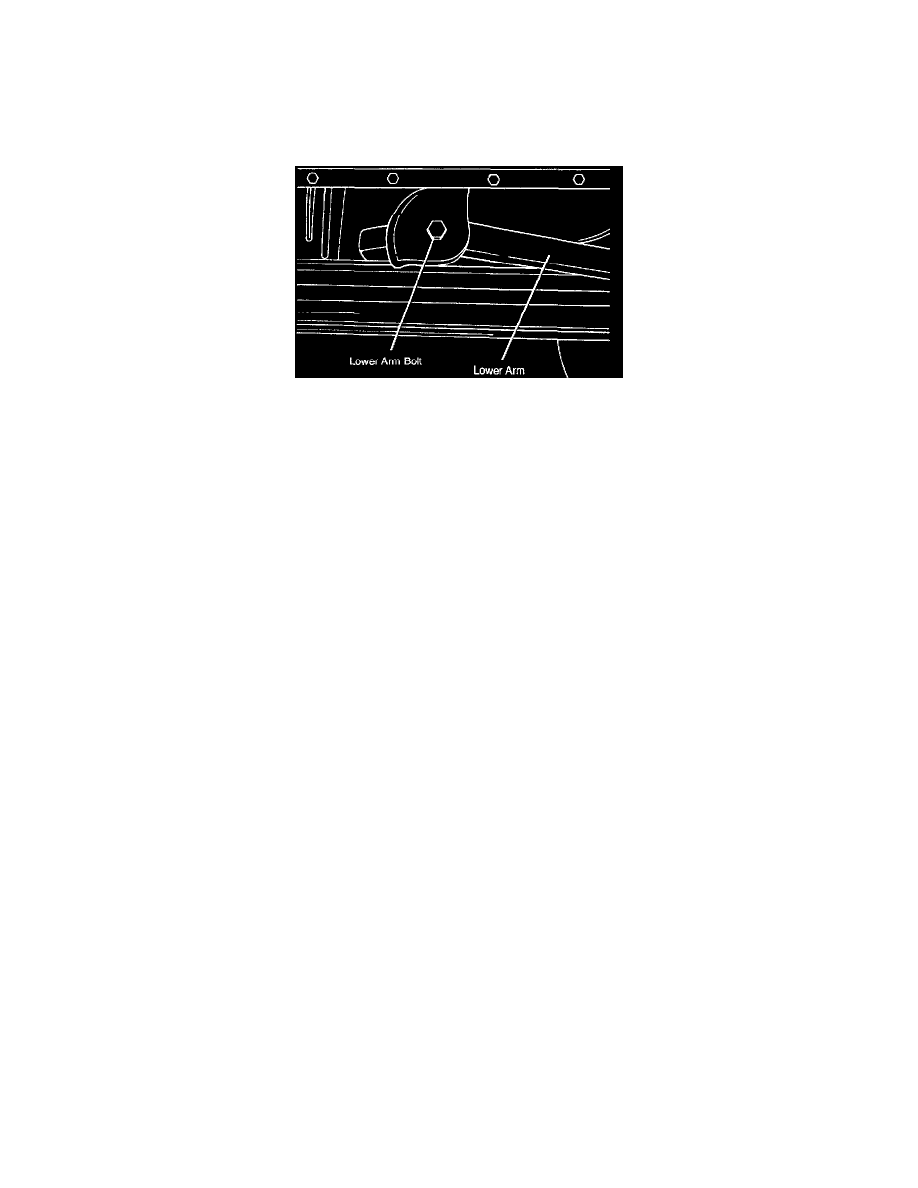
4. Loosen the lower arm bolts and remove the lower arm.
Inspection
1. Inspect the lower arm for bends, cracks and/or other damage.
2. Inspect the lower arm bushings for wear and/or deterioration.
3. Replace if damaged, deformed or cracked; replace bushings if worn or deteriorated. Refer to Bushing Replacement in the following procedure.
Bushing Replacement
1. Press out the bushing using a standard bearing press.
2. Apply lubricant to the bushing and press into place using a standard bearing press.
Installation
1. Install the lower arm and the bolts.
Tighten the bolts to 62 ft. lbs. (84 Nm).
2. Lower the rear axle housing.
3. Replace the wheels and install the lug bolts.
Tighten the bolts to 74 ft. lbs. (100 Nm).
4. Remove the safety stands and lower the vehicle.