
Sportage EX 2WD L4-2.0L (1997)
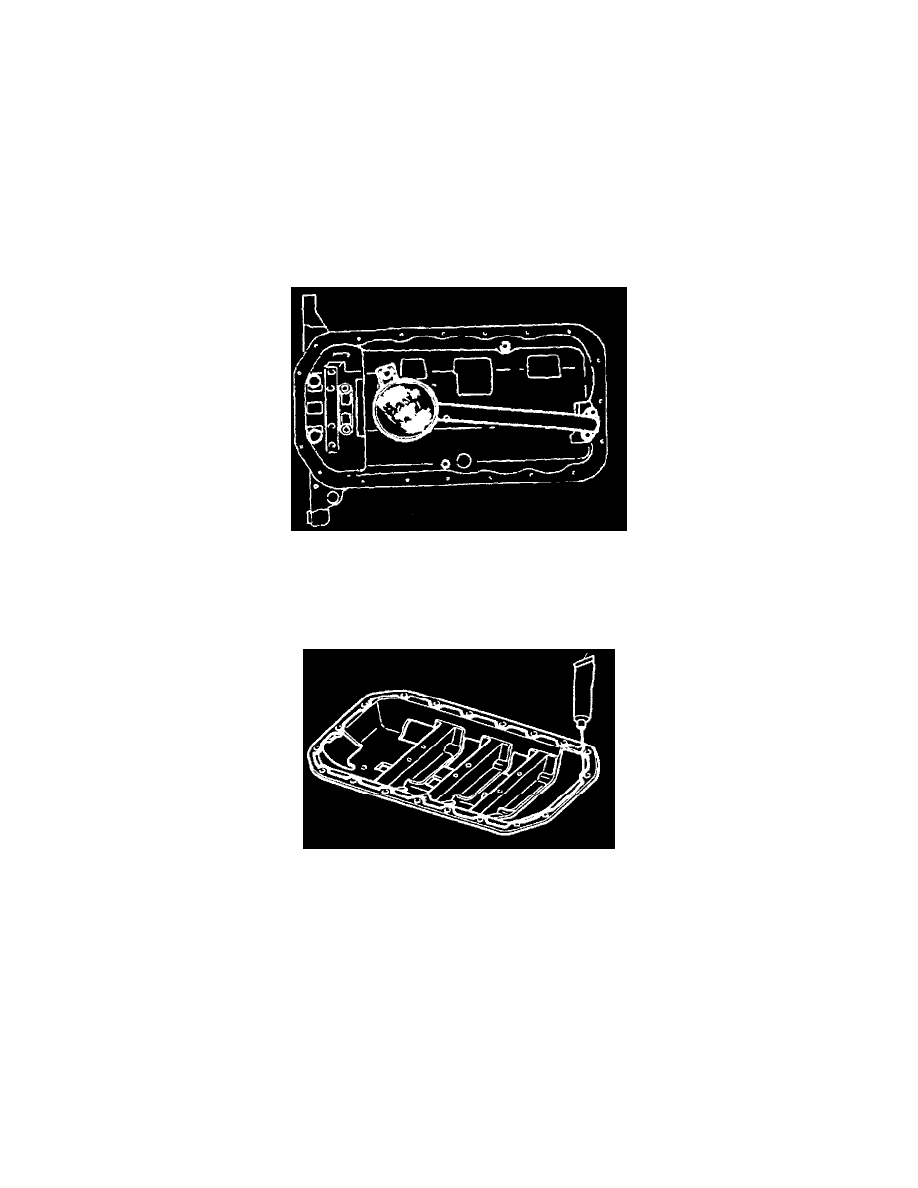
13. Remove the oil pan.
14. Remove four bolts for oil strainer assembly.
15. Remove the oil strainer assembly>
NOTE: Do not bend the oil baffle or damage the oil pickup tube when prying loose.
16. Remove one baffle bolt and remove the baffle with a suitable tool.
17. Remove the old sealant from the oil baffle.
18. Remove the oil baffle.
19. Remove the old sealant on the oil pan.
20. Thoroughly remove all dirt, oil, and other material from the contact surfaces of the oil pan and the baffle.
INSPECTION
1. Inspect the oil pan for cracks, deformation, or damaged drain plug threads. Repair or replace if necessary.
2. Inspect threads on the drain plug. Replace drain plug if necessary.
3. Inspect the oil baffle and the oil strainer for clogging or damage. Clean or replace if necessary.
INSTALLATION
1. Apply a continuous bead of silicone sealant (Loctite Ultra Blue 587 or equivalent) to the oil baffle along: die inside of the bolt holes, and overlap
the ends.
NOTE: The oil pan projection and recession from the end of the engine block must not be more than 0.06 inch (1.5 mm).
2. Install oil baffle.
3. Install one oil baffle mounting bolt. Tighten the mounting bolt to 84 inch lbs. (9.5 Nm).
4. Install oil strainer assembly. Install four mounting bolts on the oil strainer assembly.
5. Tighten the mounting bolts to 84 inch lbs. (9.S Nm).