
Sportage EX 2WD L4-2.0L (1997)
INSPECTION/REBUILD
Inspect the following points and replace defective component parts as necessary.
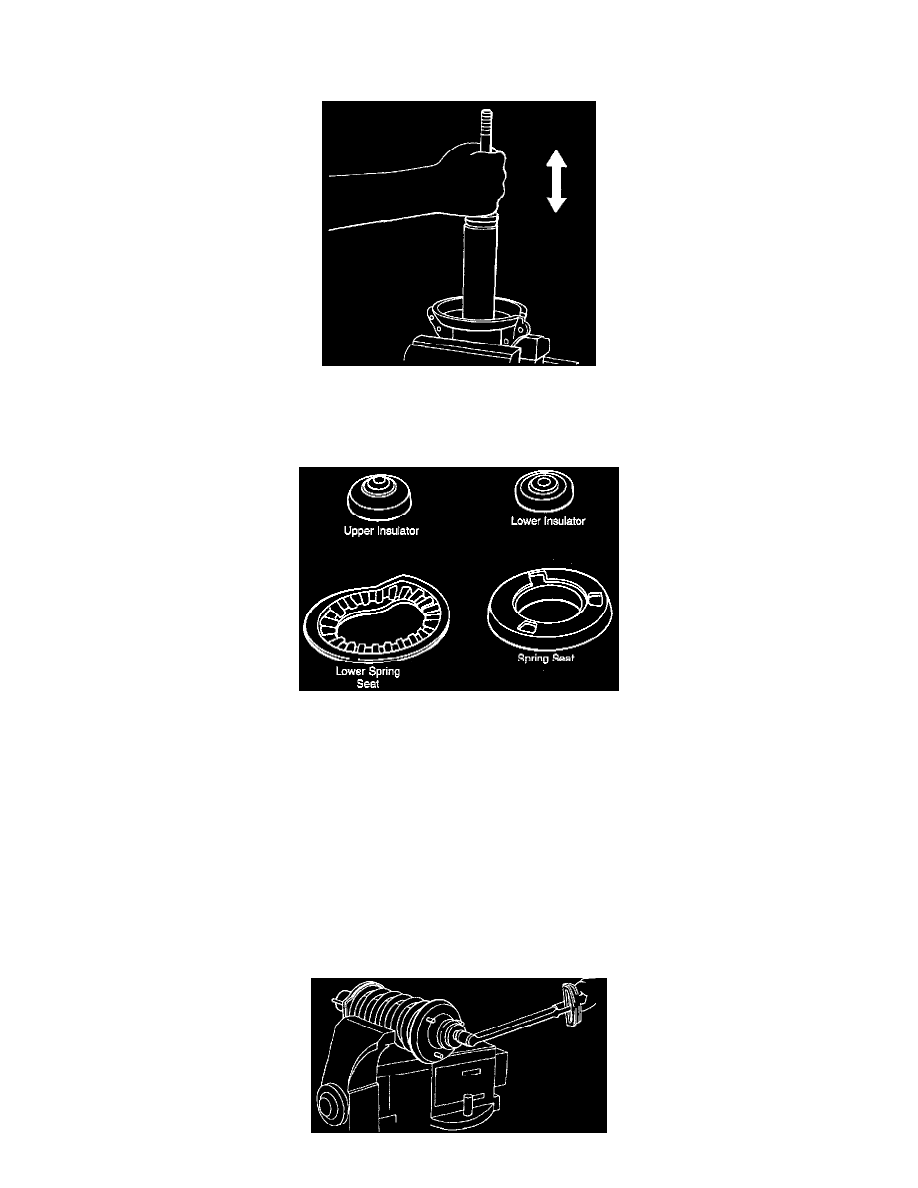
1. Secure a handle to the shock absorber piston rod and compress and lift the rod three times with a constant speed. Inspect for uniform working
force and abnormal noise.
2. Inspect the entire shock for signs of oil leakage; replace if required.
3. Inspect the coil spring for stress cracks and/or other damage.
4. Inspect for damage or deterioration of the upper and lower shock absorber insulators.
5. Inspect for damage or tearing of the coil spring seat and lower spring seat.
6. Replace if damaged, deformed or cracked; replace bushings if worn or deteriorated.
ASSEMBLY
1. Secure the bottom portion of the shock absorber in a vise and compress the coil spring with a standard coil spring compressor.
NOTICE: Use copperplate in the jaws of the vice to protect the shock absorber bottom bracket.
2. Set the end of the coil spring to the lower spring seat and install the coil spring.
3. Assemble the dust boot and lower retainer, lower insulator, spring seat, boss, centering washer, upper insulator and upper retainer.
Inspect the installation of the coil spring on the spring; seat to the lower spring seat. Also, proper alignment of the spring seat and the lower
mounting portion of the shock absorber is necessary for proper installation into the vehicle.
4. Loosely tighten the piston rod nut.
5. Carefully loosen the coil spring compressor and remove it.