Freelander Service Procedures

GENERAL INFORMATION
03-9
Oil seals
General
Always renew oil seals which have been removed
from their working location (whether as an individual
component or as part of an assembly). NEVER use
a seal which has been improperly stored or handled,
such as hung on a hook or nail.
l
Carefully examine seal before fitting to ensure
that it is clean and undamaged.
l
Ensure the surface on which the new seal is to
run is free of burrs or scratches. Renew the
component if the original sealing surface cannot
be completely restored.
l
Protect the seal from any surface which it has to
pass when being fitted. Use a protective sleeve
or tape to cover the relevant surface.
l
Certain oil seals are coated with a protective
wax and must be fitted dry unless stated
otherwise. Where an oil seal needs to be
lubricated prior to fitment, lubricate the sealing
lips with a recommended lubricant before use to
prevent damage during initial use. On dual
lipped seals, smear the area between the lips
with grease.
l
If a seal spring is provided, ensure that it is fitted
correctly.
l
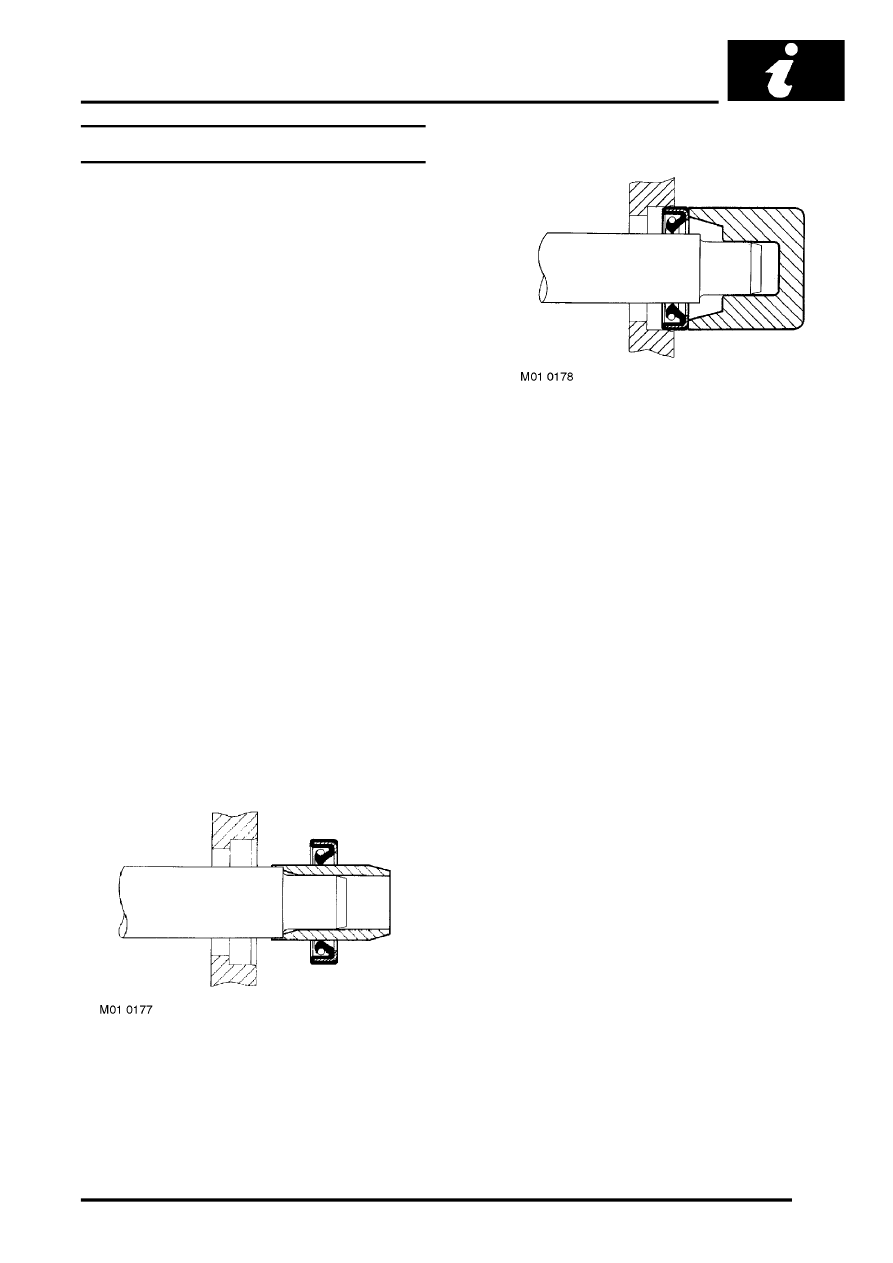
Place lip of seal towards fluid to be sealed and
slide into position on shaft. Use fitting sleeve
where possible to protect sealing lip from
damage by sharp corners, threads or splines. If
a fitting sleeve is not available, use plastic tube
or tape to prevent damage to the sealing lip.
l
Grease outside diameter of seal, place square
to housing recess and press into position using
great care, and if possible a 'bell piece' to
ensure that seal is not tilted. Never let weight of
unsupported shaft rest in seal.
l
Use the recommended service tool to fit an oil
seal. If the correct service tool is not available,
use a suitable tube approximately 0.4 mm
(0.015 in.) smaller than the outside diameter of
the seal. Use a hammer VERY GENTLY on
drift if a suitable press is not available.
l
Press or drift the seal in to the depth of its
housing with the sealing lip facing the lubricant
to be retained if the housing is shouldered, or
flush with the face of the housing where no
shoulder is provided. Ensure that the seal does
not enter the housing in a tilted position.
