
Freelander Service Procedures
MANIFOLDS & EXHAUST SYSTEMS - K SERIES KV6
30-3-2
REPAIRS
11. Remove 3 nuts securing front pipe to
intermediate pipe.
12. Release intermediate pipe from front pipe.
13. Remove gasket.
14. Remove exhaust front pipe.
15. Remove HO2S.
Refit
1. Clean HO2S and mating face.
2. If refitting existing HO2S, apply anti-seize
compound to HO2S threads.
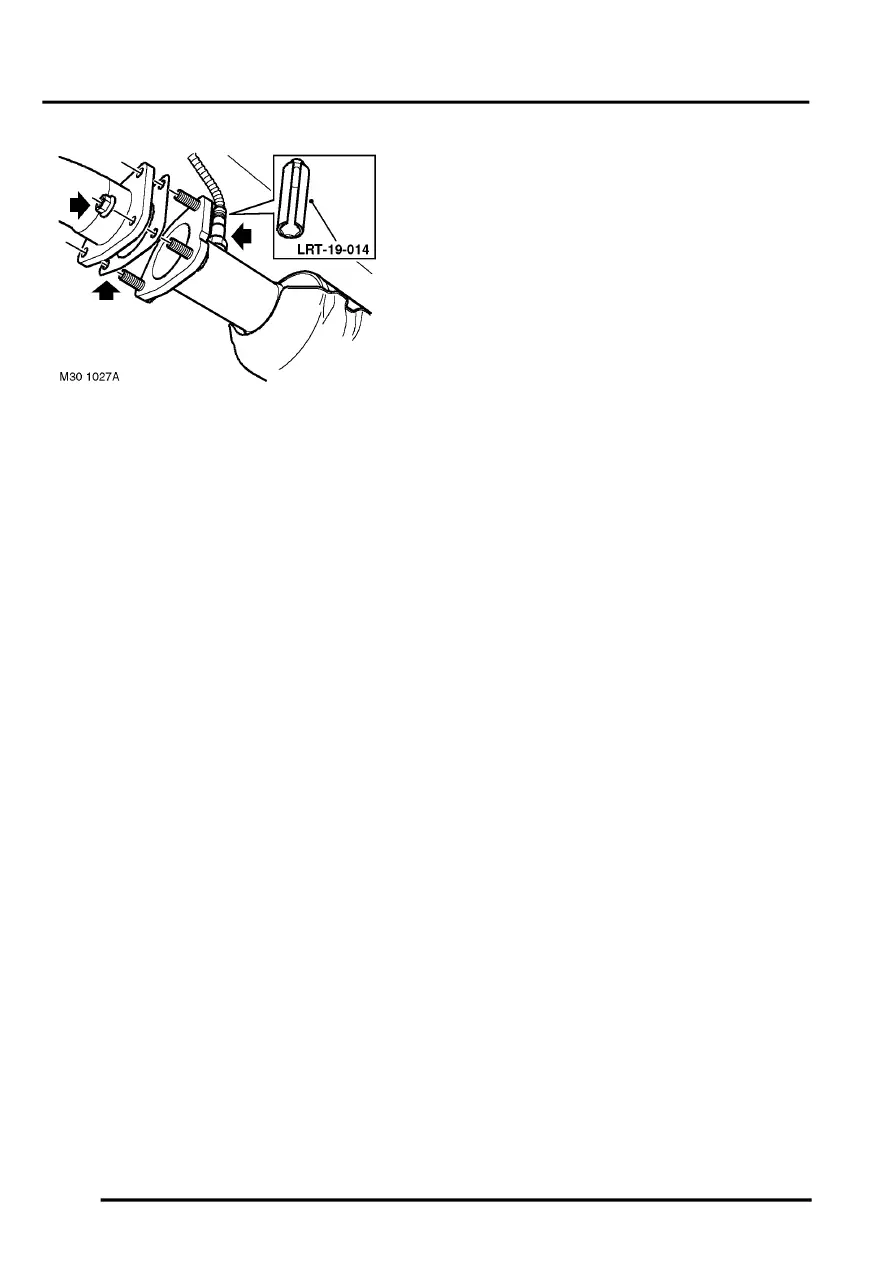
3. Fit HO2S and tighten to 55 Nm (41 lbf.ft)using
tool LRT-19-014.
4. Clean exhaust pipe and manifold flanges.
5. Fit exhaust front pipe.
6. Using new gasket, connect intermediate pipe to
front pipe, fit nuts and tighten to 50 Nm (37
lbf.ft).
7. Position LH exhaust manifold flange to front
pipe, fit and tighten nuts to 50 Nm (37 lbf.ft).
8. Position RH exhaust manifold flange to front
pipe, fit and tighten nuts to 50 Nm (37 lbf.ft).
9. Fit exhaust heatshield and fit nuts finger tight.
10. Tighten nut securing exhaust heatshield to
exhaust mounting bracket to 45 Nm (33 lbf.ft).
11. Tighten nuts securing exhaust heatshield to
pinion housing to 25 Nm (18 lbf.ft).
12. Feed HO2S harness through grommet aperture
and secure grommet.
13. Fit underbelly panel.
14. Connect HO2S multiplug.
15. Fit trim panel and gaiter to centre console and
secure clips.
16. Fit gear selector knob.