
L322 Range Rover Service Procedures
AIR CONDITIONING
REPAIRS
82-23
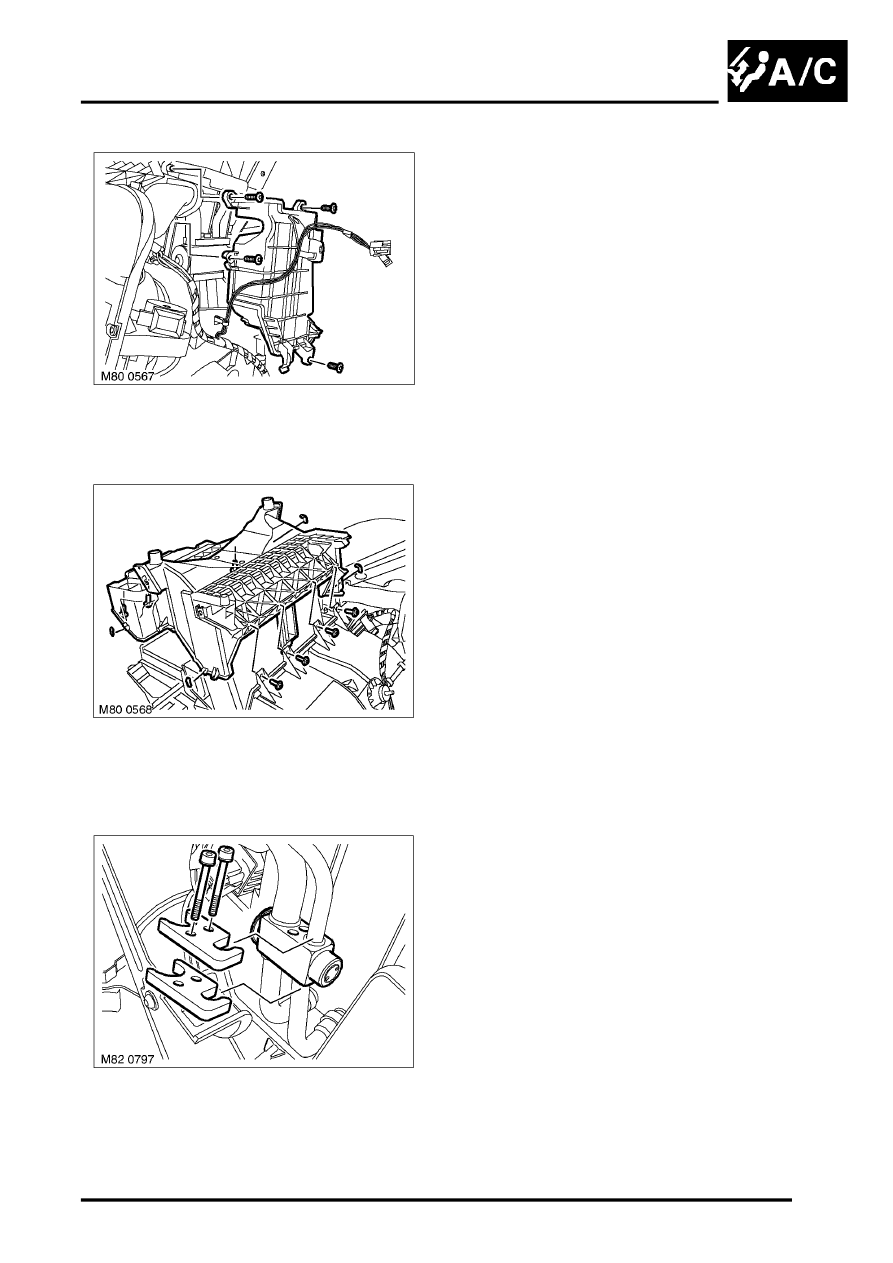
7. Remove 4 Torx screws securing TXV cover
and position aside.
8. Remove 7 Torx screws and 3 spring clips from
lower HEVAC access panel.
9. Release 2 clips and remove access panel.
10. Remove 2 Allen bolts securing A/C pipes to
TXV, remove clamps, release pipes and
discard 'O' rings.
11. Remove TXV.
12. Remove evaporator assembly.
Refit
1. Clean mating faces and seal recesses on
evaporator, TXV and A/C pipes.
2. Lubricate new 'O' rings with clean refrigerant oil
and fit to A/C pipes.
3. Fit evaporator assembly.
4. Position TXV to A/C pipes, fit clamps, fit bolts
and tighten to 6 Nm (4.4 lbf.ft).
5. Fit and secure access panel.
6. Fit and secure TXV cover.
7. Fit motor to heating assembly and connect
multiplug.
8. Carefully fit sensor and secure grommet.
9. Connect multiplug to sensor and secure
harness.
10. Position RH heating duct elbow to HEVAC
assembly, secure with clip and screws.
11. Position LH heating duct elbow to HEVAC
assembly and secure with screws.
12. Fit HEVAC assembly to fascia.