
L322 Range Rover Service Procedures
INTERIOR FITTINGS
REPAIRS 76-3-35
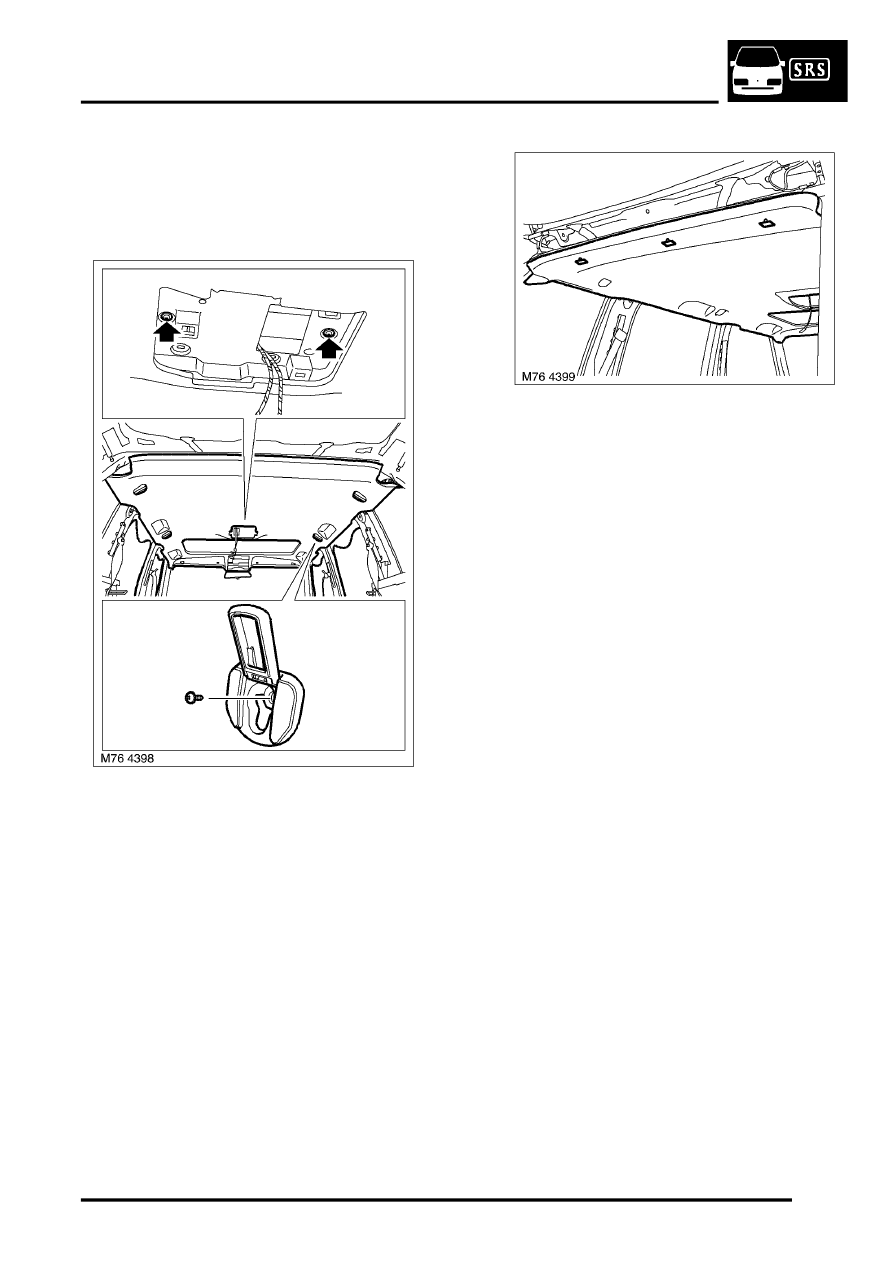
11. Remove rear console from headlining.
12. Remove grab handles.
13. Open flap, remove 4 screws securing cargo net
upper anchor finishers and remove finishers.
14. Remove seals from door aperture flanges to
release headlining.
15. Remove 2 screws securing headlining.
16. Models fitted with sunshine roof: Remove 4
screws securing headlining.
17. Carefully release 3 clips securing rear edge of
headlining.
18. With assistance, carefully lower and remove
headlining from rear of vehicle.
Refit
1. Fit headlining and secure with screws.
2. Secure clips at headlining rear edge.
3. Fit luggage net anchor finishers and secure
with screws.
4. Fit aperture seals.
5. Fit grab handles.
6. Fit rear console.
7. Fit front console.
8. Fit sun visors.
INTERIOR FITTINGS, REPAIRS, Sun
9. Models fitted with sunshine roof: Fit and
align clamping plate and tighten screws
securing headlining to sunshine roof to 2.5 Nm
(1.9 lbf.ft).
10. Fit 'E' post finishers.
11. Fit 'D' post upper finishers.