
L322 Range Rover Service Procedures
INTERIOR FITTINGS
REPAIRS
76-3-9
Finisher - console
$% 76.25.07
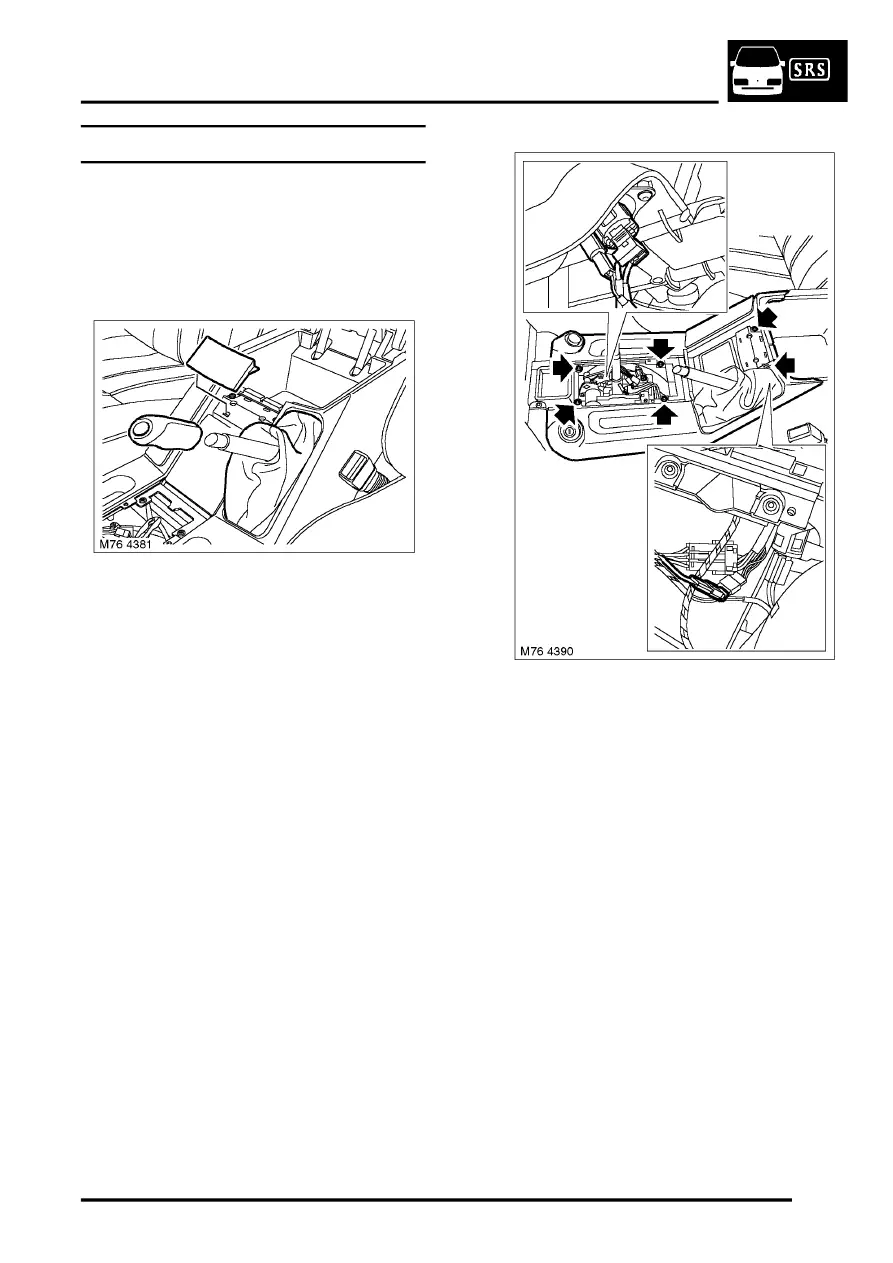
Remove
1. Remove gear selector cover.
Cover - automatic transmission selector.
2. Release gaiter from handbrake lever grip.
3. Release and remove handbrake lever grip.
4. Open cubby box lids, carefully release clips and
remove finisher.
5. Remove 6 Torx screws securing finisher to
centre console, fully apply handbrake.
6. Release finisher from clips, raise and
disconnect 3 Lucar connectors from accessory
power socket.
7. Disconnect multiplug from closing panel lamp
assembly.
8. Remove centre console finisher.
NOTE: Do not carry out further dismantling if
component is removed for access only.
9. Remove 2 Torx screws securing accessory
socket and remove socket.
10. Remove 4 Torx screws securing cubby box and
remove box.
11. Remove 3 Torx screws securing cup holder
and remove cup holder.
12. Remove handbrake lever gaiter
Refit
1. Fit cup holder and secure with Torx screws.
2. Fit cubby box and secure with Torx screws.
3. Fit accessory socket and secure with Torx
screws.
4. Fit handbrake lever gaiter.