
LR3/Disco 3
Brake System Bleeding (70.25.02)
NOTE:
NOTE:
1.
Raise and support the vehicle.
2. Check that all the brake line connections are tight and that there are no signs of leaks. If any leak of brake fluid is
observed, investigate and rectify the cause of the leak before bleeding the brakes.
Specifications
3. Pump the brake pedal until the brake vacuum assistance is exhausted.
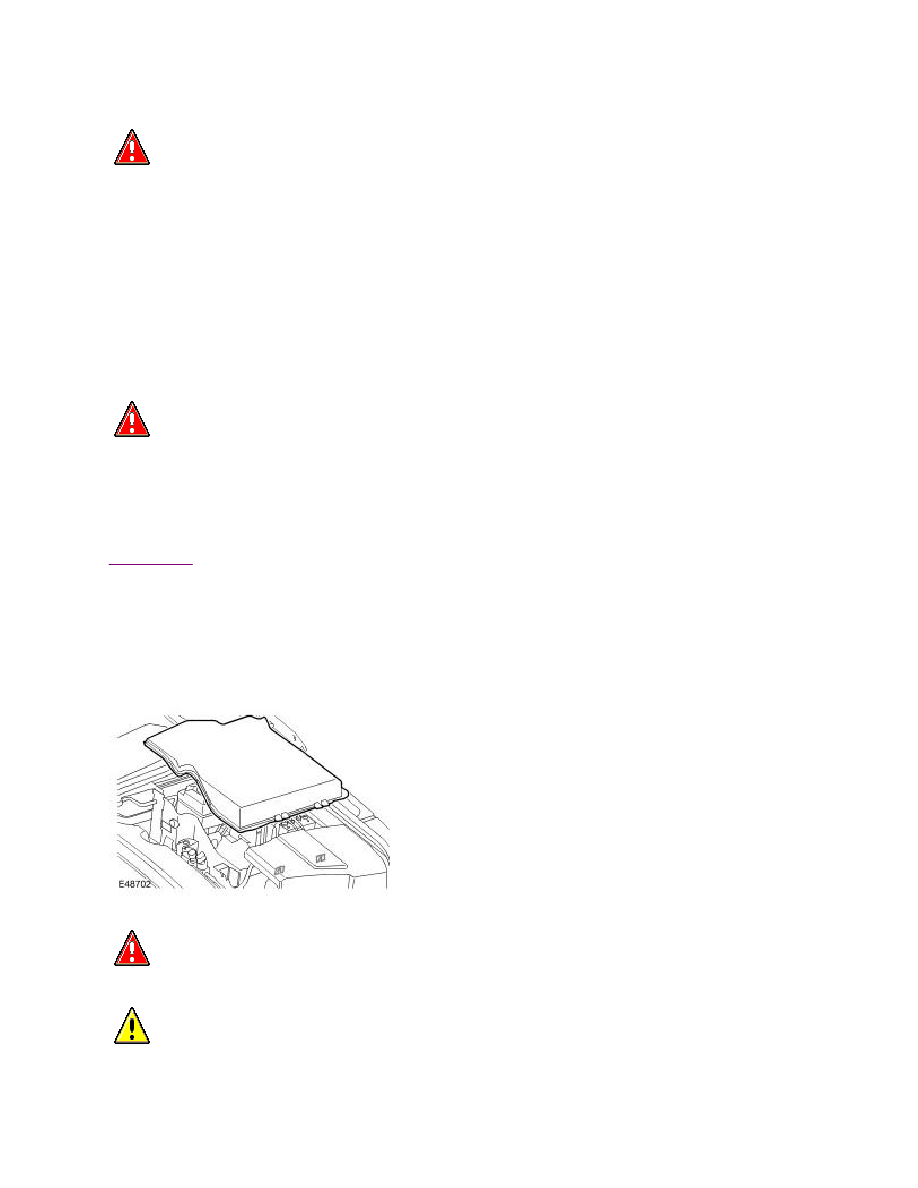
4. Remove the plenum chamber panel.
5.
Remove the brake fluid reservoir cap.
WARNING: If any components upstream of the Hydraulic Control Unit (HCU), including the HCU itself are
replaced, the brake system MUST be bled using the procedure on T4, to ensure that all the air is expelled from
the new component(s).
Bleeding of the brake system can be carried out using the procedures given on T4, or by using the procedure
below. The following procedure covers bleeding the brake system if components downstream of the HCU have
been replaced.
Where only the primary or secondary brake circuits have been disturbed in isolation, it should only be necessary to
bleed that circuit. Partial bleeding of the hydraulic system is only permissible if a brake tube or hose has been
disconnected with only minimal loss of fluid.
WARNING: Do not work on or under a vehicle supported only by a jack. Always support the vehicle on
safety stands.
l
Release the 2 clips.
WARNING: Do not allow dirt or foreign liquids to enter the reservoir. Use only new brake fluid of the
correct specification from airtight containers. Do not mix brands of brake fluid as they may not be compatible.
CAUTION: Brake fluid will damage paint finished surfaces. If spilled, immediately remove the fluid and
clean the area with water.