
Range Rover P38
ELECTRONIC AIR SUSPENSION
27
REPAIR
8. Identify correct wires at multiplug.
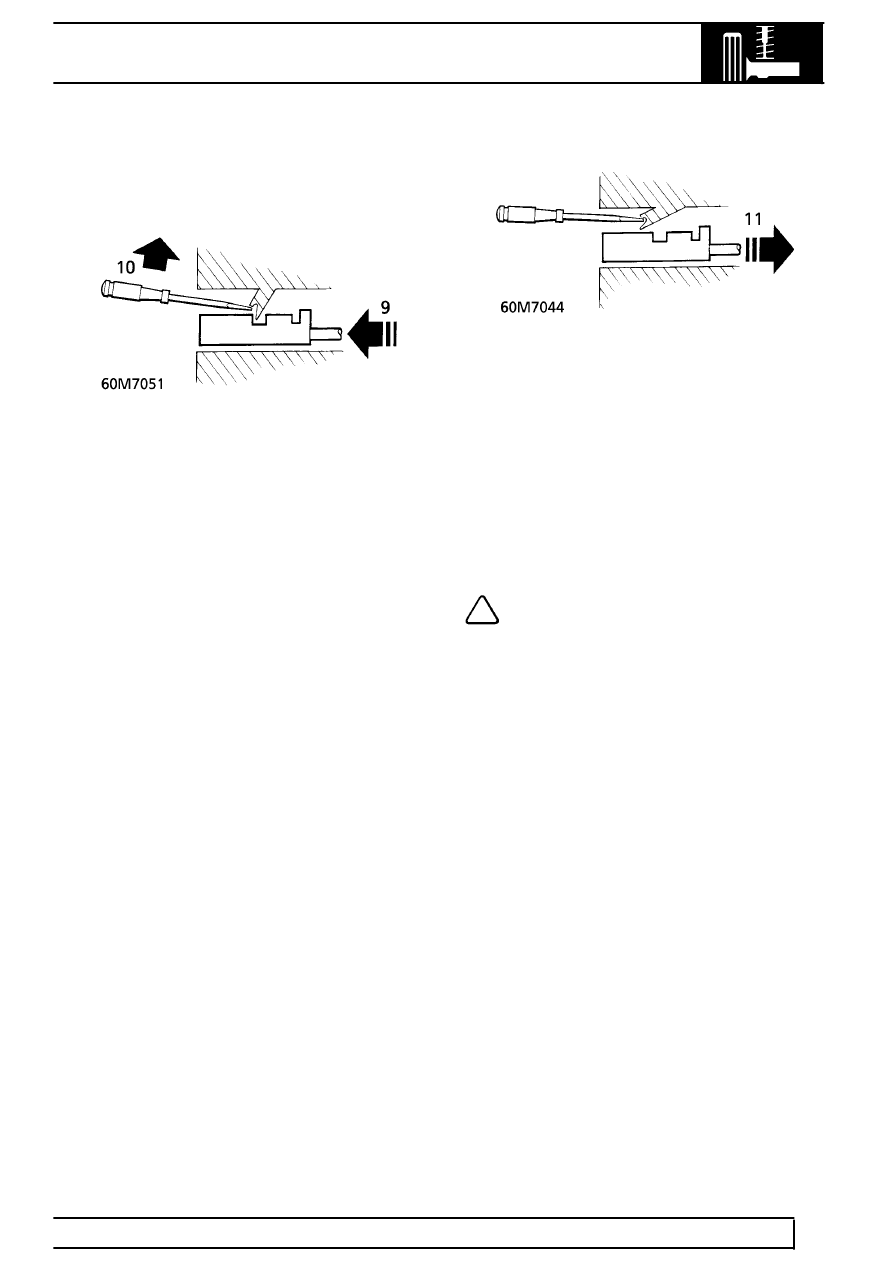
9. Use the wires to push the terminals forward.
10. Using a suitable sharp tool, gently lift the locking
tags.
11. With the tags held, gently pull rearwards on the
wires until the terminals are extracted.
12. Release harness clips as necessary.
13. Remove solenoid coil.
Refit
14. Fit new ’O’ ring to valve block and position valve.
15. Coat threads of screws with Loctite 242. Tighten
to
1.3 Nm (1 lbf.ft)
16. Fully engage pins into correct connector
locations.
17. Secure harness ties as necessary.
NOTE: Solenoid coils are supplied with
wiring to suit the longest run. Excess wire
should be clipped safely to prevent
chafing in service.
18. Fit valve block assembly.
See this section.