
Aviator 2WD V8-4.6L DOHC (2003)
2. Using the special tool, distance the windshield from the body.
3. Using the special tool, cut the remaining urethane adhesive.
4. Using a soft brush or vacuum, remove any dirt and foreign material from the pinch weld.
Item 2: Moulding Assembly Removal Note
1. Be sure not to scratch the pinch weld when removing the windshield glass.
Item 2: Moulding Assembly Installation Note
1. The moulding must be installed on the windshield glass before installing the windshield in the vehicle.
Item 1: Windshield Glass Installation Note
1. CAUTION:
-
Do not drive the vehicle after installing windshield glass until the urethane sealant has cured. Inadequate curing of the urethane
sealant adversely affects the strength of the urethane sealant bond.
-
If using Essex 400 urethane sealant, the curing time at temperatures above 13 °C (55 °F) and relative humidity above 50%, is 12-24
hours. Curing time decreases at higher temperatures and/or higher humidities.
-
Do not scratch the pinch weld area.
-
Open the windows to prevent the windshield glass from being pushed out by air pressure if a door is closed.
Dry fit the windshield. Make alignment marks with tape or non-staining pencil.
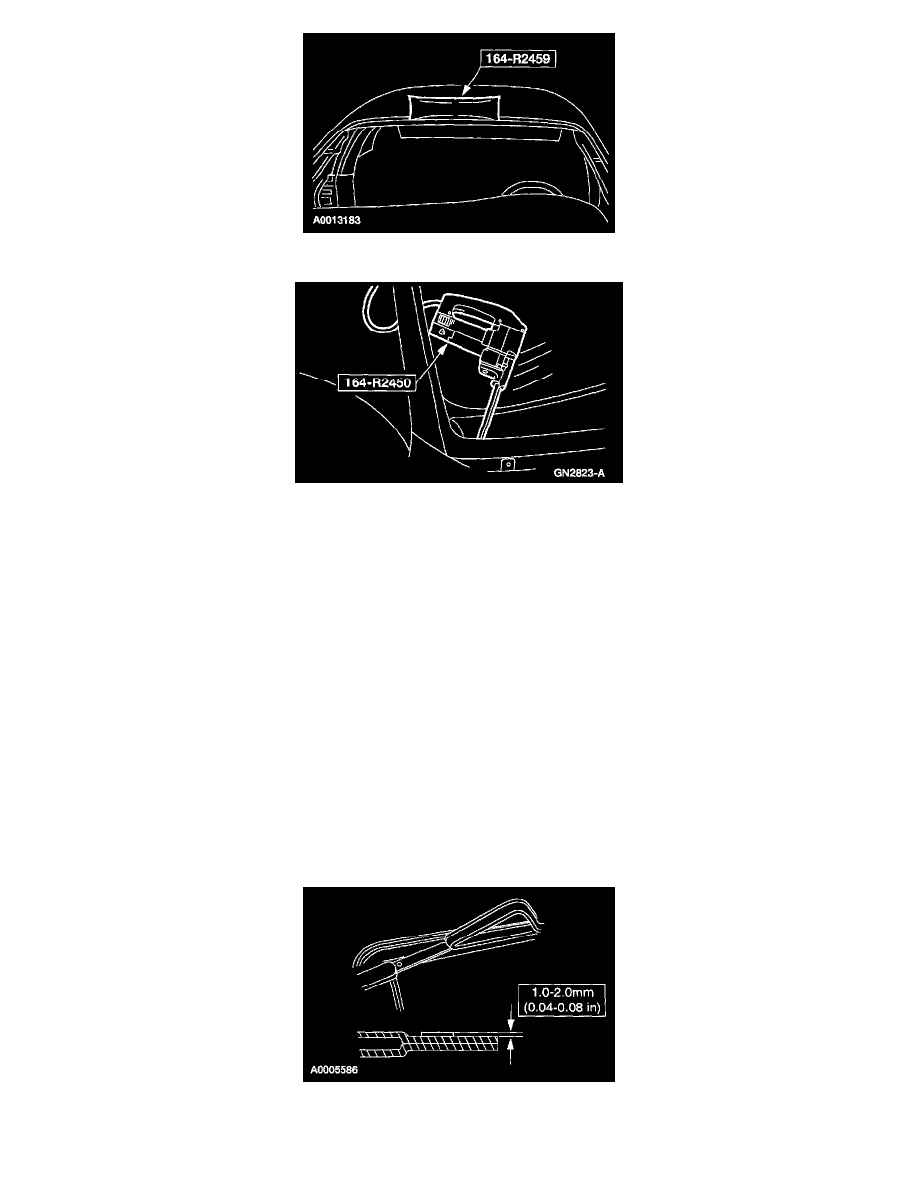
2. Trim the remaining urethane adhesive on the pinch weld to within specification. The surface should be smooth and free of cuts and contamination.
3. Use the wool applicator to apply urethane metal primer Essex U-413 or equivalent, meeting Ford specification WSB-M2G3 14-B, to any exposed
metal on the pinch weld. Allow six to ten minutes to dry.