
Continental V8-281 4.6L DOHC VIN V MFI (1997)
ASSEMBLY
1. Dip replacement piston assemblies in clean DOT-3 motor vehicle brake fluid for lubrication prior to assembly into cylinder.
2. Install secondary piston (smaller) assembly into bore, spring end first.
3. Install primary piston assembly, spring end first.
4. Depress primary piston and install snap ring.
5. Wet new reservoir seals in clean brake fluid and press into brake master cylinder.
6. Wet inside of seals with clean brake fluid and press brake master cylinder reservoir assembly into seals.
7. Fill brake master cylinder reservoir with High Performance DOT-3 Motor Vehicle brake Fluid to between MAX line and 4.0 mm (0.16 inch) of
MAX line.
8. Install brake master cylinder filler cap on brake master cylinder reservoir and secure.
9. Bleed brake system.
10. Retest after all service operations have been completed.
Removal and Installation
REMOVAL
1. Apply service brake pedal several times to exhaust all vacuum in the system.
2. Disconnect brake fluid level warning switch connector.
3. Remove brake tubes from primary and secondary outlet ports of brake master cylinder.
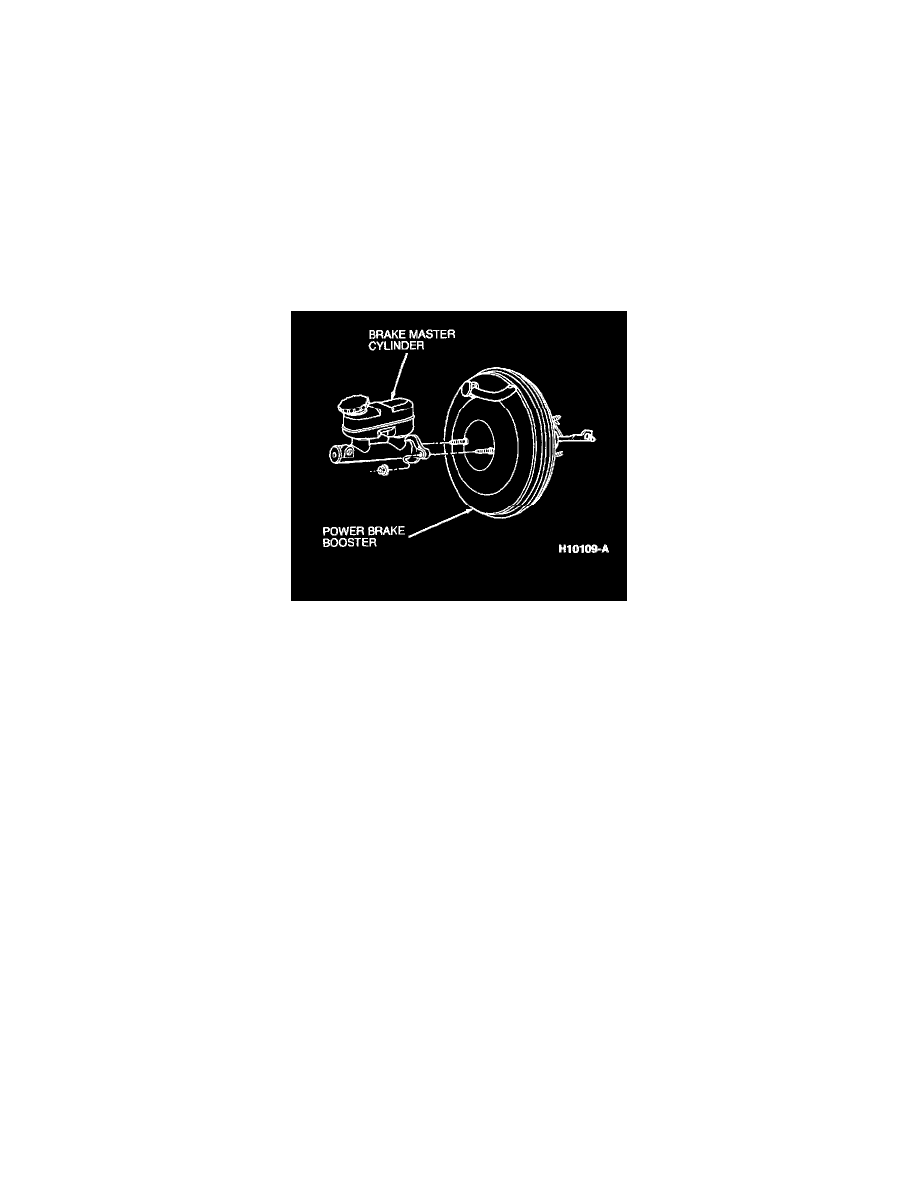
4. Remove two nuts retaining brake master cylinder to power brake booster assembly.
5. Slide brake master cylinder forward and upward from vehicle.
INSTALLATION
1. Position brake master cylinder on studs on power brake booster assembly.
2. Install retaining nuts. Tighten to 21-29 Nm (16-21 ft. lbs.).
3. Install primary and secondary brake tubes to brake master cylinder outlet ports. Tighten to 16-20 Nm (12-14 ft. lbs.).
4. Connect brake fluid level warning switch connector.
5. Fill brake master cylinder reservoir with specified brake fluid to MAX line with High Performance DOT-3 Motor Vehicle Brake Fluid.
6. Bleed brake system. See: Bleeding