
Continental V8-302 5.0L (1984)
1.
Position the evaporator assembly to the dash panel and install the three (3) attaching screws in the passenger compartment (Figure 2). Do not
tighten the screws at this time. Check the evaporator drain tube to be certain it is through the opening in the dash panel and is not pinched or
kinked.
2.
Working in the engine compartment install the two (2) nuts to retain the evaporator assembly to the dash panel. Then, tighten the retaining nuts
and attaching screws.
3.
Place the top cut from the rear seat heat duct on the duct and tape in place with duct tape. Be sure to cover all seams to prevent air leakage. Then,
reposition the carpet over the rear seat heat duct.
FIGURE 6
4.
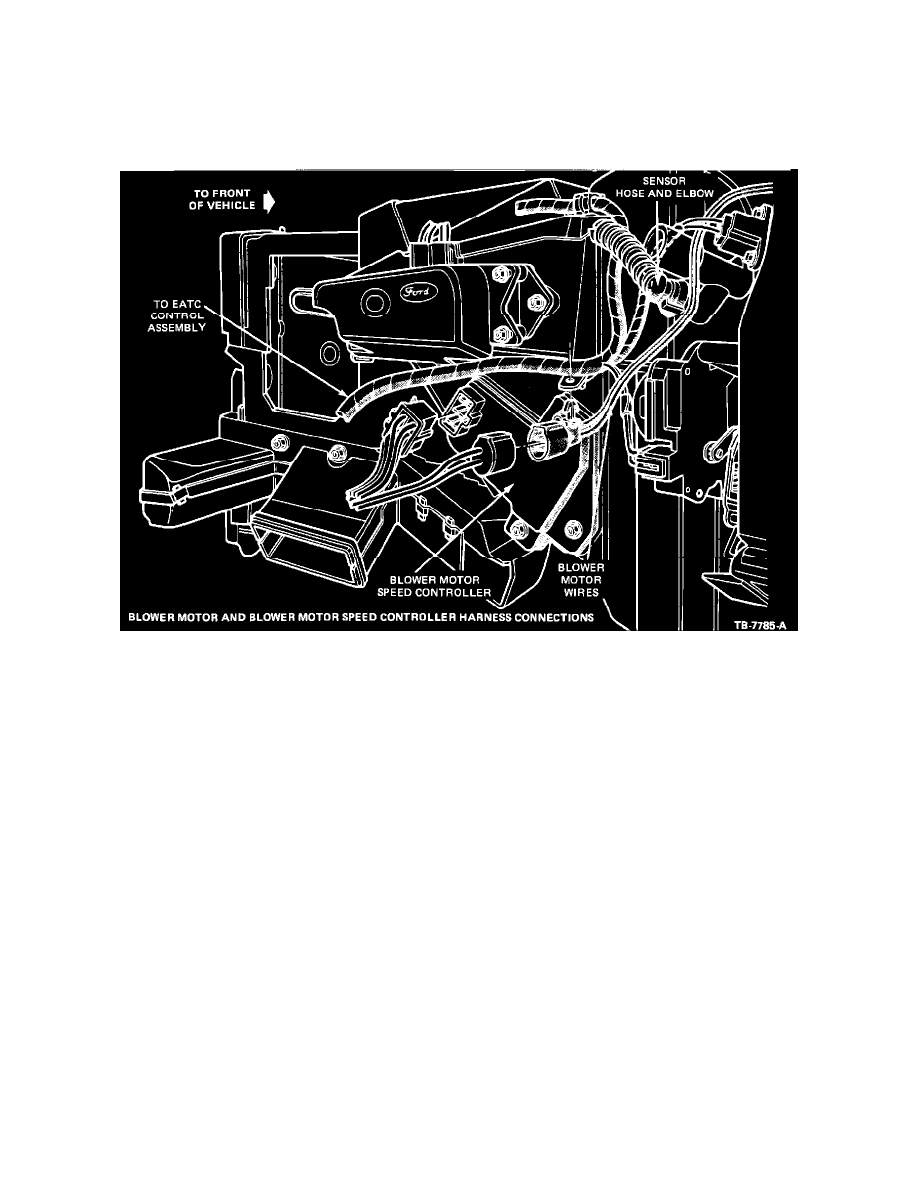
Position the instrument panel near the dash panel and connect the radio antenna, EATC harness to the control assembly, harness to the blower
motor speed controller (Figure 6), blower motor wires and the EATC sensor hose and elbow assembly and any additional wire harness connectors
disconnected in step 22 of the removal procedure.