
Continental V8-4.6L DOHC (1995)
7. Lubricate fitting with clean refrigerant oil and assemble A/C evaporative core orifice kit (with A/C evaporator core orifice installed) to condenser
to evaporator tube. Make sure flow direction arrow is pointing toward evaporator end of the condenser to evaporator tube, and taper of each
compressor ring is toward compression nut.
NOTE: The inlet half of the condenser to evaporator tube will be positioned against the A/C evaporator core orifice tabs when correctly
assembled.
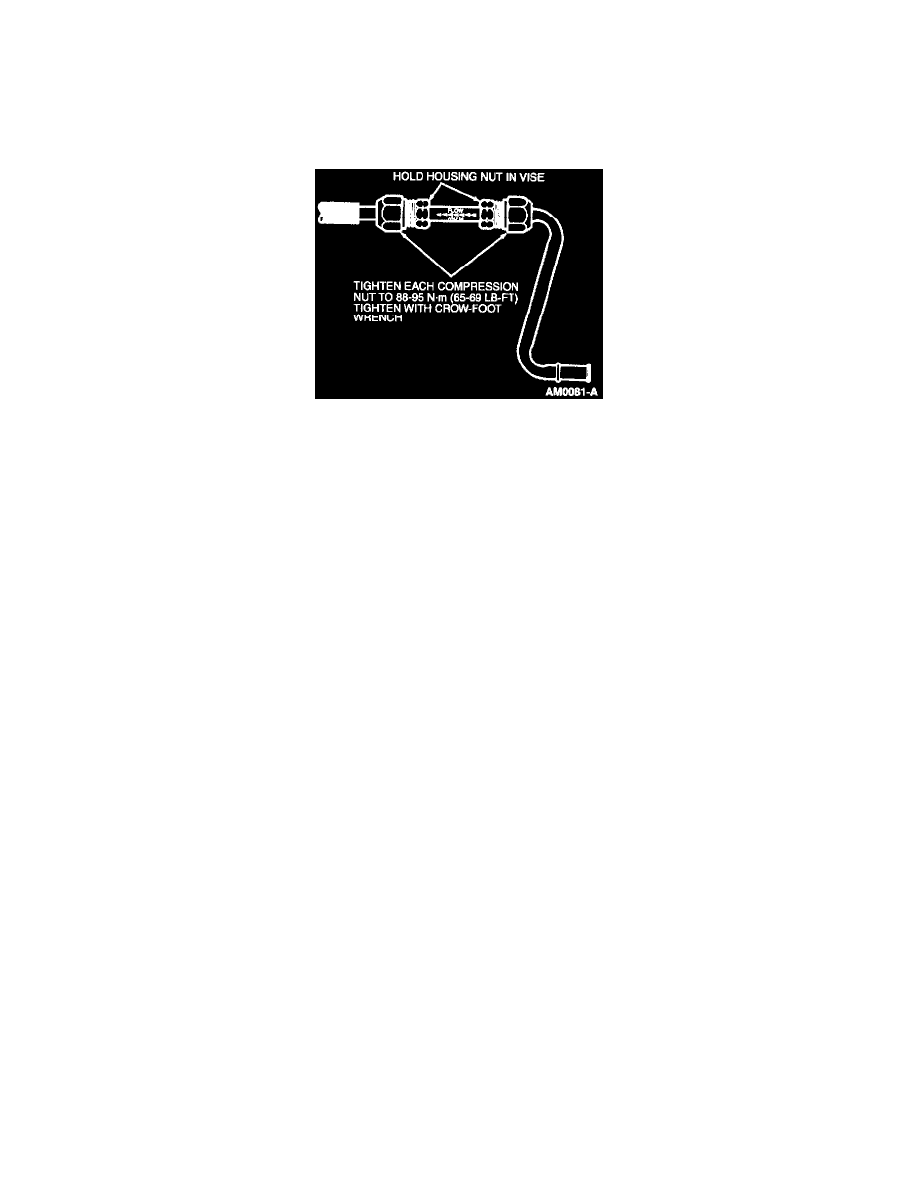
8. While holding hex of tube in a vise, tighten each compression nut to 88-95 N.m (65-69 lb-ft) with a crow foot wrench.
9. Assemble condenser to evaporator tube to vehicle using new green O-ring seals lubricated with clean refrigerant oil. Use only specified green
O-ring seals at spring lock coupling.
10. Leak-test, evacuate and charge system.See: Service and Repair/Evacuation
11. Check system for proper operation.