
Continental V8-4.6L DOHC (1995)
Planetary Gears: Service and Repair
With AX4N
DISASSEMBLE
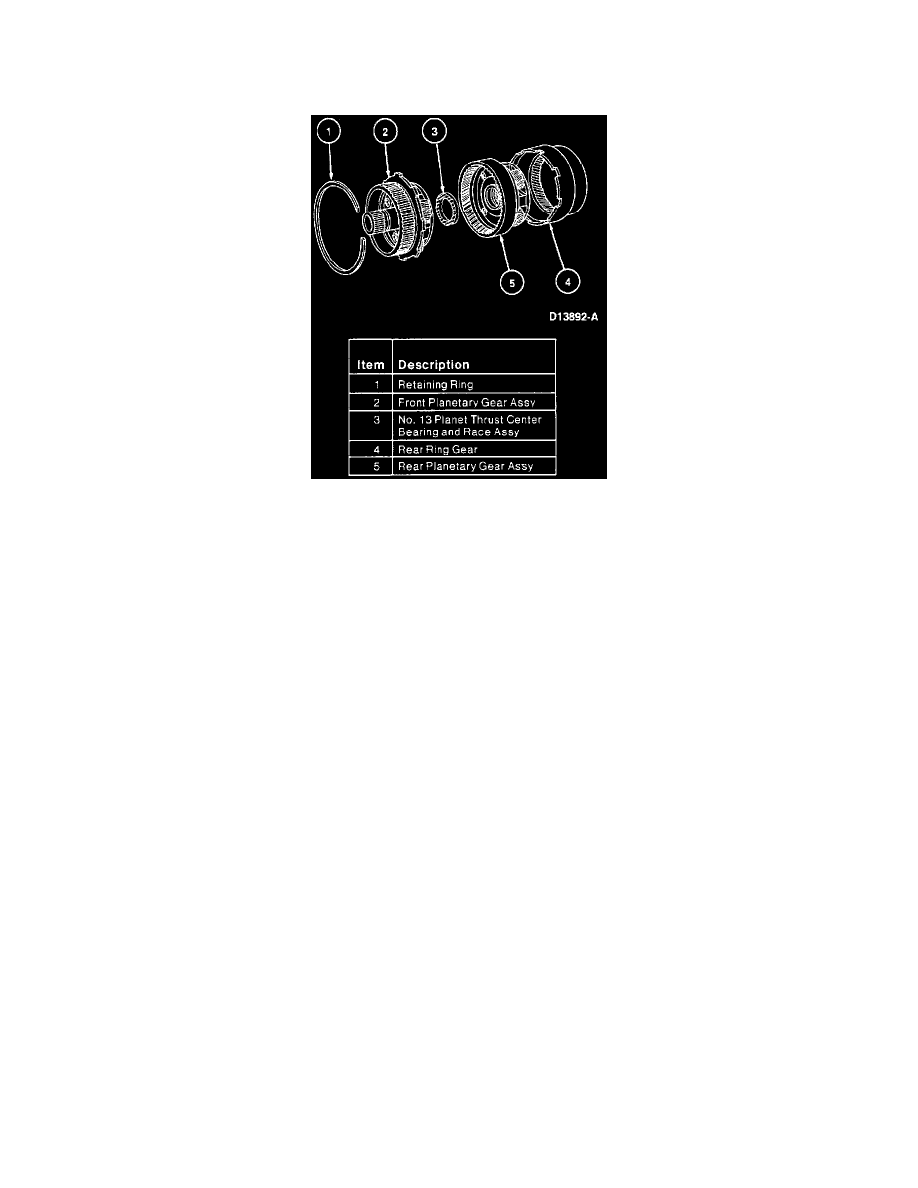
Planet Assembly - Disassembled View
1. Remove retaining ring.
2. Remove front planetary. Clean and inspect for looseness and discoloration of pinion gears or wear on bearings.
3. Remove No. 13 needle bearing.
4. Remove rear planetary from shell and rear ring gear assembly.
5. Clean rear planetary and inspect for looseness and/or discoloration of planet gears or wear on bushings or bearings.
ASSEMBLE
1. Install rear planetary into rear ring gear.
2. Install No. 13 needle bearing to rear ring gear with black side of bearing facing up.
3. Install front planetary into rear ring gear.
4. Install retaining ring to rear ring gear.
5. Install reverse clutch assembly over front planetary.
NOTE: Ensure reverse clutch assembly is fully seated.
6. Install remover/replacer tube tool No. T75L-7025-C or equivalent, and reverse clutch/planetary assembly collet tool No. T94P-77001-FH or
equivalent, over front planetary and into rear clutch assembly.
7. Install bearing collet sleeve tool No. T77F-7025-C or equivalent. Planetary assembly is now ready for installation into transaxle case.