Continental V8-4.6L DOHC (1995)

Constant Velocity Joint Boot: Service and Repair
Inboard
REMOVAL
The inboard CV joint is permanently retained to the interconnecting shaft. The service CV joint includes the shaft and the driveshaft joint boot. The joint
and outboard boot will require removal to replace the boot, joint or shaft.
1. Cut and remove both boot clamps, then slide boot back on shaft.
2. Remove stop ring and driveshaft bearing retainer circlip.
3. Slide boot off interconnecting shaft.
INSPECTION
When replacing a damaged joint boot, the grease should be inspected for contamination. If the joints are operating satisfactorily and grease does not
appear to be contaminated, add grease and replace the boot. If grease appears contaminated or has a gritty feeling, inspect for worn components and
replace as necessary.
INSTALLATION
1. Install driveshaft boot on interconnecting shaft, then position boot to allow for inboard joint housing installation.
2. Position boot in small boot groove.
3. Position small boot clamp and install with boot clamp replacer tool T95P-3514-A, or equivalent. Tighten tool through bolt until tool is in closed
position.
4. Fill inboard joint housing with Ford High Temperature CV Joint Grease E43Z-19590-A, or equivalent, meeting Ford specification
ESP-M1C207-A. Spread remainder evenly inside driveshaft joint boot for a total combined fill of 16 3/4 ounces.
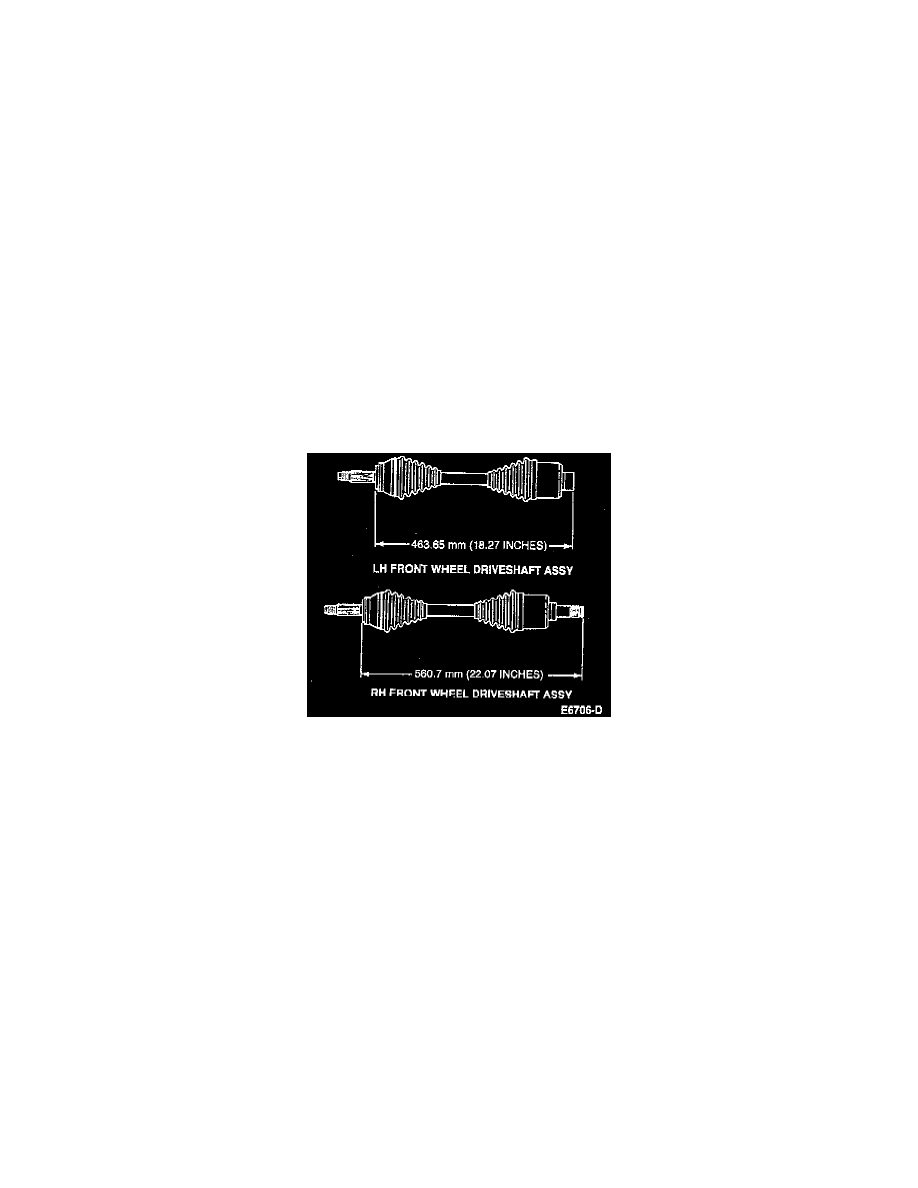
5. Remove all excess grease from CV joint external surfaces. Position boot over joint and move joint inward and outward as necessary to specified
length. Before installing driveshaft joint boot clamp, ensure any air pressure which may have built up in boot is relieved as follows:
a. Insert a dull tip screwdriver blade between boot and outer bearing race, allow trapped air to escape from boot.
b. Air should be released from the boot only after adjusting to specified dimension.
6. Locate clamp tabs in slots. Hand tighten clamps.
7. Ensure boot is properly seated in its groove and clamp is in position.
8. Use boot clamp replacer T95P-3514-A, or equivalent, and tighten tool through bolt until tool is in closed position.
9. Work CV joint through several angles through its full travel range. Joint should compress, extend and flex smoothly.
