
Continental V8-4.6L DOHC VIN V (1998)
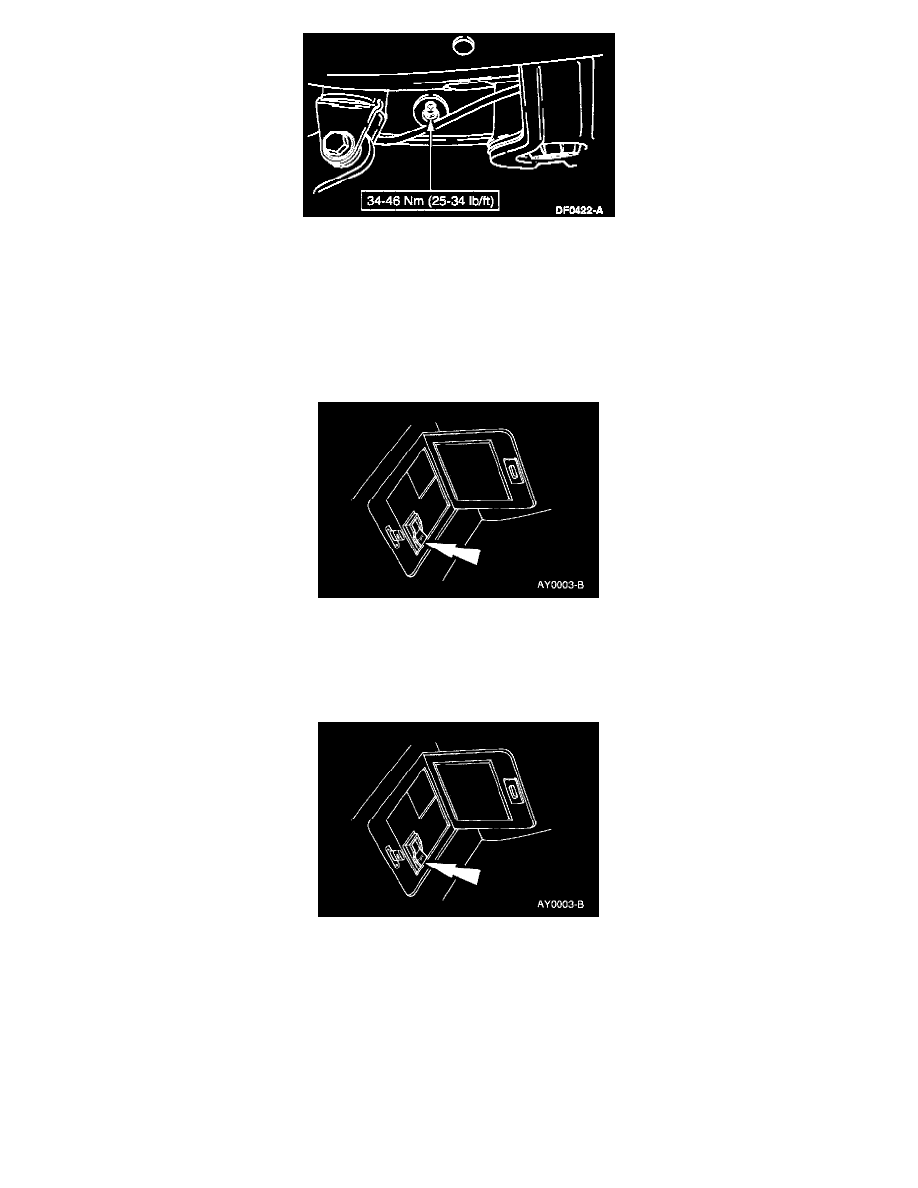
7. Install the rear stabilizer bar link-to-rear lower suspension arm nut and the rear stabilizer bar link onto the lower suspension arm. Tighten to
specification.
CAUTION: Use extreme care not to damage the boot seal. Do not use power tools to install the nut or bearing and seal damage will result. Install
the nut using the hex hold feature to prevent the stud from rotating.
8. Install the wheel and tire assembly.
9. Lower the vehicle.
10. Inflate the air spring.
11. Turn the air suspension service switch on.
12. Check and adjust the camber and toe if necessary.
Upper
REMOVAL
1. Turn off the air suspension service switch.
WARNING: The electrical power to the air suspension system must be turned off prior to hoisting, jacking or towing an air suspension
vehicle. Failure to do so can result in unexpected inflation or deflation of the air springs which can result in shifting of the vehicle during
these operations.
2. Raise the vehicle on a hoist.
3. Remove the wheel and tire assembly.
4. Deflate the air spring.
WARNING: Do not remove an air spring under any circumstances when there is pressure in the air spring. Do not remove any
components supporting an air spring without exhausting the air.