
Mark LT 2WD V8-5.4L VIN 5 (2007)
Control Arm: Service and Repair
Upper Arm
Upper Arm
Material
Removal and Installation
CAUTION: Suspension fasteners are critical parts because they affect performance of vital parts and systems and their failure can result in major
service expense. A new part with the same part number must be installed if installation becomes necessary. Do not use a replacement part of lesser
quality or substitute design. Torque values must be used as specified during reassembly to make sure of correct retention of these parts.
1. Remove the shock absorber and spring assembly.
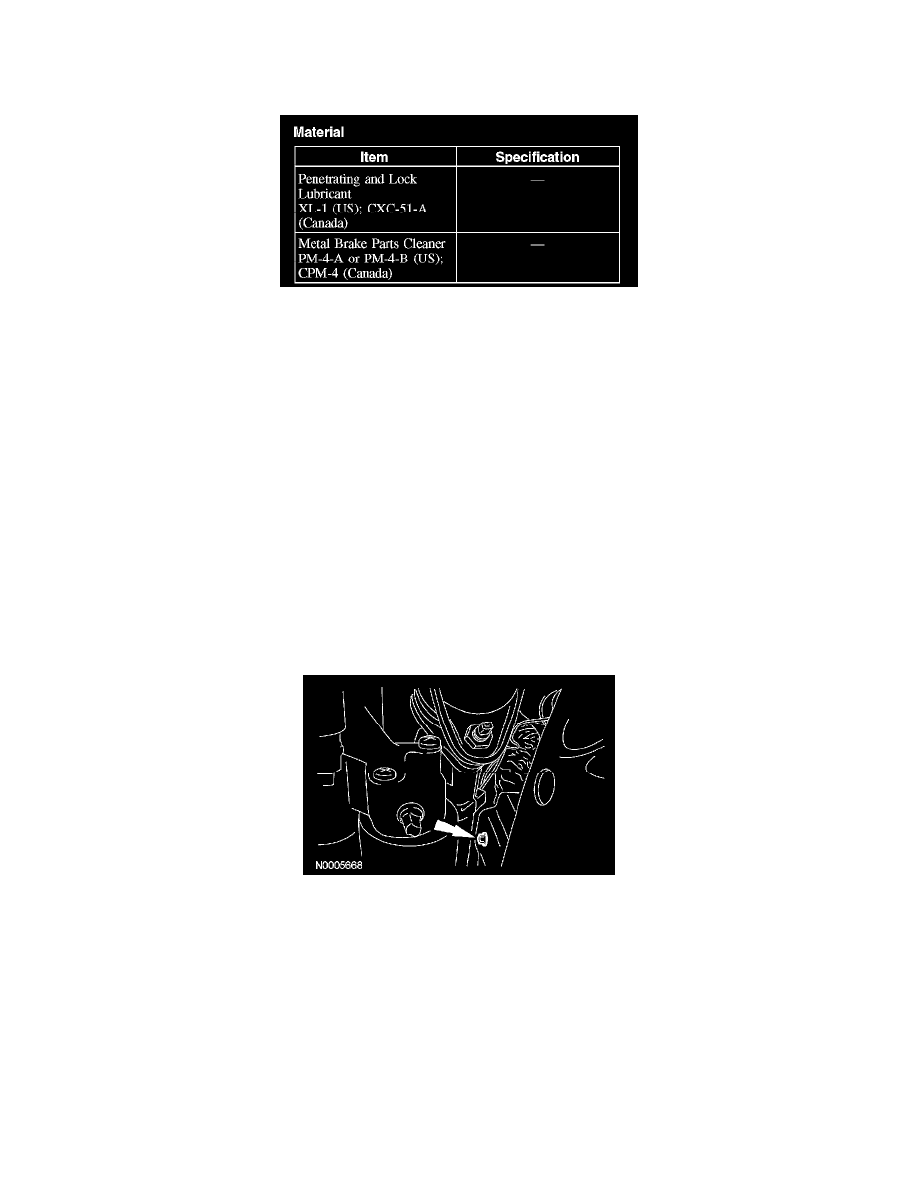
2. CAUTION: Use the holding feature to prevent the upper arm ball joint stud from turning while removing and installing the nut.
CAUTION: Do not strike the ball joint stud to separate it from the wheel spindle or damage to the ball stud can occur. Lightly tap the wheel
spindle to loosen the ball stud.
NOTE: The upper ball joint does not require special tools to separate from the wheel spindle.
Remove and discard the upper ball joint nut and separate the ball joint from the wheel spindle.
^
To install, tighten to 115 Nm (85 ft. lbs.).
3. NOTE: If removing the RH upper arm, remove the bolt and position the heat shield aside to access the upper arm-to-frame nut.
Remove the upper arm nuts, bolts and the upper arm.
^
Discard the nuts and bolts.
^
To install, tighten to 150 Nm (111 ft. lbs.).
4. NOTE: Do not tighten the upper arm nuts until the installation procedure is complete and the weight of the vehicle is resting on the wheel and tire
assemblies.
To install, reverse the removal procedure.
5. Check and, if necessary, adjust the front end.