
Mark LT 4WD V8-5.4L VIN 5 (2006)
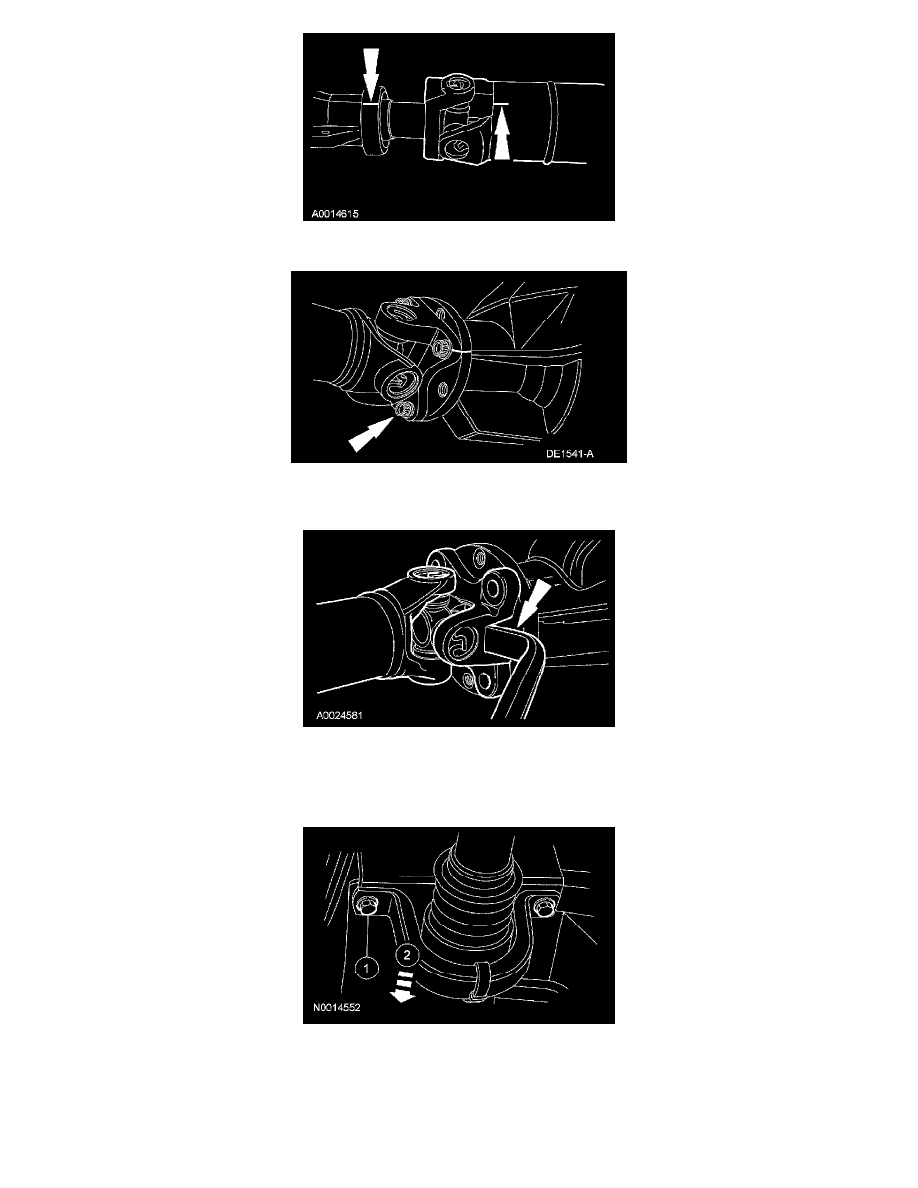
3. Index-mark the driveshaft to the extension housing to maintain alignment during installation.
4. Remove and discard the 4 driveshaft flange bolts.
^
To install, tighten to 103 Nm (76 ft. lbs.).
5. CAUTION: The driveshaft flange fits tightly on the flange pilot. Never hammer on the driveshaft or any of its components to disconnect the
driveshaft flange from the flange pilot. Pry only in the area shown with a suitable tool, to disconnect the driveshaft flange from the flange pilot.
Using a suitable tool as shown, disconnect the driveshaft flange from the flange pilot.
6. Remove the driveshaft center bearing bolts and remove the driveshaft.
1. Remove the driveshaft center bearing bolts.
2. Lower the driveshaft and slide the driveshaft slip yoke rearward off of the output shaft.
^
To install, tighten to 48 Nm (35 ft. lbs.).
7. Plug the extension housing to prevent fluid loss.