
MKS AWD V6-3.7L (2009)
8. Remove the seat control switch in the following sequence.
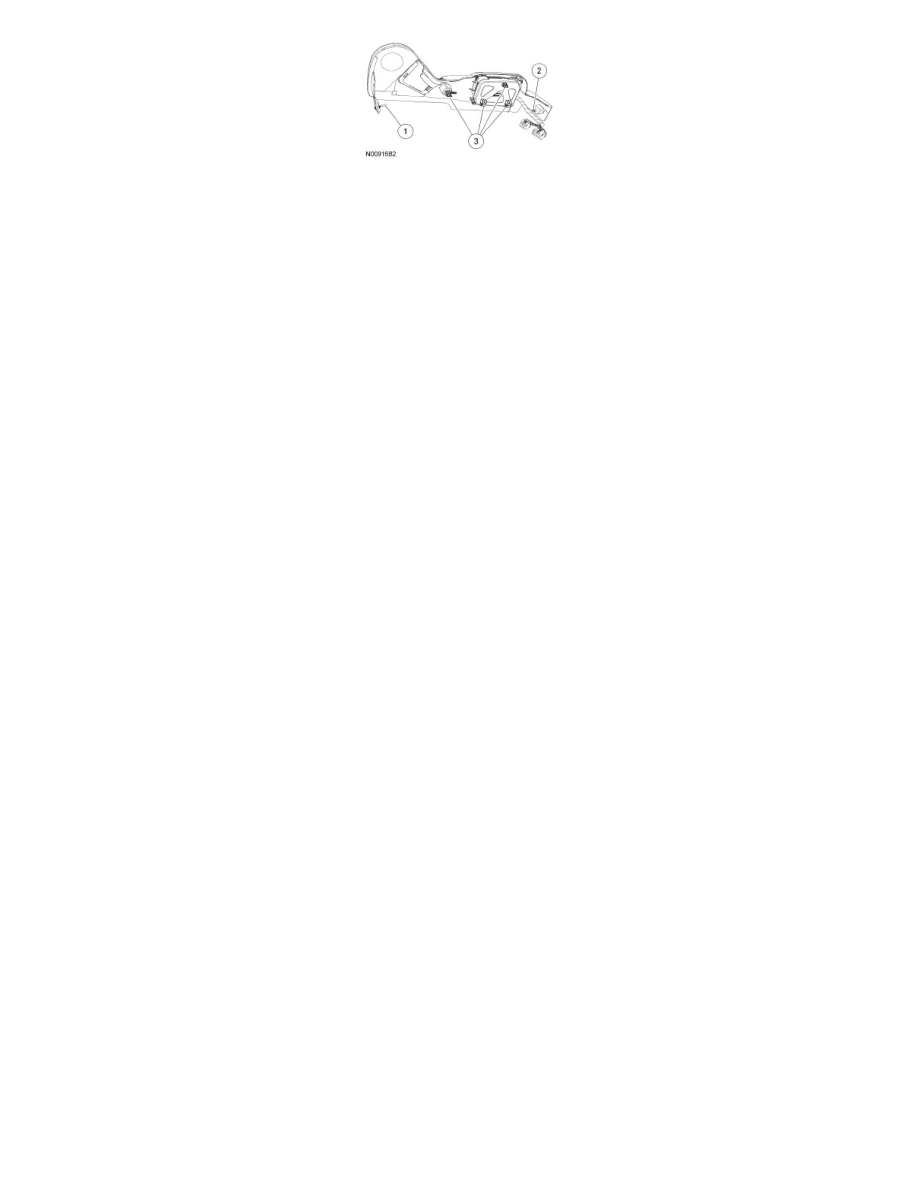
1. Remove the screws and the seat control switch cover.
2. Remove the seat control switch from the cushion side shield.
Installation
All seats
1. Install the seat control switch in the following sequence.
1. Position the seat control switch to the cushion side shield.
2. Position the seat control switch cover and install the screws.
2. Install the cushion side shield in the following sequence.
1. Return all retaining clips back to the cushion side shield before installing the shield.
2. Connect the seat control switch electrical connectors and attach the wire harness pin-type retainer.
3. Align the 4 cushion side shield clips to the seat and push in seating the clips.
4. Install the screw at the front of the cushion side shield.
5. Install the scrivet at the back of the cushion side shield.
3. Attach the carpet flap toe-kick in the following sequence.
1. Attach the J-clip to the cushion frame.
2. Install the carpet flap toe-kick pin-type retainers into the cushion side shield and recliner cover.
4. Position the seat.
-
Position the driver seat all the way forward and down.
-
Position the passenger seat all the way forward and up.
5. Install the safety belt anchor bolt.
-
Tighten to 48 Nm (35 lb-ft).
-
For passenger seat, connect the BTS electrical connector.
6. Install the cushion side shield cover.
Passenger seat
7. If a passenger seat was serviced, carry out the Occupant Classification Sensor (OCS) System Reset. For additional information, refer to the
General Procedures portion of Air Bag Systems.