
MKS AWD V6-3.7L (2009)
9. NOTICE: Do not expose the Motorcraft High Performance Engine RTV Silicone to engine oil for at least 90 minutes after installing the
engine front cover. Failure to follow this instruction may cause oil leakage.
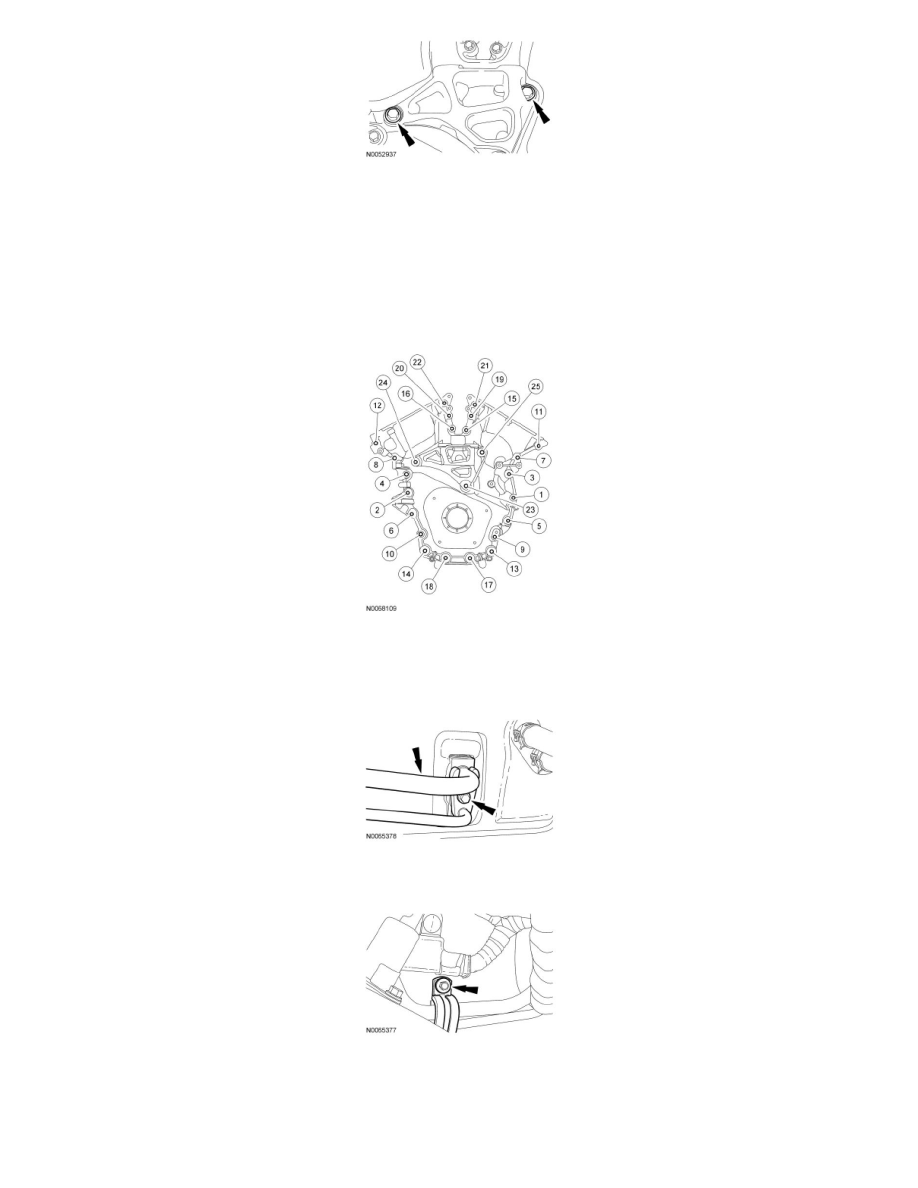
Install the remaining engine front cover bolts. Tighten all of the engine front cover bolts and engine mount bracket bolts in the sequence shown in
2 stages:
-
Stage 1: Tighten bolts 1 thru 22 to 10 Nm (89 lb-in) and bolts 23, 24 and 25 to 15 Nm (133 lb-in).
-
Stage 2: Tighten bolts 1 thru 22 to 24 Nm (18 lb-ft) and bolts 23, 24 and 25 to 75 Nm (55 lb-ft).
10. Using the floor jack, lower the engine to the installed position.
11. Install the new O-ring seals and the A/C tubes-to-evaporator and the bolt.
-
Tighten to 15 Nm (133 lb-in).
12. Install the A/C tube retaining clamp bolt.
-
Tighten to 10 Nm (89 lb-in).
13. Install the A/C tube bracket bolt.
-
Tighten to 10 Nm (89 lb-in).