
Fuel Tank and Filler Pipe - Exploded View
6. NOTE: Clean the FP module connections, couplings, flange surfaces and the immediate surrounding area of any dirt or foreign material.
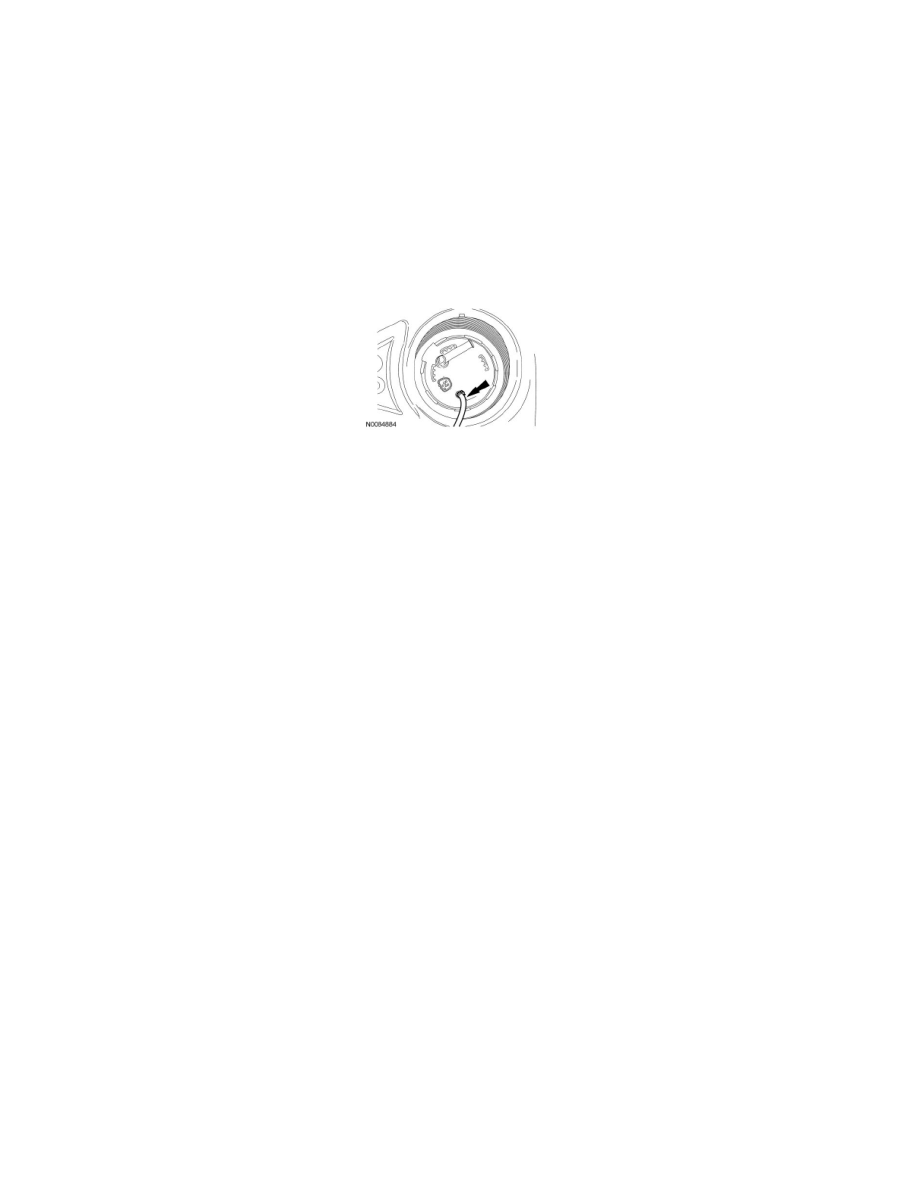
Disconnect the FP module electrical connector.
7. Disconnect the fuel vapor tube assembly-to-FP module quick connect coupling.
8. NOTE: Place absorbent toweling in the immediate surrounding area in case of fuel spillage.
Disconnect the fuel tank jumper tube-to-FP module quick connect coupling.
9. Disconnect the Fuel Tank Pressure (FTP) sensor electrical connector.
10. Connect the Fuel Storage Tanker to the FP module fuel outlet fitting and remove approximately 1/4 of the fuel (from a completely full tank),
lowering the fuel level below the FP module mounting flange.
All-Wheel Drive (AWD) vehicles
11. Remove the 3 FP module shield nuts.
-
To install, tighten to 9 Nm (80 lb-in).
12. Remove the Evaporative Emission (EVAP) canister.
13. Remove the driveshaft.
14. Position a suitable lift device under the fuel tank.
15. Disconnect the fuel tank jumper tube-to-fuel tube quick connect coupling.
16. Remove the 2 front fuel tank strap bolts.
17. NOTE: Install suitable caps on the FP module ports to avoid fuel spillage when lowering the front of the fuel tank.
Partially lower the front of fuel tank.
18. Remove the FP module shield.
19. NOTE: The fuel tank must be placed back into the installed position prior to FP module removal to avoid fuel spillage.
Raise the fuel tank into the installed position and reinstall the 2 fuel tank strap bolts.
-
Tighten to 35 Nm (26 lb-ft).
All vehicles
20. NOTICE: Carefully install the Fuel Tank Sender Unit Wrench to avoid damaging the Fuel Pump (FP) module when removing the lock
ring.
NOTE: When installing the FP module, install a new lock ring and O-ring seal.
Install the Fuel Tank Sender Unit Wrench and remove the FP module lock ring.