
MKS AWD V6-3.7L (2009)
4. NOTICE: Do not use a metal tool or screwdriver, or pry on the cover or bracket. Damage to the bracket or windshield can occur.
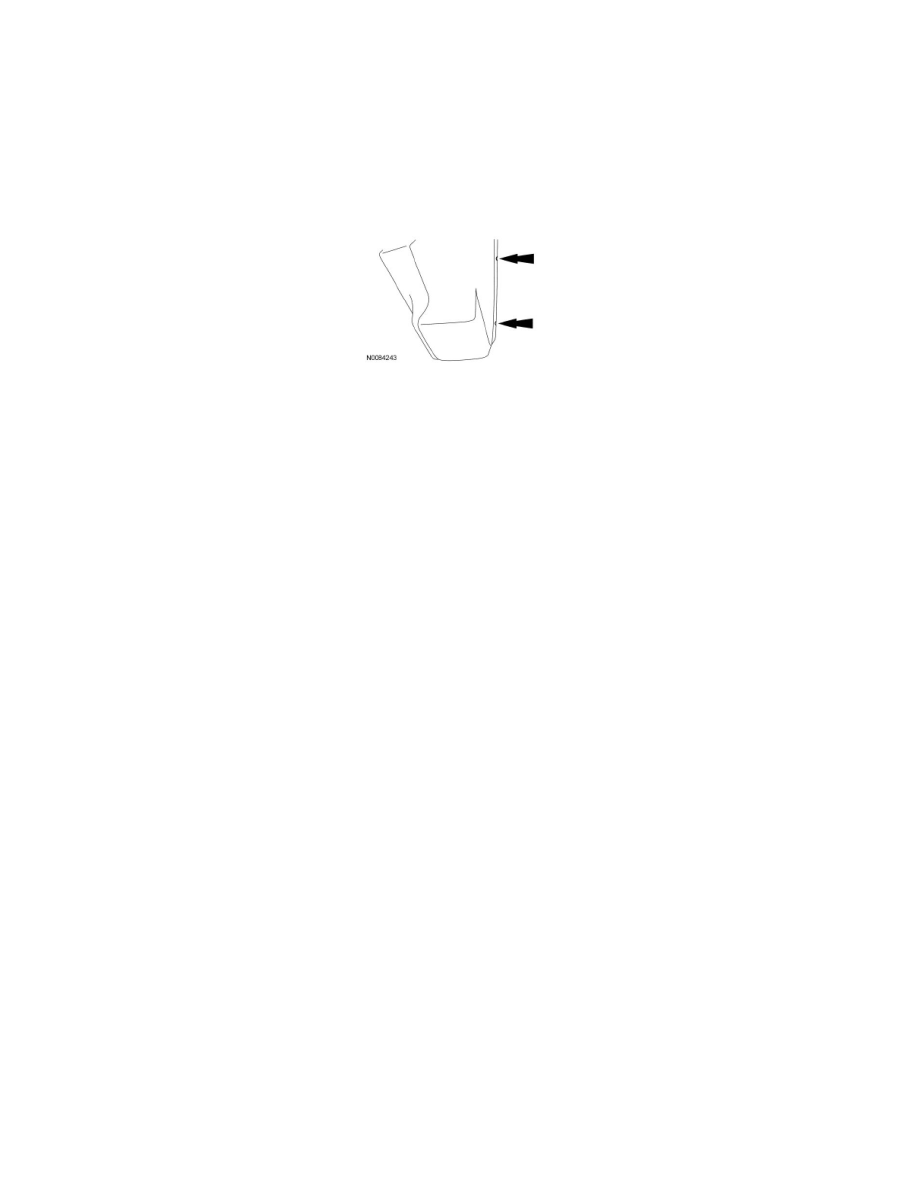
NOTE: The snap locations are marked on the HCM-2 housing with 2 very small cutouts on the RH side.
NOTE: The HCM-2 is removed by separating the right side of the assembly from the windshield and sliding to the right. There is also
hook-and-loop tape between the inside of the cover and the rain sensor.
While gently pulling downward on the right side of the cover, insert a thin plastic flat-bladed tool at each cutout notch and release the retaining
clips.
-
Separate the HCM-2 from the windshield and disconnect the electrical connector from the rain sensor.
5. To install, reverse the removal procedure.
-
If installing a new HCM-2, upload the HCM-2 configuration information to the scan tool.
For additional information, refer to PMI in Information Bus. See: Powertrain Management/Computers and Control Systems/Information
Bus/Testing and Inspection/Programming and Relearning