
MKT AWD V6-35L Turbo (2010) Battery Cable Service and Repair
-
To install, tighten to 9 Nm (80 lb-in).
6. Remove the nut and disconnect the battery positive cable end from the positive battery terminal.
-
To install, tighten to 9 Nm (80 lb-in).
7. Disconnect the 14-pin in-line harness connector at the front corner of the battery.
8. Remove the 2 battery cable harness clips from the battery tray assembly.
9. Detach the battery cable harness locator clip from the engine harness locator clip at the front corner of the LH valve cover.
10. Remove the engine cover ball stud and remove the battery cable harness from the stud.
-
To install, tighten to 6 Nm (53 lb-in).
11. Detach the 2 battery cable harness locators along the front of the LH valve cover.
12. Disconnect the 4-pin in-line harness connector at the front corner of the LH valve cover.
13. Position aside the generator protective cover, then remove the generator B+ terminal nut and position the generator B+ cable end aside.
-
To install, tighten to 17 Nm (150 lb-in).
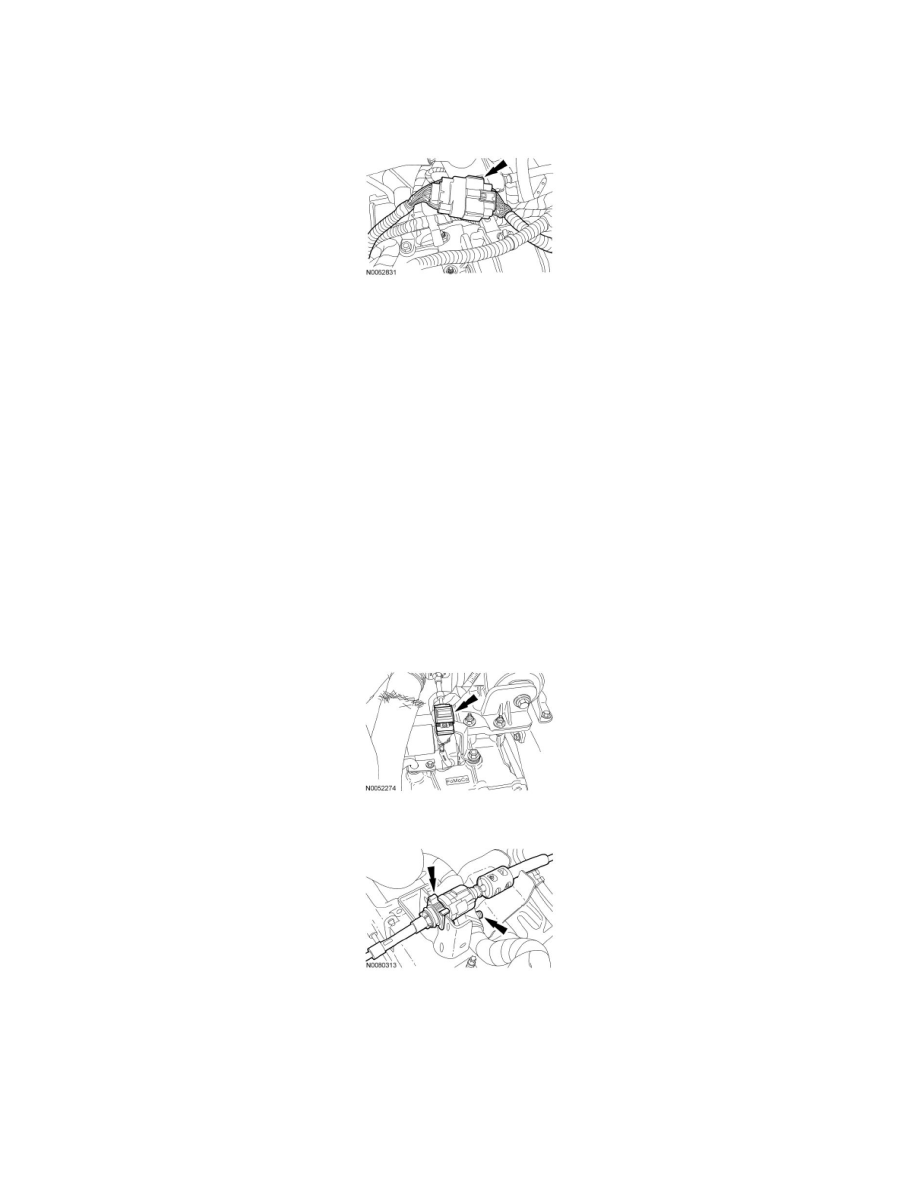
14. Disconnect the generator electrical connector.
15. Disconnect the A/C compressor electrical connector.
16. Disconnect the Heated Oxygen Sensor (HO2S) electrical connector and detach the battery cable harness from the bracket.
17. Disconnect the transaxle control cable from the control lever.
18. Disconnect the transaxle control cable from the shift cable bracket and detach the wiring harness pin-type retainer.
19. Remove the Electronic Power Assist Steering (EPAS) harness bracket bolt, then disconnect the 2 EPAS electrical connectors (1 shown) and the
wiring retainer (not shown).
-
To install, tighten to 10 Nm (89 lb-in).