
MKT FWD V6-3.7L (2010)
Sunroof / Moonroof Motor: Service and Repair
Roof Opening Panel Motor - Sliding Front Panel
Roof Opening Panel Motor - Sliding Front Panel
Removal and Installation
NOTICE: The gearing on the shade motor (white label) is different than the sliding glass motor (blue label). If the shade motor or the sliding
glass motor is installed in the incorrect location, the sunshade and/or glass panel travel distance will be affected and damage to some of the
components may result.
NOTICE: The roof opening panel sliding glass motor contains ceramic magnets that may fail at any time if cracked. Any roof opening panel
sliding glass motor that has been dropped onto a hard surface during removal or installation should be replaced with a new motor.
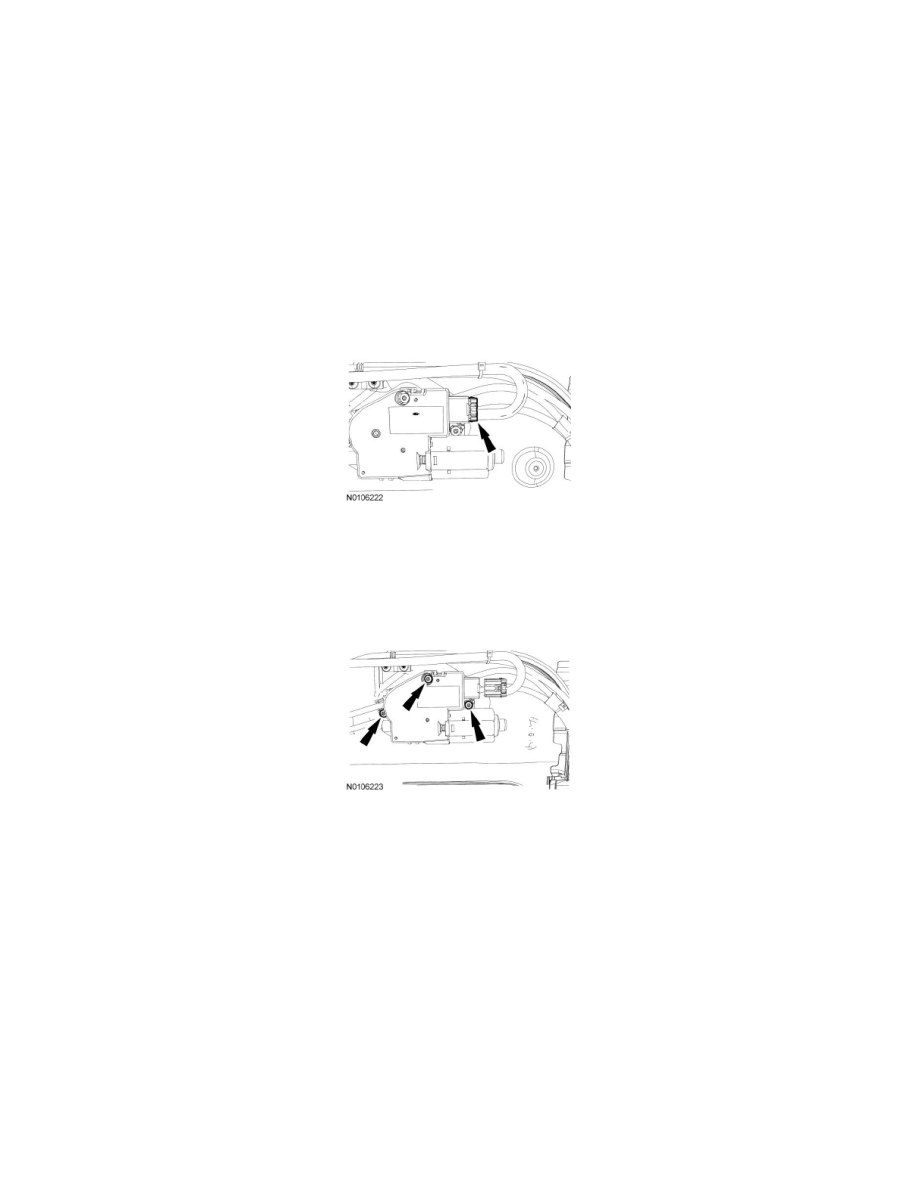
1. Remove the headliner.
2. Disconnect the electrical connector.
3. NOTE: During installation, it may be necessary to rotate the motor clockwise or counterclockwise for the gear teeth to set into the drive cable
correctly.
Remove the 3 motor screws and the motor assembly.
-
To install, tighten to 5 Nm (44 lb-in).
4. To install, reverse the removal procedure.
-
Initialize the roof opening panel motor(s). For additional information, refer to Roof Opening Panel Motor Initialization See: Testing and
Inspection/Programming and Relearning.