
MKT FWD V6-3.7L (2010)
Muffler: Service and Repair
Muffler and Tailpipe
Muffler and Tailpipe
Removal
NOTICE: Do not use oil or grease-based lubricants on the isolators. They may cause deterioration of the rubber.
NOTICE: Oil or grease-based lubricants on the isolators may cause the exhaust isolator to separate from the exhaust hanger bracket during
vehicle operation.
All vehicles
1. With the vehicle in NEUTRAL, position it on a hoist. For additional information, refer to Vehicle Jacking and Lifting.
2. Support the muffler assembly with a suitable jackstand.
All vehicles except Gasoline Turbocharged Direct Injection (GTDI)
3. Remove the 2 exhaust Y-pipe-to-muffler and tail pipe flange nuts.
-
Discard the nuts and gasket.
4. NOTICE: The resonator must be supported to prevent damage to the flexible pipe.
Using a length of mechanic's wire, support the resonator.
GTDI vehicles
5. Remove the 4 LH and RH exhaust flexible pipes-to-underbody catalytic converter nuts.
-
Discard the nuts and gaskets.
All vehicles
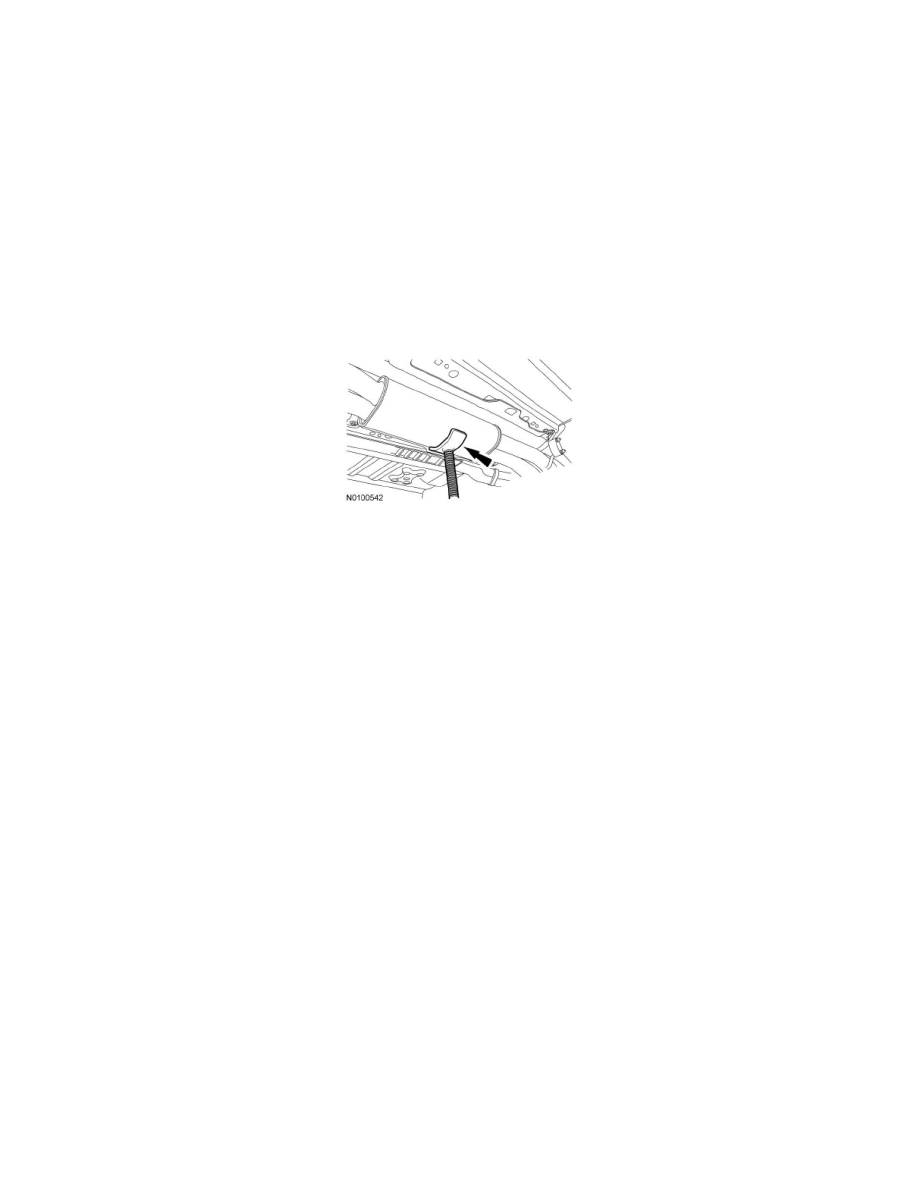
6. NOTICE: Do not damage or tear the isolators during removal.
Using soapy water, separate the isolators and remove the muffler assembly from the vehicle.
Installation
All vehicles
1. NOTE: Inspect and replace any isolators found to be damaged or torn during the removal process.
Install the muffler assembly in the isolators and support with a suitable jackstand.