
MKT FWD V6-3.7L (2010)
40. Inspect the transaxle main control cover seal for damage and install new if necessary. See Figure 35.
41. NOTE: Install the studbolts in the locations noted during disassembly.
Install the transaxle main control cover and install the bolts
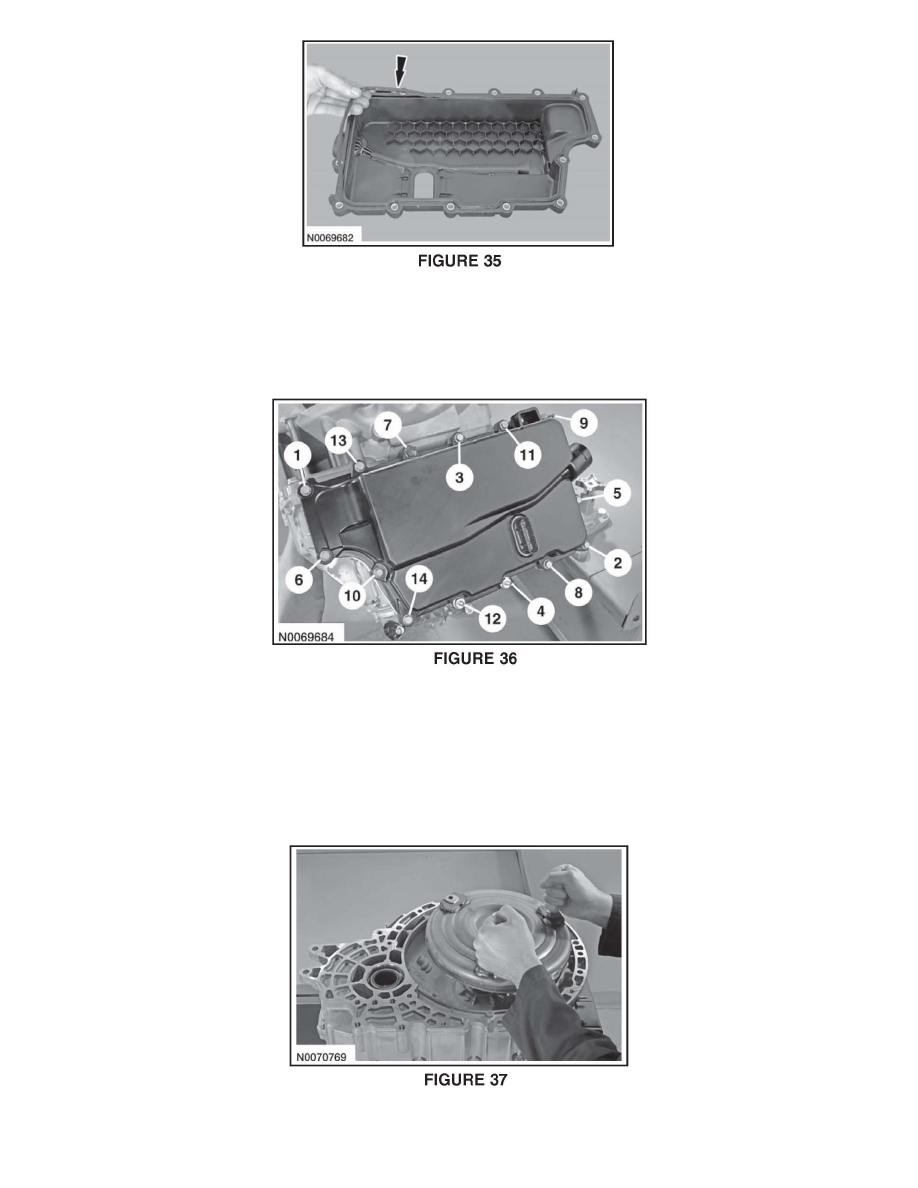
42. Tighten the main control cover bolts in the sequence shown. See Figure 36.
^
Tighten to 12 Nm (106 lb-in).
43. NOTICE: Only thread the bolts 6 to 8 turns or do not exceed 12 mm (0.472 in) in the torque converter If the bolts are threaded too far, damage to
the torque converter clutch surface can occur, causing torque converter failure.
NOTE: Position the transaxle in the holding fixture so that the torque converter housing is facing upward.
Install two 10 mm x 1.50 bolts into the torque converter 6 to 8 turns to assist in handling the torque converter and install the torque converter in the
transaxle. See Figure 37.