
MKZ AWD V6-3.5L (2008)
Exhaust Manifold: Service and Repair
Catalytic Converter - RH
Catalytic Converter - 3.5L RH
Removal and Installation
All vehicles
1. NOTE: Always install new fasteners and gaskets as indicated. Clean flange faces prior to new gasket installation to make sure of proper sealing.
With the vehicle in NEUTRAL, position it on a hoist.
2. Remove the exhaust Y-pipe.
All wheel drive (AWD)
3. Remove the intermediate shaft.
All vehicles
4. Remove the 2 bolts and the power steering gear shield.
^
To install, tighten to 15 Nm (11 lb-ft).
5. Remove the roll restrictor bolt and rotate the engine forward.
^
To install, tighten to 90 Nm (66 lb-ft).
6. Disconnect the catalyst monitor sensor electrical connector.
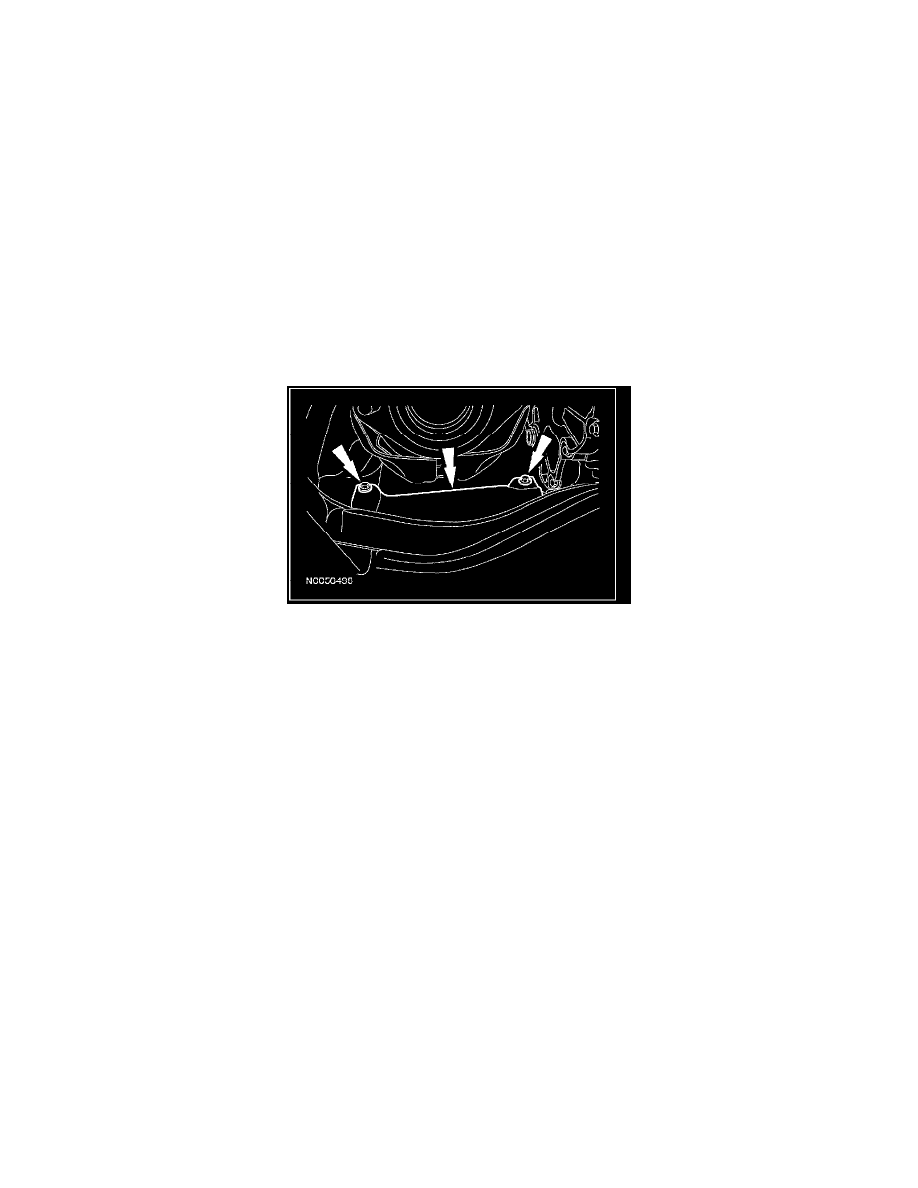
7. Remove the 2 bracket-to-RH catalytic converter bolts.
^
To install, tighten to 20 Nm (15 lb-ft).
8. Remove the 4 nuts and the RH catalytic converter.
^
Discard the 4 RH catalytic converter nuts and gasket.
^
To install, tighten in a cross pattern to 40 Nm (30 lb-ft).
9. Remove and discard the 4 RH catalytic converter-to-exhaust manifold studs.
^
To install, tighten to 25 Nm (18 lb-ft).
10. To install, reverse the removal procedure.
^
Install a new gasket, nuts and studs as indicated.