
MKZ AWD V6-3.5L (2008)
7. CAUTION: Do not use metal scrapers, wire brushes, power abrasive discs or other abrasive means to clean the sealing surfaces. These
may cause scratches and gouges resulting in leak paths. Use a plastic scraper to clean the sealing surfaces.
Clean the exhaust manifold mating surface of the cylinder head with metal surface prep. Follow the directions on the packaging.
Installation
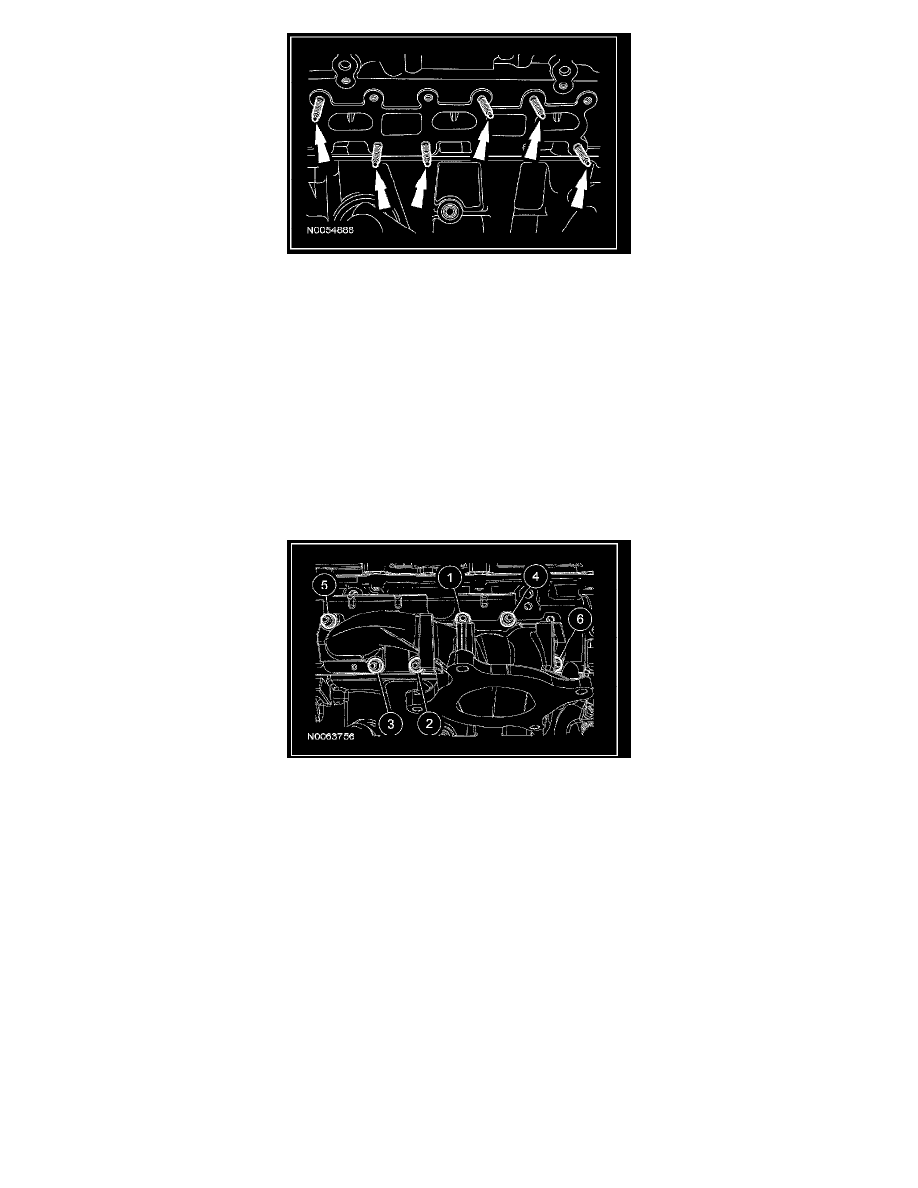
1. Install 6 new LH exhaust manifold studs.
^
Tighten to 12 Nm (9 lb-ft).
2. CAUTION: Failure to tighten the exhaust manifold nuts to specification a second time will cause the exhaust manifold to develop an
exhaust leak.
Using a new gasket, install the LH exhaust manifold and 6 new nuts. Tighten in 2 stages in the sequence shown:
^
Stage 1: Tighten to 20 Nm (15 lb-ft).
^
Stage 2: Tighten to 20 Nm (15 lb-ft).
3. Install the LH exhaust manifold heat shield and the 3 bolts.
^
Tighten to 14 Nm (10 lb-ft).
4. Install the LH HO2S.
5. Install the LH catalytic converter.