
MKZ AWD V6-3.5L (2008)
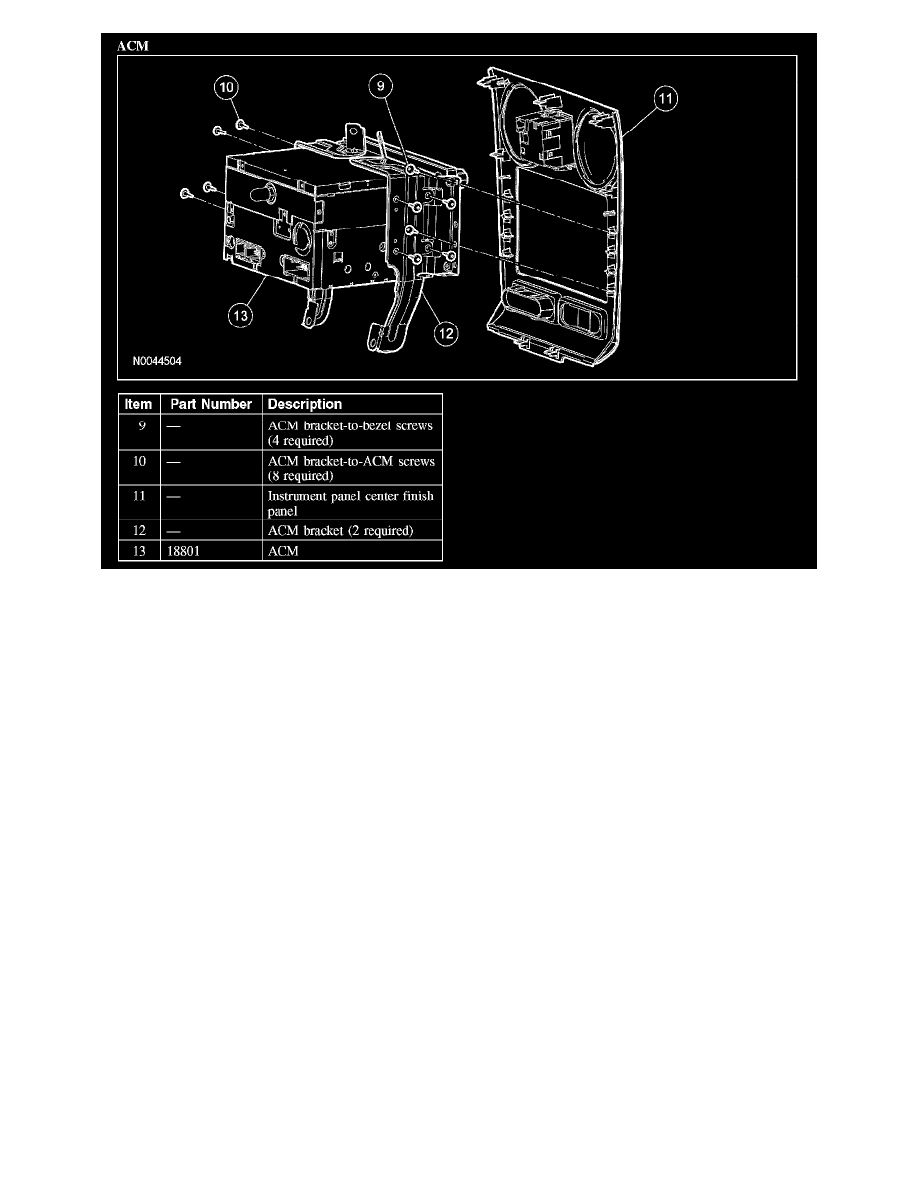
ACM
Removal and Installation
NOTE:
-
It is not necessary to remove the ACM to retrieve the part number.
-
For the navigation ACM, remove the navigation DVD before installing a new ACM, if possible.
1. NOTE: Module configuration is only required if a new ACM is being installed.
Upload the ACM configuration information to the scan tool.
2. Remove the floor console finish panel trim ring.
-
Disengage the clips.
3. NOTE: Apply the parking brake and pull the shift lever all the way back to ease removal.
Open the floor console storage compartment and remove the floor console finish panel.
-
Disengage the clips.
4. Remove the climate control and bezel assembly screw.
-
Open the ash receptacle door and remove the ash receptacle to access the screw.
5. CAUTION: Close the ash receptacle door and pull gently, starting at the bottom of the bezel, in order to disengage the clips. Failure to
follow this instruction may result in damage to the climate control and bezel assembly.
Remove the climate control and bezel assembly.
-
Disengage the clips.
-
Disconnect the electrical connectors.
6. Remove the center A/C ducts by opening the vents and pulling them straight out.
7. Remove the center A/C duct retainers.
-
Using an appropriate tool, release the tabs and pull the retainers out.