
Navigator 2WD V8-5.4L (2007)
CAUTION: If present, the orientation of the vent tube must be noted so the boots and vent tubes can be installed in the correct location.
1. With the vehicle in NEUTRAL, position it on a hoist.
2. Loosen the tie-rod end jam nut.
3. Remove and discard the tie-rod end nut.
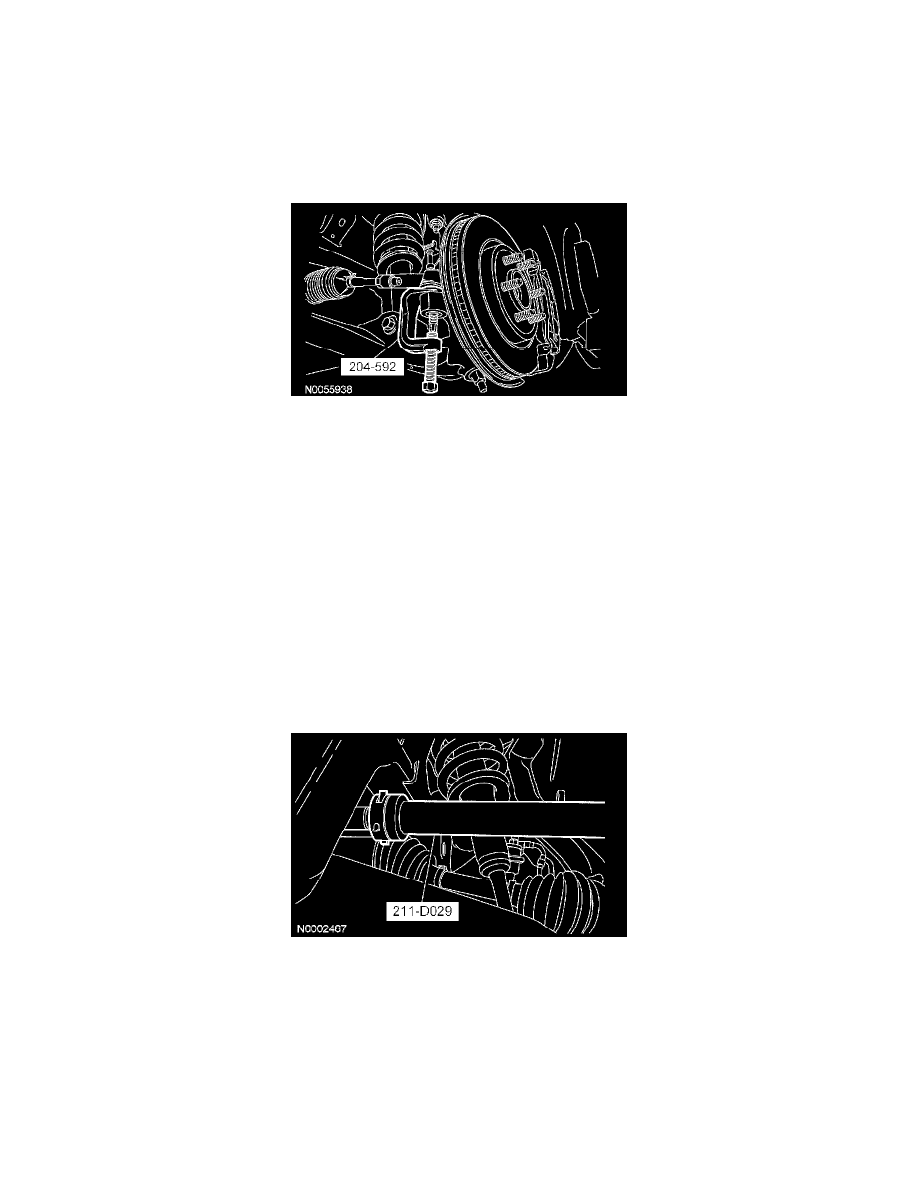
4. CAUTION: Careful not to damage the tie-rod boot when installing the special tool.
Using the special tool, disconnect the tie-rod end from the wheel knuckle.
5. NOTE: Count the number of turns required to remove the tie-rod end for reference during installation.
Remove the tie-rod end.
6. Remove the tie-rod end jam nut.
7. NOTE: New bellows boot clamps must be installed.
Remove and discard the inner and outer bellows boot clamp.
8. Remove the steering gear bellows boot.
9. CAUTION: Place the steering gear at the center position. Use a 1-1/16 inch crowfoot on the flat of the rack gear to resist rotation and to prevent
damage during removal and installation of the inner tie rod.
NOTE: If repairing the RH side, it will be necessary to pull back the LH inner tie-rod boot to hold the steering gear.
NOTE: An assistant may be needed for removal of the RH inner tie rod.
Using the special tool, remove the inner tie rod.
10. CAUTION: Thoroughly remove any abrasive material. This material is extremely harmful to the steering gear.
Thoroughly clean and inspect all the parts to be reused. Install new parts as necessary.
Installation
1. Using the special tool, install the inner tie rod.
^
Tighten to 120 Nm (89 lb-ft).