
Navigator 4WD V8-5.4L (2010)
Muffler: Service and Repair
Muffler and Tailpipe
Muffler and Tailpipe
Removal
NOTICE: Do not use oil or grease-based lubricants on the isolators. These lubricants may cause deterioration of the isolator. This can lead to
separation of the isolator from the exhaust hanger bracket during vehicle operation.
1. With the vehicle in NEUTRAL, position it on a hoist. For additional information, refer to Vehicle Jacking and Lifting.
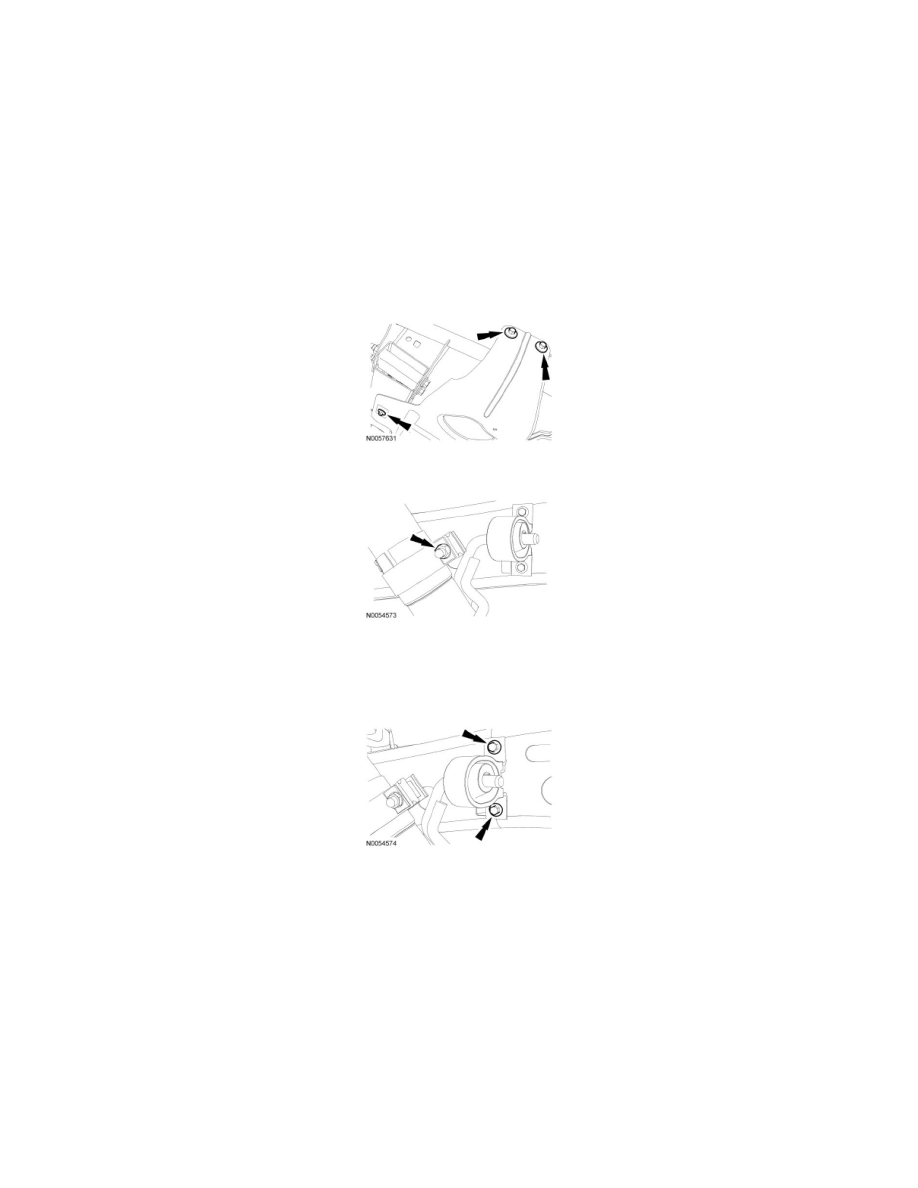
2. NOTE: LH side shown, RH side similar.
If equipped, remove the 6 bolts and transfer case skid plate.
3. Loosen the tail pipe or resonator-to-muffler assembly Torca(R) clamp.
4. Remove the 2 isolator and bracket assembly bolts and remove:
-
the tail pipe for Expedition models.
-
the resonator for Navigator models.
5. Using a suitable jackstand, support the muffler.
6. Remove the 2 exhaust Y-pipe dual catalytic converter-to-muffler assembly bolts.
7. NOTICE: Make sure not to make contact with the axle boots while routing the muffler assembly outlet over the rear axle or damage to
the boots may result.
Detach the isolators from the muffler assembly and remove from the vehicle.
Installation
NOTICE: Do not use oil or grease-based lubricants on the isolators. These lubricants may cause deterioration of the isolator. This can lead to
separation of the isolators from the exhaust hanger bracket during vehicle operation.
1. NOTE: Clean the mating surfaces of the exhaust Y-pipe dual catalytic converter-to-muffler assembly.