
Navigator 4WD V8-5.4L (2010)
All vehicles
1. With the vehicle in NEUTRAL, position it on a hoist. For additional information, refer to Vehicle Jacking and Lifting.
2. Drain the engine coolant. For additional information, refer to Cooling System &/or Engine Block Heater.
3. Remove the spare tire.
4. Remove the RH front wheel and tire. For additional information, refer to Wheels and Tires.
5. Remove the RH fender splash shield.
6. NOTE: If only one auxiliary heater line is to be removed, disconnect only the desired line.
Disconnect the auxiliary heater outlet and/or inlet line front quick disconnect fitting(s).
7. Working through the RH fender well opening, remove the front auxiliary line bracket nut and the front auxiliary line bracket.
8. Working through the RH fender well opening, remove the RH catalytic converter heat shield front bolt.
Expedition EL or Navigator L only
9. Remove the RH rear wheel and tire assembly.
All vehicles
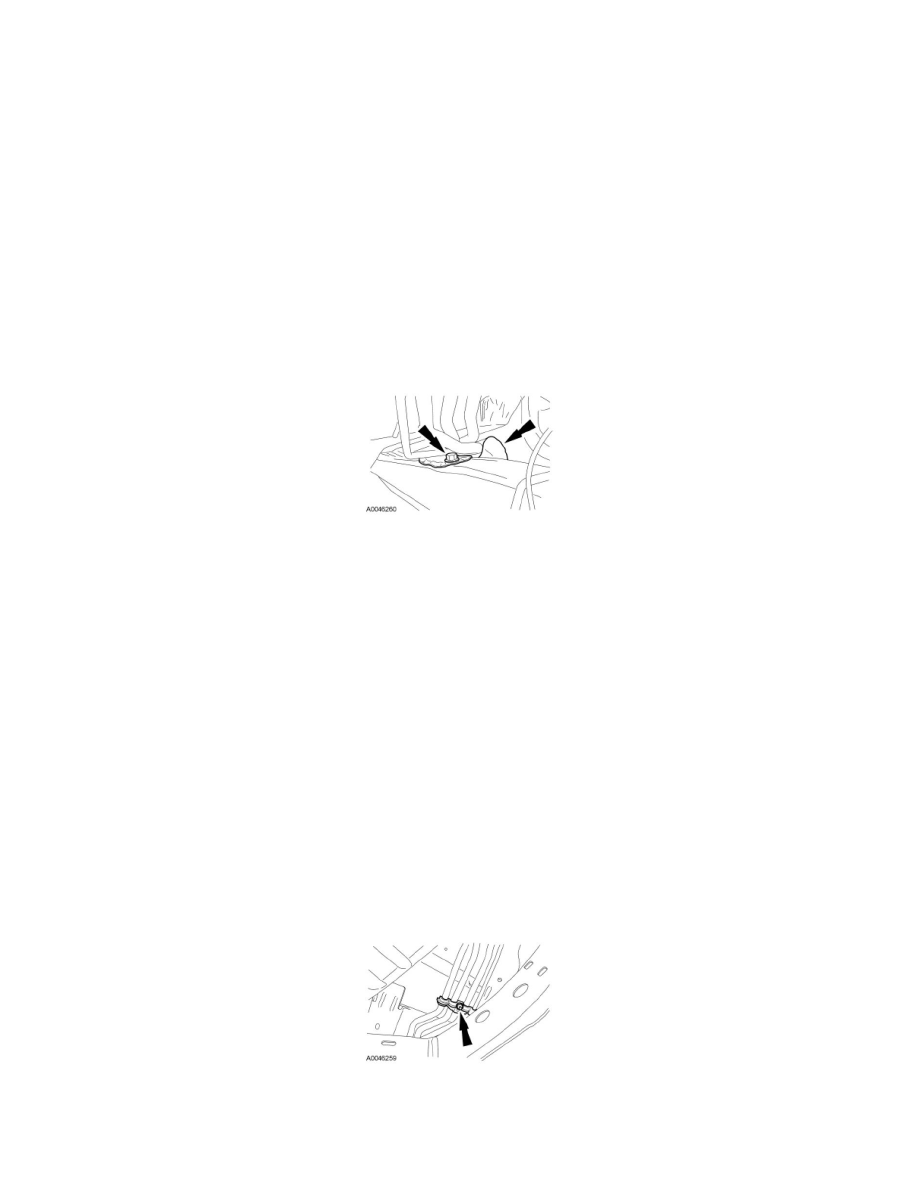
10. NOTE: If only one auxiliary heater line is to be removed, disconnect only the desired line.
Disconnect the auxiliary heater outlet and inlet line rear quick disconnect fitting(s) from the heater core at the floor pan connection.
11. Remove the muffler. For additional information, refer to Exhaust System &/or Catalytic Converter.
12. Remove the 3 spare tire carrier splash shield bolts and the spare tire carrier splash shield.
13. Remove the 3 muffler heat shield bolts and the muffler heat shield.
14. Remove the 2 exhaust hanger bolts and the exhaust hanger.
15. Remove the RH Catalyst Monitor Sensor (CMS). For additional information, refer to Computers and Control Systems.
16. Remove the 3 remaining RH catalytic converter heat shield bolts and the heat shield.
17. Remove the 3 remaining auxiliary line bracket nuts and the line brackets.
18. NOTE: If installing only one auxiliary heater line, cut only the desired line.
Assemble and lay out the replacement line(s) in the same position as the existing line(s) and, using a suitable tool, cut the auxiliary heater line(s) in
the same position as the fittings on the new line(s).