
Navigator 4WD V8-5.4L (2010)
Fuel Supply Line: Service and Repair
Fuel Lines
Fuel Lines
Removal
WARNING: Do not smoke, carry lighted tobacco or have an open flame of any type when working on or near any fuel-related component.
Highly flammable mixtures are always present and may be ignited. Failure to follow these instructions may result in serious personal injury.
WARNING: Before working on or disconnecting any of the fuel tubes or fuel system components, relieve the fuel system pressure to prevent
accidental spraying of fuel. Fuel in the fuel system remains under high pressure, even when the engine is not running. Failure to follow this
instruction may result in serious personal injury.
WARNING: Do not carry personal electronic devices such as cell phones, pagers or audio equipment of any type when working on or near any
fuel-related component. Highly flammable mixtures are always present and may be ignited. Failure to follow these instructions may result in
serious personal injury.
WARNING: When handling fuel, always observe fuel handling precautions and be prepared in the event of fuel spillage. Spilled fuel may be
ignited by hot vehicle components or other ignition sources. Failure to follow these instructions may result in serious personal injury.
1. With the vehicle in NEUTRAL, position it on a hoist. For additional information, refer to Vehicle Jacking and Lifting.
2. Release the fuel system pressure. For additional information, refer to Fuel Delivery and Air Induction.
3. Disconnect the fuel supply tube-to-fuel rail quick connect coupling. For additional information, refer to Fuel Delivery and Air Induction.
4. Disconnect the Evaporative Emission (EVAP) canister vapor tube-to-EVAP purge valve quick connect coupling. For additional information, refer
to Fuel Delivery and Air Induction.
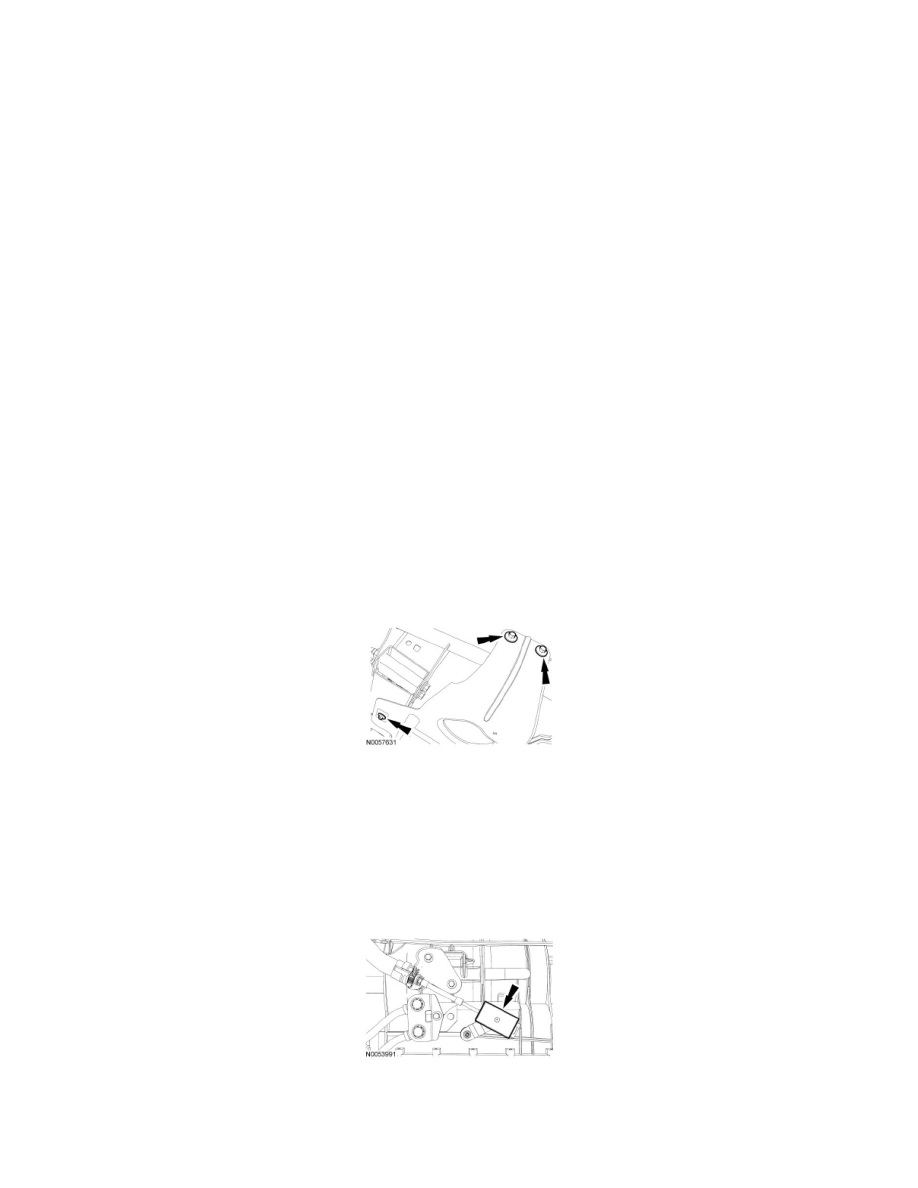
5. NOTE: LH side shown, RH side similar.
If equipped, remove the 6 bolts and the transfer case skid plate.
6. If equipped, remove the front driveshaft. For additional information, refer to Drive/Propeller Shafts, Bearings and Joints.
7. Disconnect the front fuel supply tube-to-fuel tank fuel supply tube quick connect coupling. For additional information, refer to Fuel Delivery and
Air Induction.
8. Disconnect the EVAP canister vapor tube-to-EVAP canister quick connect coupling and fresh air tube-to-EVAP canister quick connect coupling.
For additional information, refer to Fuel Delivery and Air Induction.
9. If equipped, remove the selector lever heat shield.
10. Move the locking tab up and disconnect the selector lever cable from the manual lever ball stud.