
Navigator 4WD V8-5.4L DOHC VIN A (2000)
Remove the rear CBV bolt cooler line case fitting.
7. Remove, clean and flush the CBV.
Installation
1. CAUTION: Make sure the 4 rubber-coated sealing washers are on the cooler line case fittings and the CBV washers are in place.
Examine the rubber-coated sealing washers for damage. Replace the washers as needed.
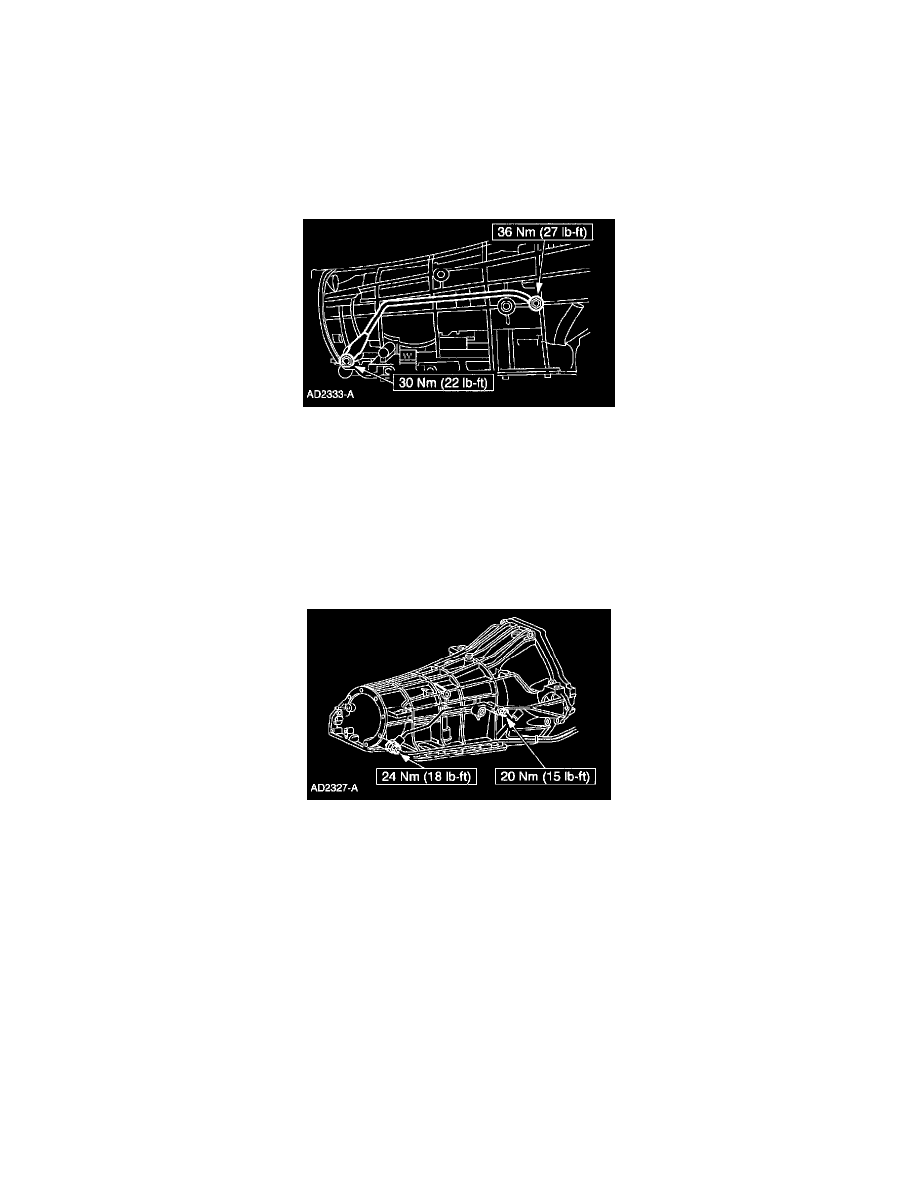
2. Using Threadlock and Sealer E0AZ-19554-AA or equivalent meeting Ford specification WSK-M2G351-A5, coat the line case fitting threads.
3. CAUTION: Make sure the Cooler Bypass Valve (CBV) is properly backflushed. Use dry compressed air to remove solvent.
CAUTION: If the cooler line case fitting is overtightened, the rubber-coated sealing washers and/or cooler line case fittings can be damaged,
causing a transmission fluid leak.
Note: The CBV has a check ball in the rear fitting and will only allow flow in one direction. Make sure check ball moves freely.
Note: Align the two rubber-coated sealing washers while assembling the rear cooler line case fitting.
Install the CBV fitting.
4. Note: The cooler lines need to be flushed out at this time.
Tighten the cooler tube nuts.
5. Lower the vehicle.
-
Reconnect the battery ground cable.
7. Fill the transmission with Motorcraft MERCON Multipurpose (ATF) Transmission Fluid XT-2-QDX or equivalent meeting MERCON
specification. Check for proper operation. MERCON(R) automatic Transmission Fluid is being replaced by MERCON(R) V as a service fluid, as
per TSB 06-14-4.