
Navigator 4WD V8-5.4L SOHC VIN L (1998)
SERVICE PROCEDURE
NOTE
THE SWITCH AND BEZEL ARE NOW SERVICED SEPARATELY. THE OLD SWITCH CAN BE USED WITH NEW BEZEL.
1.
Remove rear door trim panel per 1999 Navigator Workshop Manual, Page 501-05-21.
NOTE
FOR NAVIGATORS BUILT ON OR AFTER 2/9/1999, IT WILL BE NECESSARY TO REMOVE THE DOOR TRIM PANEL FROM THE
SHEET METAL PRIOR TO REMOVING THE SWITCH BEZEL. USE THE FOLLOWING REVISED REAR DOOR TRIM PANEL
PROCEDURE.
a.
Remove the end caps located at each end of the door pull handle.
b.
Remove the two (2) screws.
c.
Remove the rear door handle trim cover.
d.
Remove the rear inside door handle bolt.
e.
Remove the door trim panel by lifting upward until panel is free.
f.
Reach behind the door trim panel to disconnect the electrical connector from the switch.
g.
Remove the pal nuts securing the switch and bezel to the door panel (Figure 2).
2.
Install switch into new bezel.
3.
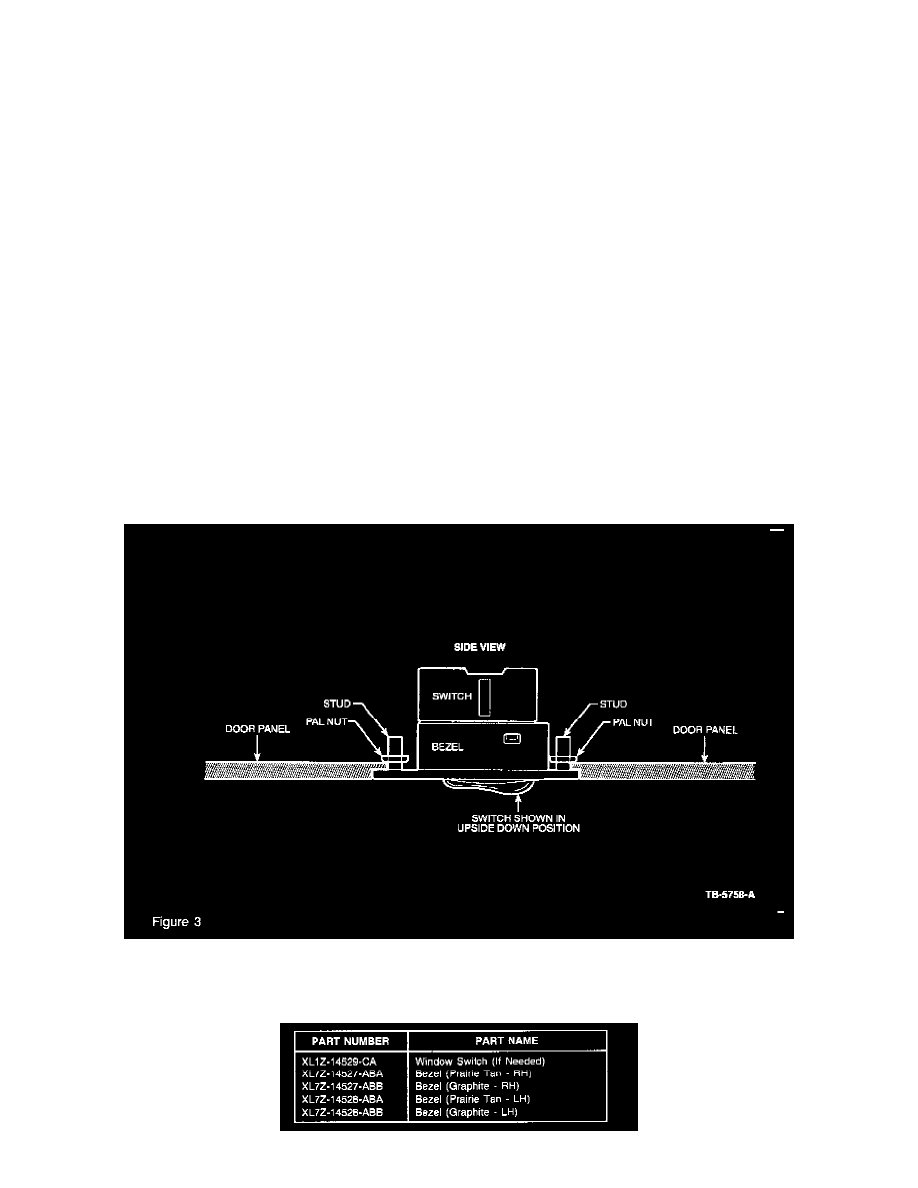
Install the bezel to the door trim panel opening by securing the pal nuts (5.5 mm - obtain locally if needed) to the studs (Figure 3).
4.
Connect the wire harness to the switch and reinstall the door trim panel in reverse order to the procedure followed above.