
Navigator 4WD V8-5.4L VIN 5 (2006)
4.
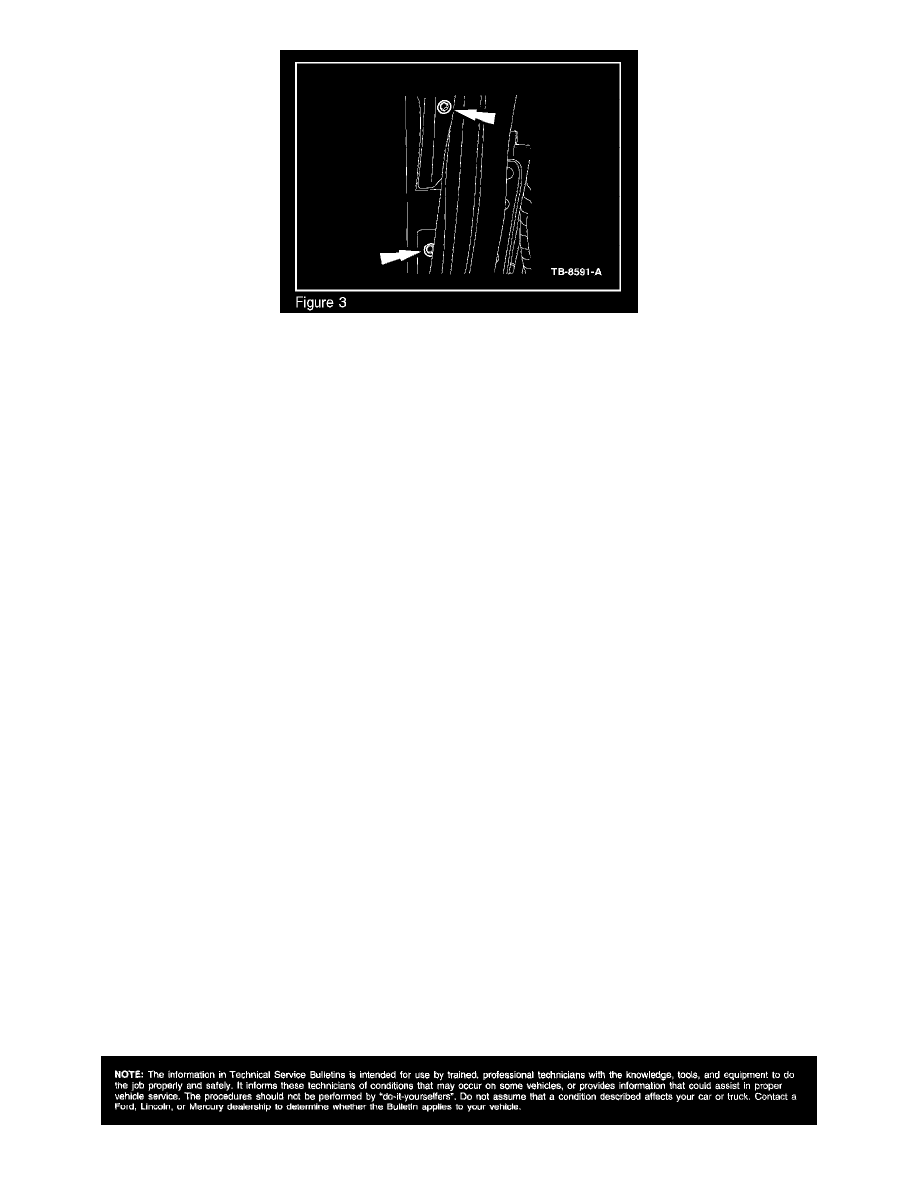
Loosen the two (2) inner fender bolts inside the door jamb area accessible from behind the inner splash shield (Figure 3), this will allow the lower
part of the fender to move.
5.
Align the door to fender fit flush I under flush to the fender, while also maintaining the margin specification of 4.5 mm +/- 1.0 mm.
6.
Tighten fender bolts to 9 lb-ft (12 N.m) reinstall and position back shields.
7.
Position back running boards if equipped.
WARRANTY STATUS: Eligible Under Provisions Of New Vehicle Limited Warranty Coverage
OPERATION
DESCRIPTION
TIME
061418A
2003-2006 Navigator:
0.4 Hr.
Follow Service Procedure
To Align Fender One Side
061418B
2003-2006 Navigator:
0.7 Hr.
Follow Service Procedure
To Align Fender Both
Sides
061418C
2003-2006 Navigator: Paint
1.6 Hrs.
Front Door Lower Cladding
And For One Side Of The
Vehicle (May Be Claimed
With Operation A) (Do Not
Use With P88, P101,
P581)
061418D
2003-2006 Navigator: Paint
2.6 Hrs.
Front Door Lower Cladding
For Both Sides Of The
Vehicle (May Be Claimed
With Operation B) (Do Not
Use With P88, P101,
P581)
DEALER CODING
CONDITION
BASIC PART NO.
CODE
16E013
07